How to use the HSL/Color panel in Lightroom?
How To Use The HSL Color Panel In Lightroom?
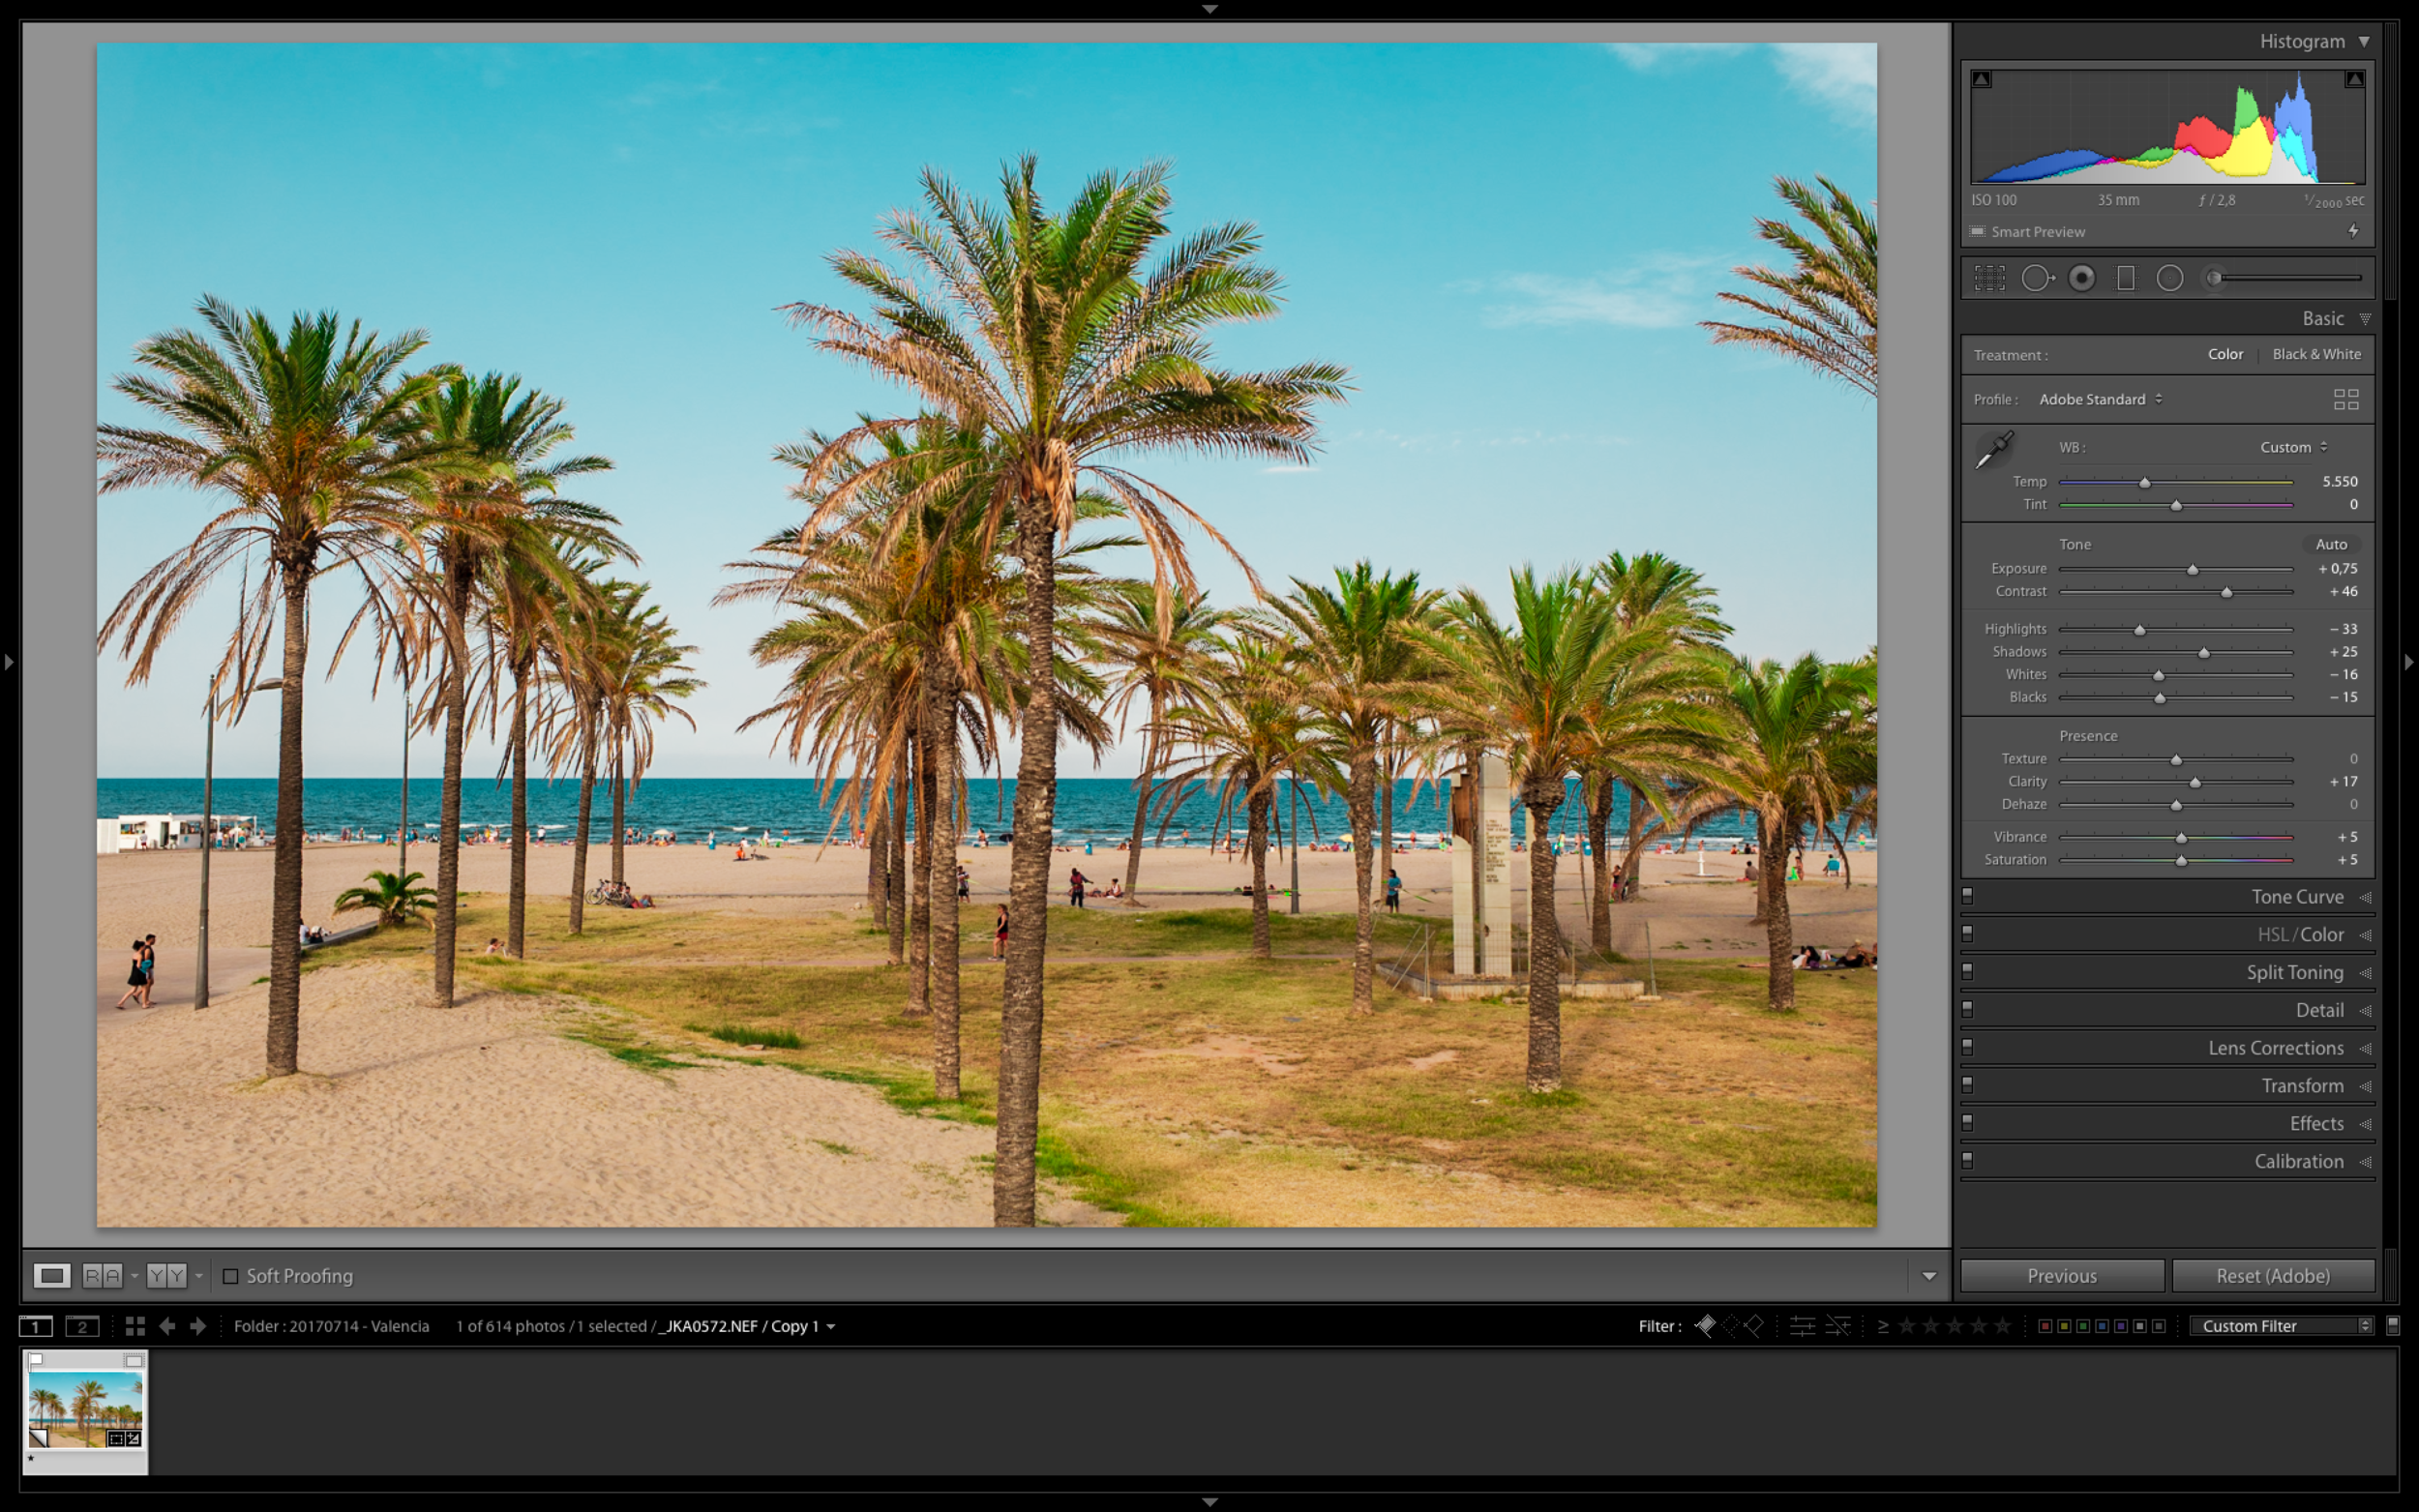
A great way to change colours to your photos is with the use of the color panel or HSL in Lightroom. In the video below you can see really well what you can achieve with just a few small adjustments with the HSL sliders. This is also a great starting point to create presets or to manipulate colours that are distracting or need a little love.
Is Lightroom free to use?
Lightroom is photo editing software from Adobe for photographers and people who love to edit photos. A lot of times, people ask us at The Editing Studio if Lightroom is free to use. Unfortunately, Lightroom is not a free program. However, you can use the trial version of Adobe and Photoshop that Adobe offers.
More on Lightroom subscriptions
More on Adobe Creative Cloud
Can I use my MacBook Air for photo editing?
When I started my photo editing service back in 2014, my main computer that I used was a MacBook Air from 2013. It was maxed out with 8GB RAM, 500GB SSD and an I7 processor. I edited all my photos from this MacBook connected to a Cinema Display, it was a pretty heavy setup but it was also a heavy burden on my MacBook while photo editing. So the question is; can I use my MacBook Air for photo editing?
What MacBook Air do I need for Lightroom?
When I bought my MacBook Air in 2013, it was one of the best Apple computers at the time for that budget. It was around $2,000 and it was an absolute beast. Things has changed since then and even the MacBook Air is almost a professional photo editing machine these days.
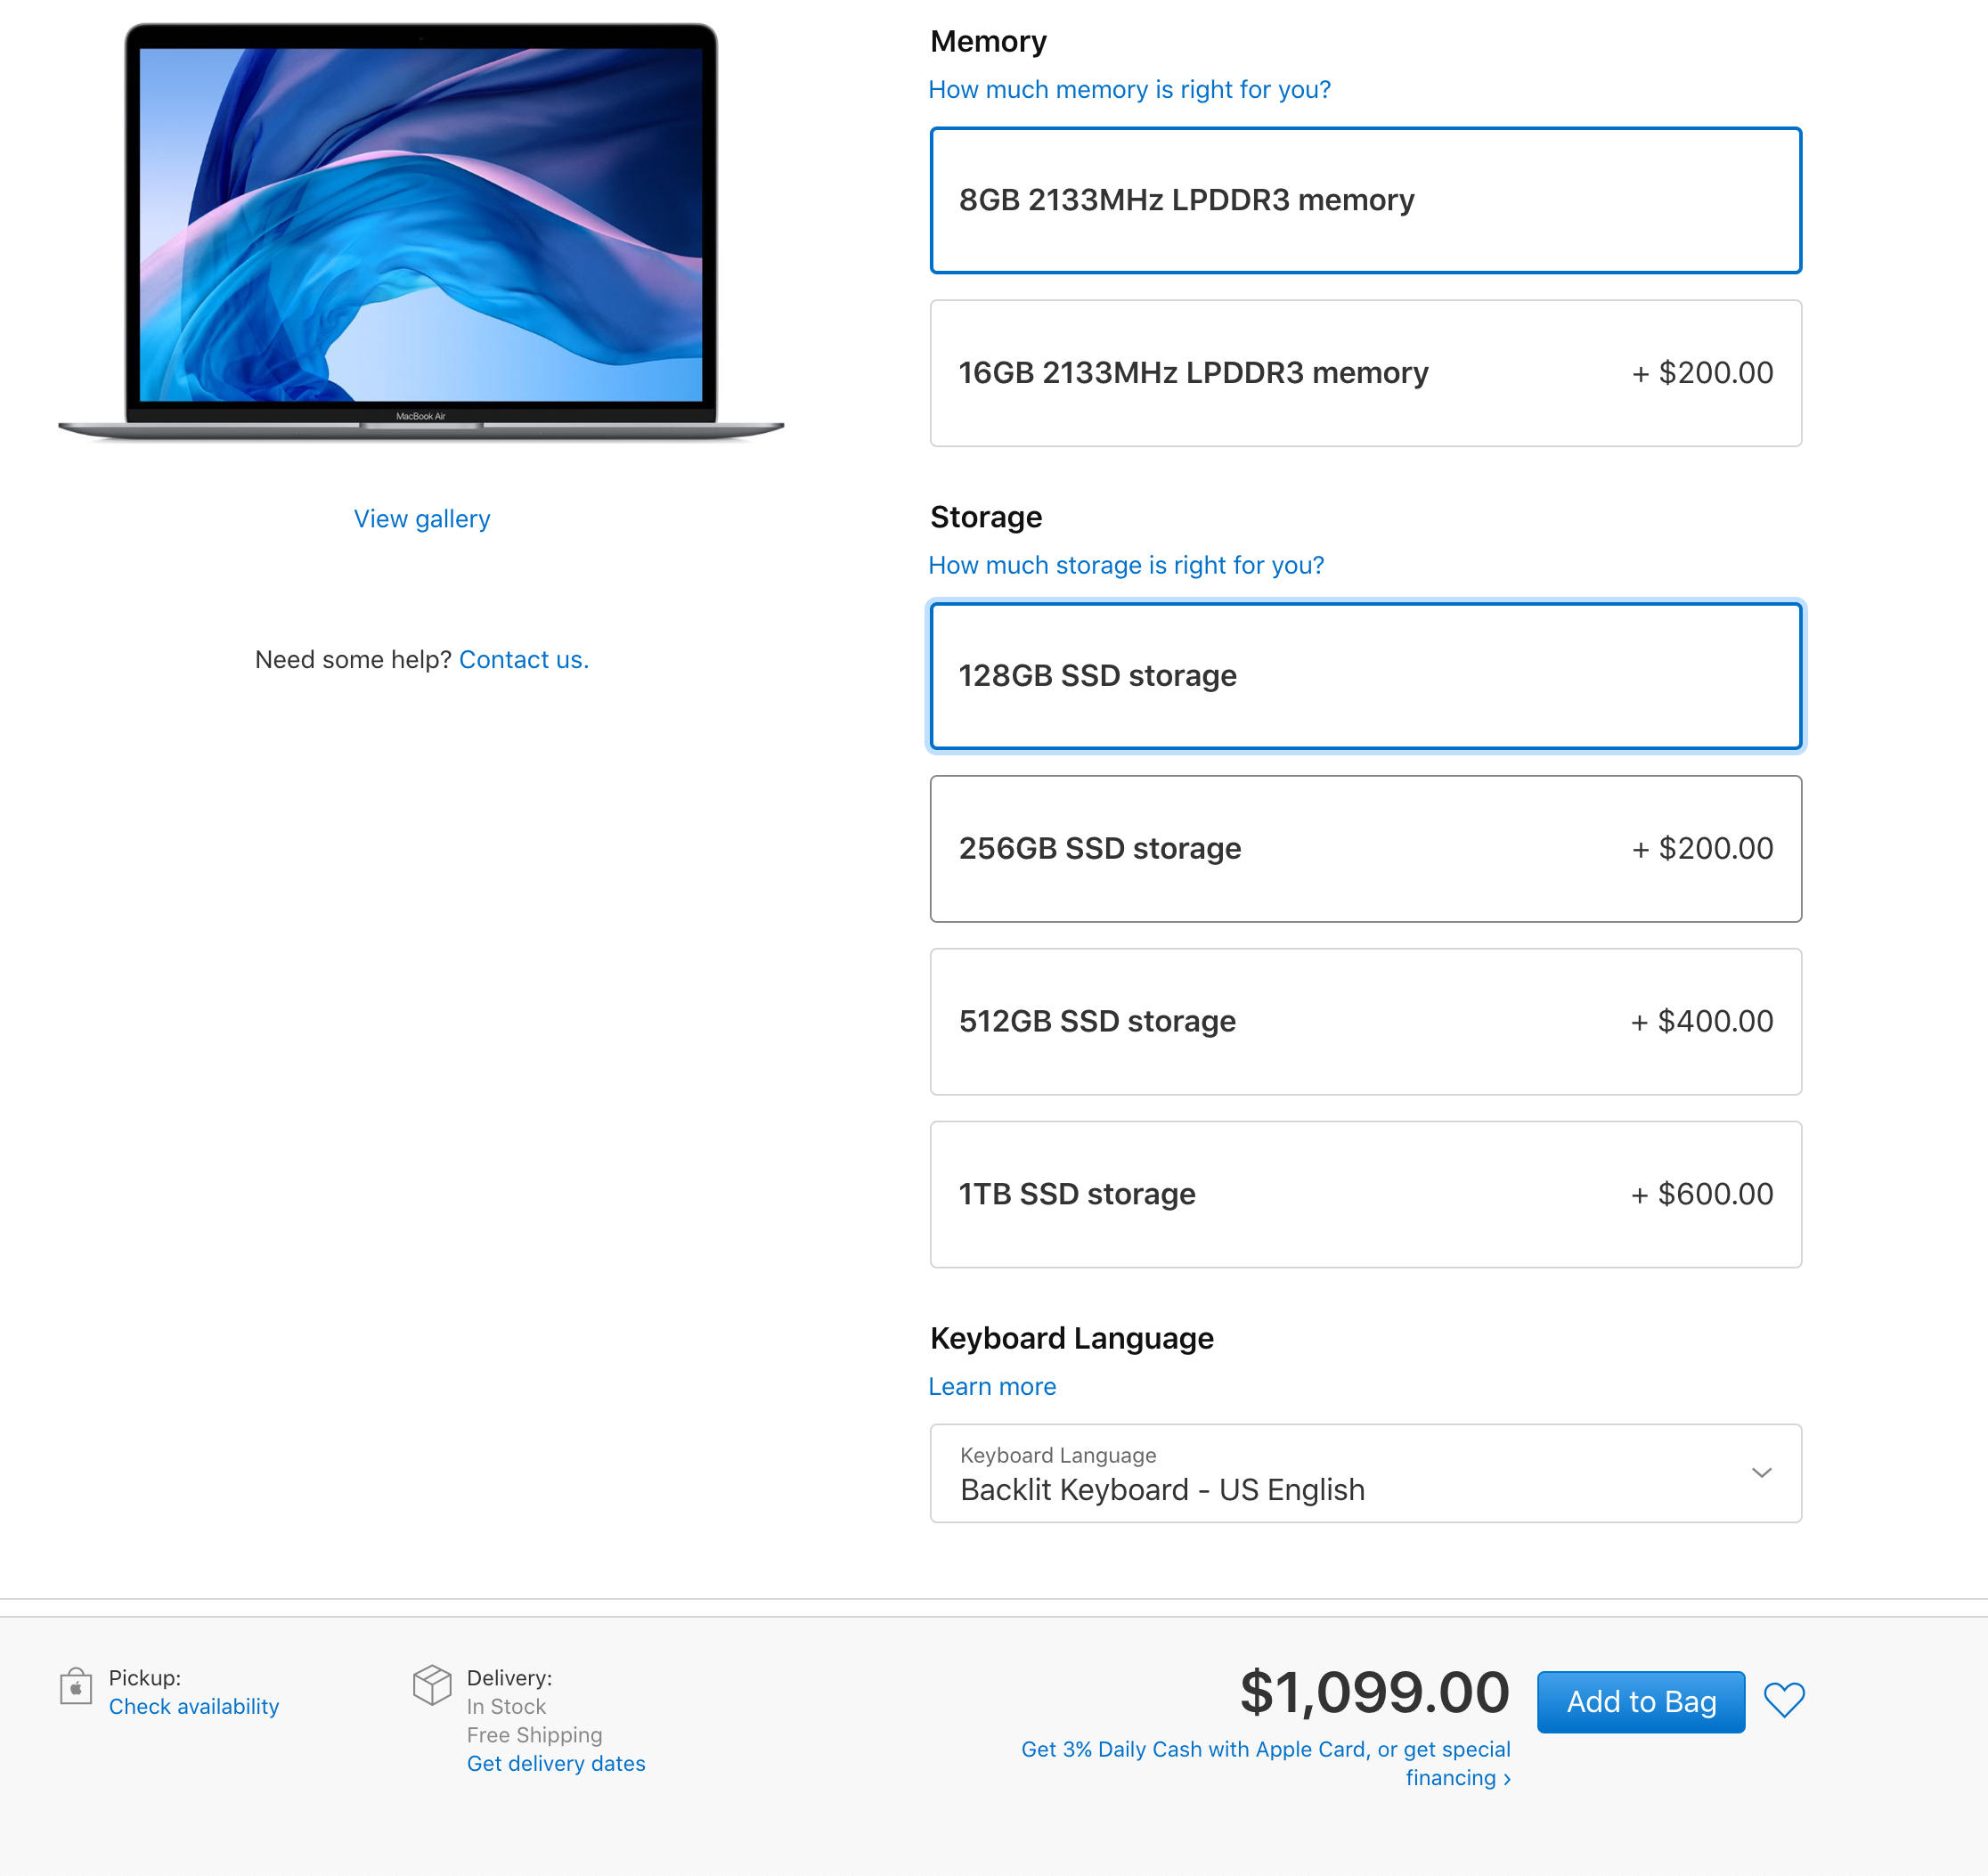
I think the base model of the MacBook Air is better than my MacBook Air at the time, my SSD of 500GB was almost $1200, already more expensive than the current base model of the MacBook. The base model starts at 128GB SSD and 8GB of RAM which is the least you need for Lightroom to let it run smoothly.
MacBook Air upgrades
RAM
Like I said, 8GB is the minimum you need for photo editing in Lightroom. Luckily, all MacBooks have 8GB of RAM. That means that if you’re on a budget, you can leave this as it is. But if you do have $200 that you can spend for an extra 8GB of RAM, you should really do that. Long term you will have way more fun with your MacBook Air with 16GB of RAM instead of the base model with 8GB.
Processor
The real downside of making the new MacBook Air as your photo editing machine is the processor. They used to have an i7 processor for the MacBook Air that would make the Mac an absolute beast and super fast. They have downgraded the processors for new MacBook Airs which is really the downside of this MacBook. It is just the i5 processor now and there is no way in upgrading it. The MacBook Air is really a business laptop now instead of a cheap MacBook Pro.
SSD
The SSD, your hard drive is probably worth upgrading. Your RAM and SSD are basically the only two things you can upgrade but these are so important if you want to use your MacBook long term. Especially if you’re just starting out as a photographer or want to pursue a photography career, you probably want to spend a few extra bugs for a bigger SSD. The base model of the MacBook Air starts with 128GB SSD and I think that is not enough to edit your photos with.
All the new cameras have big RAW files and that is exactly why you want at least 256GB of SSD, that is an upgrade of $200 but you really won’t regret it!
Display
The new display is perfect for editing photos on the MacBook Air! My MacBook Air had only 1440 pixels on the longest side, which is not ideal for editing photos. But the new MacBooks have a Retina Display which is just perfect for editing photos in Lightroom, the Retina display has 2560 pixels which will make your photos beautifully sharp and colourful, meaning you don’t really need an external display like I used too!
Also the 13 inch makes the MacBook Air a really good photo editing machine because you can easily carry the MacBook around and it is large enough for you to edit on!
Conclusion
Yes, the MacBook Air is a perfect fit for editing your photos in Lightroom with. The base model of the MacBook Air is just fine if you’re starting out with photo editing and if you’re on a tight budget. if you do have a little more to spend, you should really go for 2 small upgrades; you want more RAM to handle Lightroom and more SSD storage for all your photos.This is also to prevent that you will buy a new MacBook within 3 or 4 years because your system is starting to slow down.

How much does Lightroom cost per month?
Since a few years Adobe has changed the way it distributes Lightroom. There used to be a stand alone version of Lightroom and Photoshop, but now they have made two photography plans with Lightroom and Photoshop starting from $9,99 per month through Creative Cloud.
You now will get all updates and always have the most recent version of Lightroom and Photoshop, that even if you buy a new camera, you can edit your photos with Lightroom or Photoshop.
Now there are 2 pricing plans for Lightroom and Photoshop with Creative Cloud.
The first pricing plan starts a $9,99 per month and will give you access to Lightroom, Photoshop and Adobe Creative Cloud, where you get 20GB of cloud storage from Adobe.
Adobe’s second plan is for Lightroom and Photoshop but instead you will get 100GB of cloud storage from Adobe. With both plans you will have access to Lightroom Mobile as well.
How To Import Lightroom Presets To Lightroom Classic CC
Tutorial: Import Presets To Lightroom Classic CC
Lightroom CC has a few standard presets installed to give your photos a different look. If these presets don’t give you the right look and feel you can buy some really nice ones online. You can easily install these presets into Lightroom, but how do you install presets into Lightroom? In a few easy steps below you will find out!
Step-By-Step Tutorial
Go to the ‘Develop Module’ in Lightroom, on the left side you see a few tabs with: ‘Navigator’, ‘Presets‘, ‘Snapshots‘, ‘History‘ and ‘Collections’.
Click on ‘Presets’. You will see a few folders that have presets, these are the default presets of Lightroom. You can use these to begin with or create your own preset like we’re doing now.
Click on the ‘+’ next to ‘Presets’ and ‘Import Presets’ that you just bought and saved on your desktop. A window wil appear and you can add the presets.
Click on ‘Import’ and restart Lightroom, the presets will now be installed in your Lightroom Catalog.
Do You Use An Other Version Of Lightroom?
If you use an older or a different version of Lightroom, check out our blog! Here you will find all you need to know to import your presets in Lightroom 5, 6, CC 2017 and Lightroom Mobile!