How to Balance Contrast for a Soft Analog Look
How to Balance Contrast for a Soft Analog Look in Lightroom
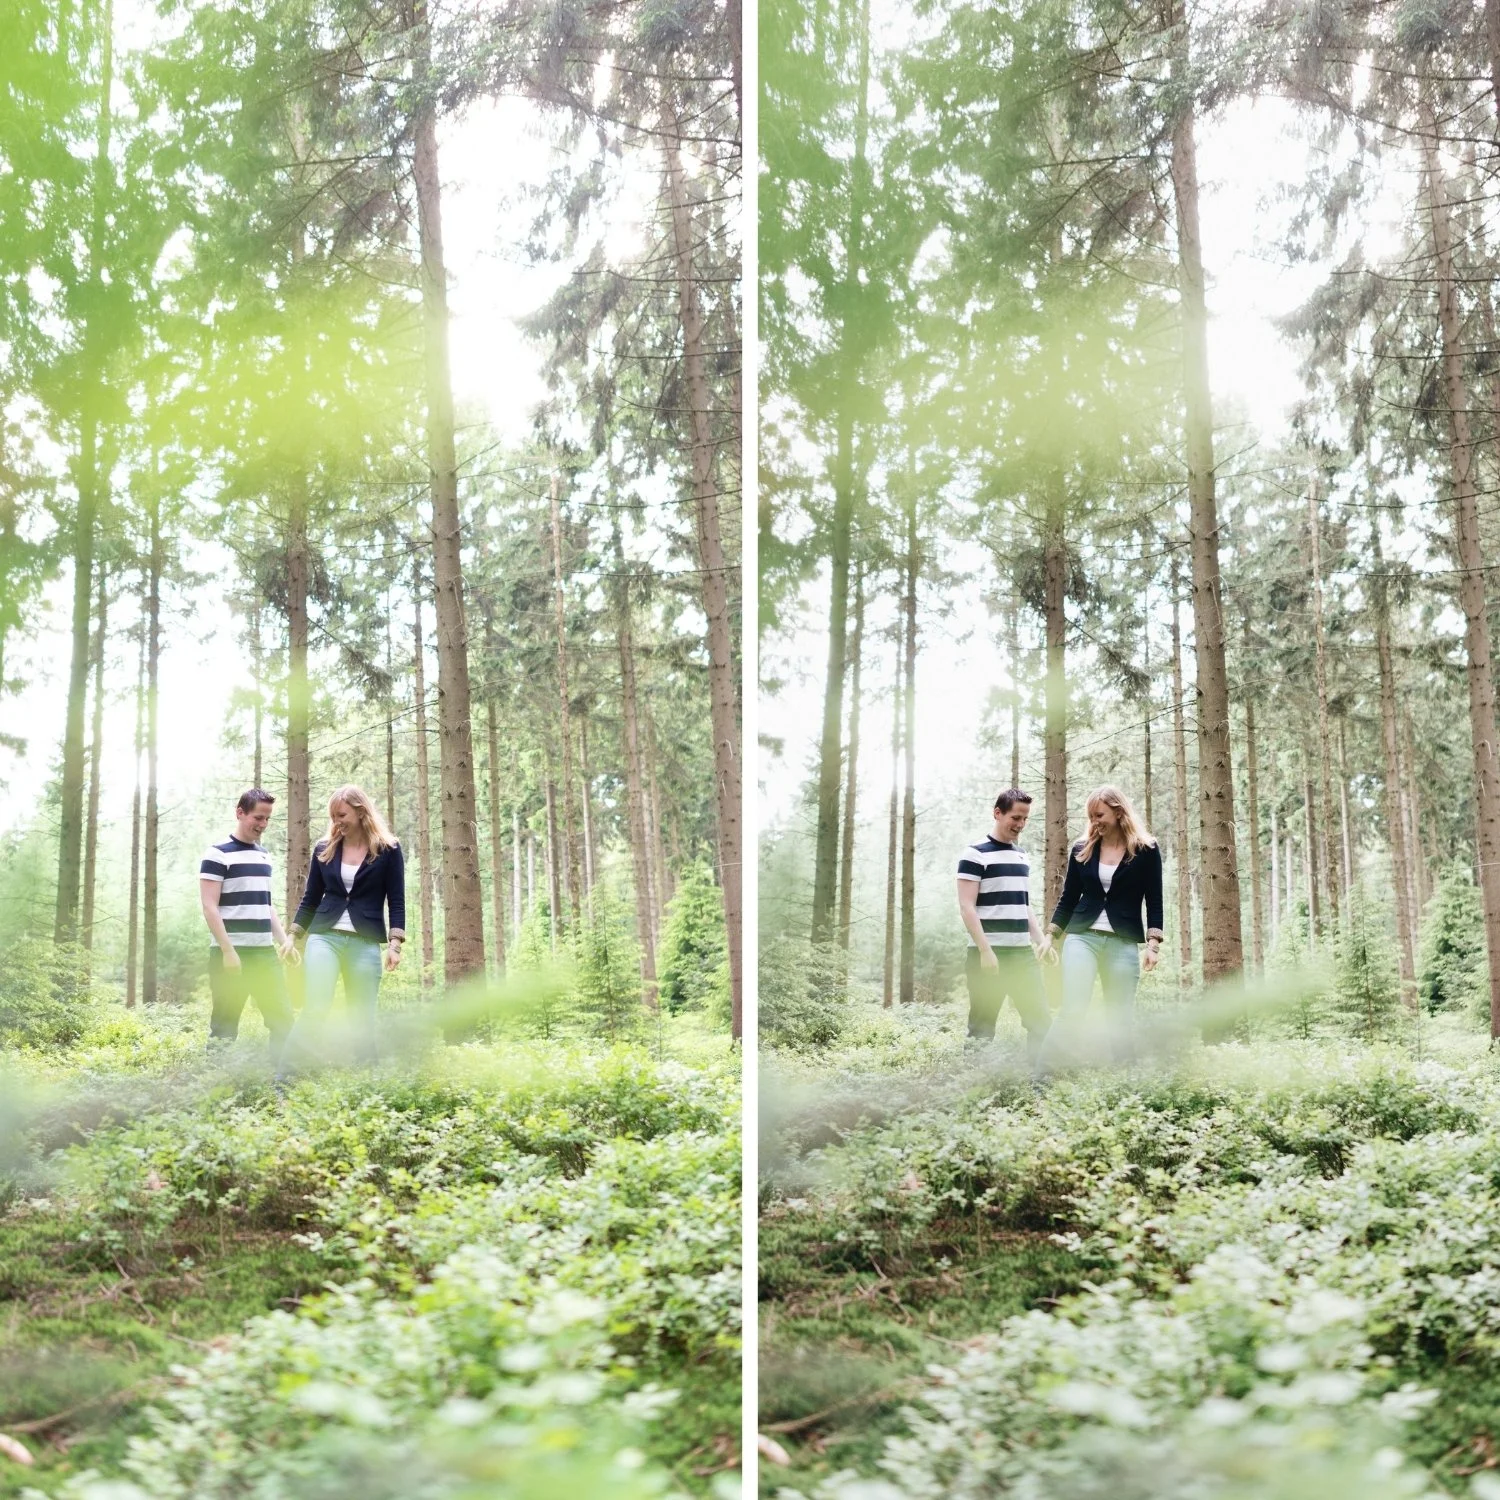
Contrast is the single most mismanaged element in film-aesthetic editing. Most photographers who want an analog look understand that warmth, muted color, and grain are part of the formula, but they leave the Contrast slider at 0 or push it in the direction that feels most impactful without understanding what it is actually doing to the image. The result is a photograph that has the surface attributes of the film look but retains the harsh, punchy quality of digital processing underneath everything else. Understanding what makes film contrast different from digital contrast is the first step toward fixing this. If you want the complete analog editing workflow first, How to Create a Natural Film Look in Lightroom covers all the fundamentals including contrast as one of the five core adjustments.
Why Digital Contrast Reads as Harsh
The Lightroom Contrast slider works globally. When you increase it, Lightroom simultaneously pushes highlights up, pushes shadows down, and compresses midtones toward their respective extremes. This increases the distance between the bright and dark areas of the image and creates the visual pop that the slider is designed for. But because this happens uniformly across every tonal value in the image simultaneously, the result has a quality that photographers describe as crunchy, harsh, or too digital. The tonal transitions between bright areas and dark areas become steep rather than gradual, and the image starts to look like it has been processed rather than photographed.
Film contrast does not behave this way. Film emulsion has a non-linear response to light, which means it handles bright areas and dark areas very differently. Highlights compress gradually as they approach the film's maximum density rather than clipping abruptly. Shadows have depth and texture rather than crushing to pure black. The midtones retain smooth transitions between the two extremes. This non-linear behavior is what gives film its dimensional, layered quality, and it cannot be replicated by a single global contrast adjustment.
The Right Way to Build Contrast for an Analog Look
The process starts with reducing rather than adding. If your image has any global Contrast applied, lower it to 0 or slightly negative (-5 to -15) before doing anything else. This removes the digital aggression and gives you a clean base to work with. The image will look slightly flat at this point. That is correct. You are not finished.
The contrast rebuild happens in the Tone Curve. A soft S-curve that places a gentle lift in the upper midtones and a gentle compression in the lower midtones creates the same visual sense of separation that the Contrast slider produces, but in a controlled and targeted way. The key differences are in what happens at the extremes. The highlight point should be pulled down slightly rather than left at maximum, which compresses bright areas gradually rather than abruptly and produces the creamy highlight quality associated with film. The shadow point should be lifted slightly rather than anchored at pure black, which creates the shadow floor that film emulsion produces as a natural consequence of its base density.
The S-curve should be gentle rather than steep. If you add control points and bend the curve dramatically, you recreate the harshness of the Contrast slider in a different form. The curve should look almost straight with very slight bends, not the aggressive S-shape that creates punchy separation.
Managing Midtone Contrast Specifically
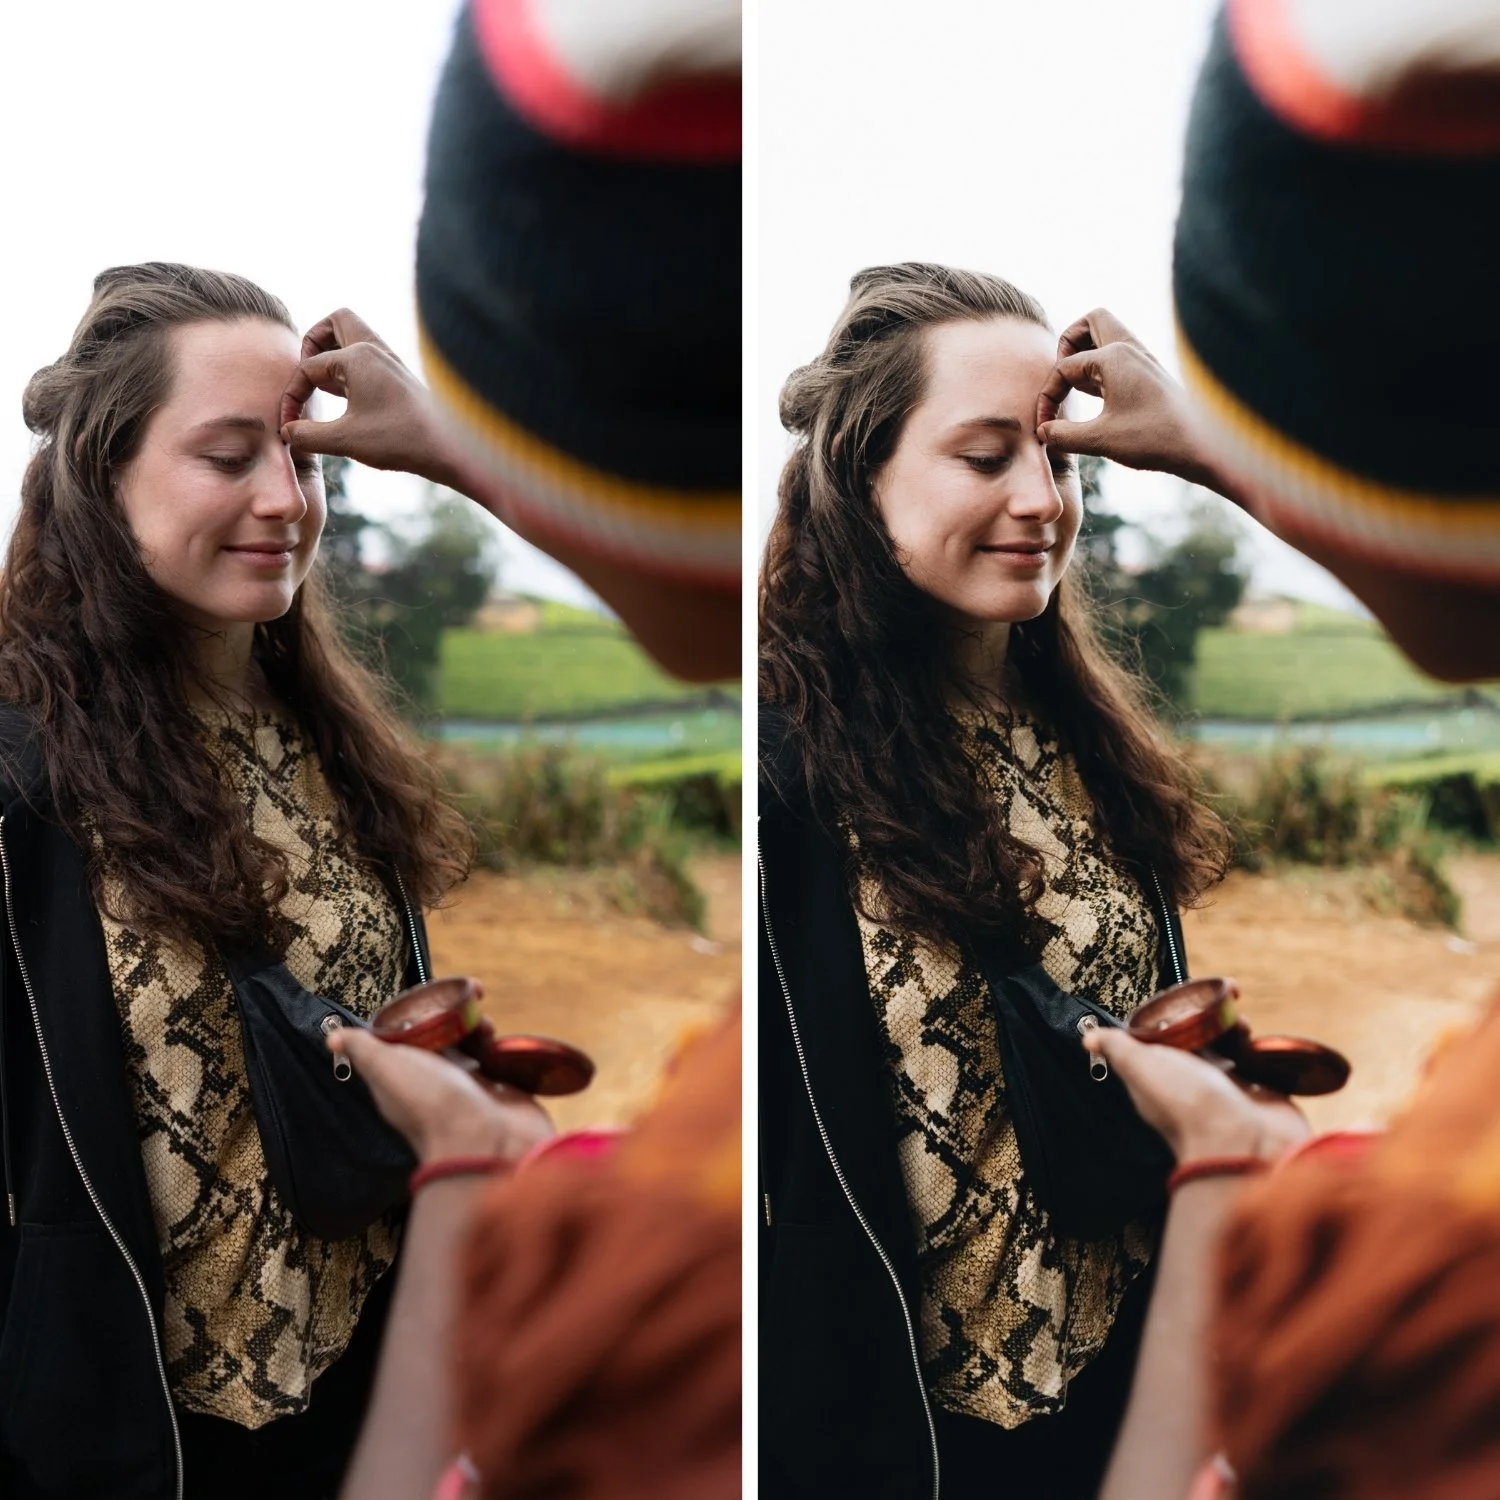
Midtone contrast is what determines the softness or harshness of skin tones, fabrics, and the general quality of the image in the range where most subjects live. Two adjustments affect this specifically and both work against the analog look when mismanaged.
Clarity adds midtone contrast directly. It increases local contrast around edges in the midtone range, which sharpens textures and creates a crispness that reads as digital. For an analog look, Clarity should be at 0 or slightly negative, typically -5 to -15 for portraits and -5 to +5 for landscape and architecture where some texture enhancement is acceptable. Texture has a similar but more subtle effect and should be kept near 0 or slightly negative.
The second issue is contrast stacking. Many edits accidentally stack contrast from multiple sources: the global Contrast slider, a steep Tone Curve, Clarity, Dehaze, and sometimes Vibrance or heavy Sharpening. Each of these adds its own form of contrast or edge definition, and they compound rather than replace each other. If your analog edit still feels harsh, work through these controls systematically and confirm that you are using only one primary source of contrast, which should be the Tone Curve.
Shadow Density Versus Crushed Blacks
A soft analog look does not mean a matte look. These are different things that are often confused. The matte aesthetic lifts the black point aggressively, which raises the shadow floor but also reduces all shadow contrast, producing a hazy, low-density quality. The analog shadow look has genuine depth and shadow density, but the darkest areas of the image retain texture and detail rather than going pure black.
The practical difference in Lightroom is between using Blacks to lift the shadow floor slightly (+5 to +15) versus using Shadows to lift the entire dark region of the image (+20 to +50). Slight Blacks adjustment with relatively controlled Shadows preserves the shadow density while creating the film base quality. Heavy Shadows lifting removes the density and produces the matte quality that looks good in some aesthetics but is not the same as the natural film look.
Adjusting for Different Lighting Conditions
Contrast requirements vary significantly based on ambient lighting. In golden hour photography, where the light is already soft and directional, very little contrast rebuilding is needed because the starting image already has the tonal quality that film would produce. Lowering Highlights significantly (-30 to -45) to manage the warm bright areas is usually the main adjustment. In overcast conditions, where the starting image lacks tonal separation, a slightly more pronounced curve is needed to add depth without the flat, grey quality that overcast light can produce. In harsh midday sun, reducing Highlights and Whites first before building the curve prevents the bright areas from fighting every other adjustment.
FAQ
Should I always lower the Contrast slider for the analog look? If the image feels harsh, yes, lower it first then rebuild with the curve. If the image is already flat (overcast, diffuse light), start from 0 rather than going negative, and focus on building the curve for separation.
Is matte the same as soft analog contrast?
No. Matte lifts blacks heavily and reduces overall shadow density. Soft analog contrast preserves shadow depth and density while preventing highlights from clipping and midtones from becoming harsh. The two can look similar in a thumbnail but feel very different in the actual image.
Why does my image look flat after lowering Contrast?
Because you removed contrast without rebuilding it. The Tone Curve step is not optional. Lowering contrast and not building the curve produces a flat image. The Tone Curve approach is also explained in the context of Portra Style Lightroom Presets, which uses this contrast method as its foundation. The Tone Curve step is not optional. Lowering contrast and not building the curve produces a flat image. The curve is what adds the separation back in a more controlled form.
Does Clarity ruin the analog look?
Excessive Clarity consistently makes images read as digital and harsh. The midtone contrast it adds works against the smooth transitions that define the analog aesthetic. How to Make Your Lightroom Edits Look Less Digitalcovers the full set of digital qualities to remove. The midtone contrast it adds works against the smooth transitions that define the analog aesthetic. Keeping it at 0 or negative is almost always the right approach for film-style editing.
Want to try a tonal base built around balanced contrast?
Download the free Analog Film preset as a starting point and compare the contrast behavior to your existing edits.
For a complete system with calibrated contrast across multiple lighting conditions, the Vesper Archive is built specifically around this soft analog contrast philosophy.