How to Use Split Toning Properly in Lightroom for Film Looks
How to Use Split Toning Properly in Lightroom for Film Looks
Split toning was the name Lightroom used before renaming the feature to Color Grading in Lightroom Classic 10.0. The name changed, but the concept and technique remain the same: applying different color hues to the highlights and shadows of an image independently, creating a dimensional color relationship between the bright and dark areas of a photograph.
Used correctly, split toning is one of the most powerful tools for film aesthetics. Used carelessly, it produces the dated teal-and-orange quality, the heavy matte blue-shadow look, or the obvious golden filter that signals amateur editing immediately. The difference between these outcomes is precision — how much, in which direction, and with what balance.

The Core Principle: Dimensional Warmth
The reason split toning works for film aesthetics is that it replicates a specific property of film photography in warm outdoor light. Film photography in direct warm sun has golden, amber-warm highlights — the bright parts of the scene directly lit by warm afternoon light. The shadows in the same scene are lit by diffuse skylight, which is cool and blue-tinted. The result is a photograph where bright areas are warm and dark areas are cool, creating dimensional color contrast that digital cameras do not produce from a single white balance setting.
Split toning allows you to place this warm-cool dimensional relationship in post-processing. Highlight toning toward golden amber, Shadow toning slightly toward the cool side. The effect reads as the inherent quality of warm outdoor photography rather than as color grading.
The critical word is slightly. The failure mode of split toning is pushing both channels too far simultaneously, which produces the heavy teal-and-orange aesthetic that reads as an obvious filter. The warm highlight and cool shadow relationship needs to be subtle to read as natural.
Highlight Toning for Film Warmth
Lightroom's Color Grading panel controls Highlight Hue on a circular wheel from 0 to 360 degrees, where 0-30 is red, 30-60 is orange, 60-90 is yellow-orange, and so on. For warm film aesthetics, the target Highlight Hue is the golden-amber range: 35-55.
The Saturation value is the critical control. Saturation at 5-10 produces warmth that is felt rather than seen — the photograph reads as warm without the obvious golden filter quality. Saturation at 15-25 makes the highlight toning visible as a treatment. Saturation at 30+ produces the heavy warm filter that immediately reads as an edit.
Start at Saturation 5. Evaluate the result on skin tones and highlights specifically. Increase only if the warmth is genuinely insufficient. For most warm film aesthetics, Saturation 6-10 in the highlights is the correct range.
Shadow Toning for Film Depth
Shadow toning for film aesthetics requires more restraint than highlight toning, because mistakes in the shadow range are more damaging than mistakes in the highlights.
For the cool shadow direction that references warm outdoor photography, target Shadow Hue in the 200-230 range (cool blue direction) with Saturation 2-6. This is a subtle addition — visible at close inspection as slight cool depth, not visible as obvious blue shadows
The most common error is Shadow Saturation above 8-10. At these values, shadows take on the visible blue-green tint that defines the dated look. The shadow toning should add depth to dark areas, not color them.
For warm film aesthetics that want warmth throughout rather than cool shadow contrast, shadow toning can be in the warm direction: Hue 25-35, Saturation 2-5. This produces the amber-warm shadow quality of warm-base film stocks like Portra without the cool-warm split.
Midtone Toning and Its Effect on Skin
Midtone Color Grading affects the middle tonal range of the image — where skin tones and the majority of subject matter in most photographs lives. This makes it the most sensitive channel for portrait and lifestyle photography.
Heavy Midtone Color Grading produces skin that reads as color-cast — yellow, amber, or cool depending on the direction pushed. For film aesthetics, Midtone Color Grading should be used with Saturation 0-4 at maximum. Most well-calibrated film presets keep Midtone Color Grading completely neutral or nearly so, relying on the Highlight and Shadow toning for the dimensional color effect without contaminating the midtone range where skin lives.
The Balance Slider
Below the three wheels in the Color Grading panel, a Balance slider shifts the range boundary between Shadows and Highlights. Moving Balance toward positive values shifts more of the tonal range into Highlights coverage. Moving toward negative values shifts more coverage toward Shadows.
For film aesthetics where the warmth should extend slightly into the upper midtones (common for portrait and lifestyle photography where warm ambient light affects more of the tonal range than just the highlights), a Balance value of -10 to -25 extends the Highlight warmth into the upper midtone range naturally.
Checking the Result
After applying Color Grading, check three things. First, view the photograph at normal zoom and ask whether the color grading is visible as a treatment or whether the warmth simply reads as a quality of the image. Second, check skin tones in the midtone range for any unwanted color cast. Third, check shadow areas for visible color rather than depth. If any of these produce a visible "yes, I can see the color grading" response, reduce Saturation values.
FAQ
Is split toning the same as Color Grading in Lightroom?
Split toning was the previous name for the same feature. In Lightroom Classic 10.0 and later, the Color Grading panel replaced Split Toning with additional Midtone control. The Highlights and Shadows controls work the same way. If you have older presets with Split Toning settings, they are automatically converted to Color Grading when opened in current Lightroom.
How is Color Grading different from adjusting white balance?
White balance adjustment shifts all tonal values simultaneously — the entire image moves warmer or cooler. Color Grading targets specific tonal ranges independently. Highlight Color Grading warms bright areas without affecting shadows. Shadow Color Grading affects only dark areas. This separation is what creates dimensional color rather than a global shift.
Why does my split toning look different at different preset strengths?
Color Grading Saturation values scale with preset strength. At 80% preset strength, a Shadow Saturation of 10 effectively applies at 8. If you reduce preset strength and the warmth decreases too much, increase the Highlight Saturation slightly to compensate.
Can I use Color Grading for black and white photography?
Yes. Color Grading in black and white adds duotone and toning effects — warm shadows and cool highlights, or the silver-brown quality of warm-tone darkroom printing. The technique is the same as for color photography.
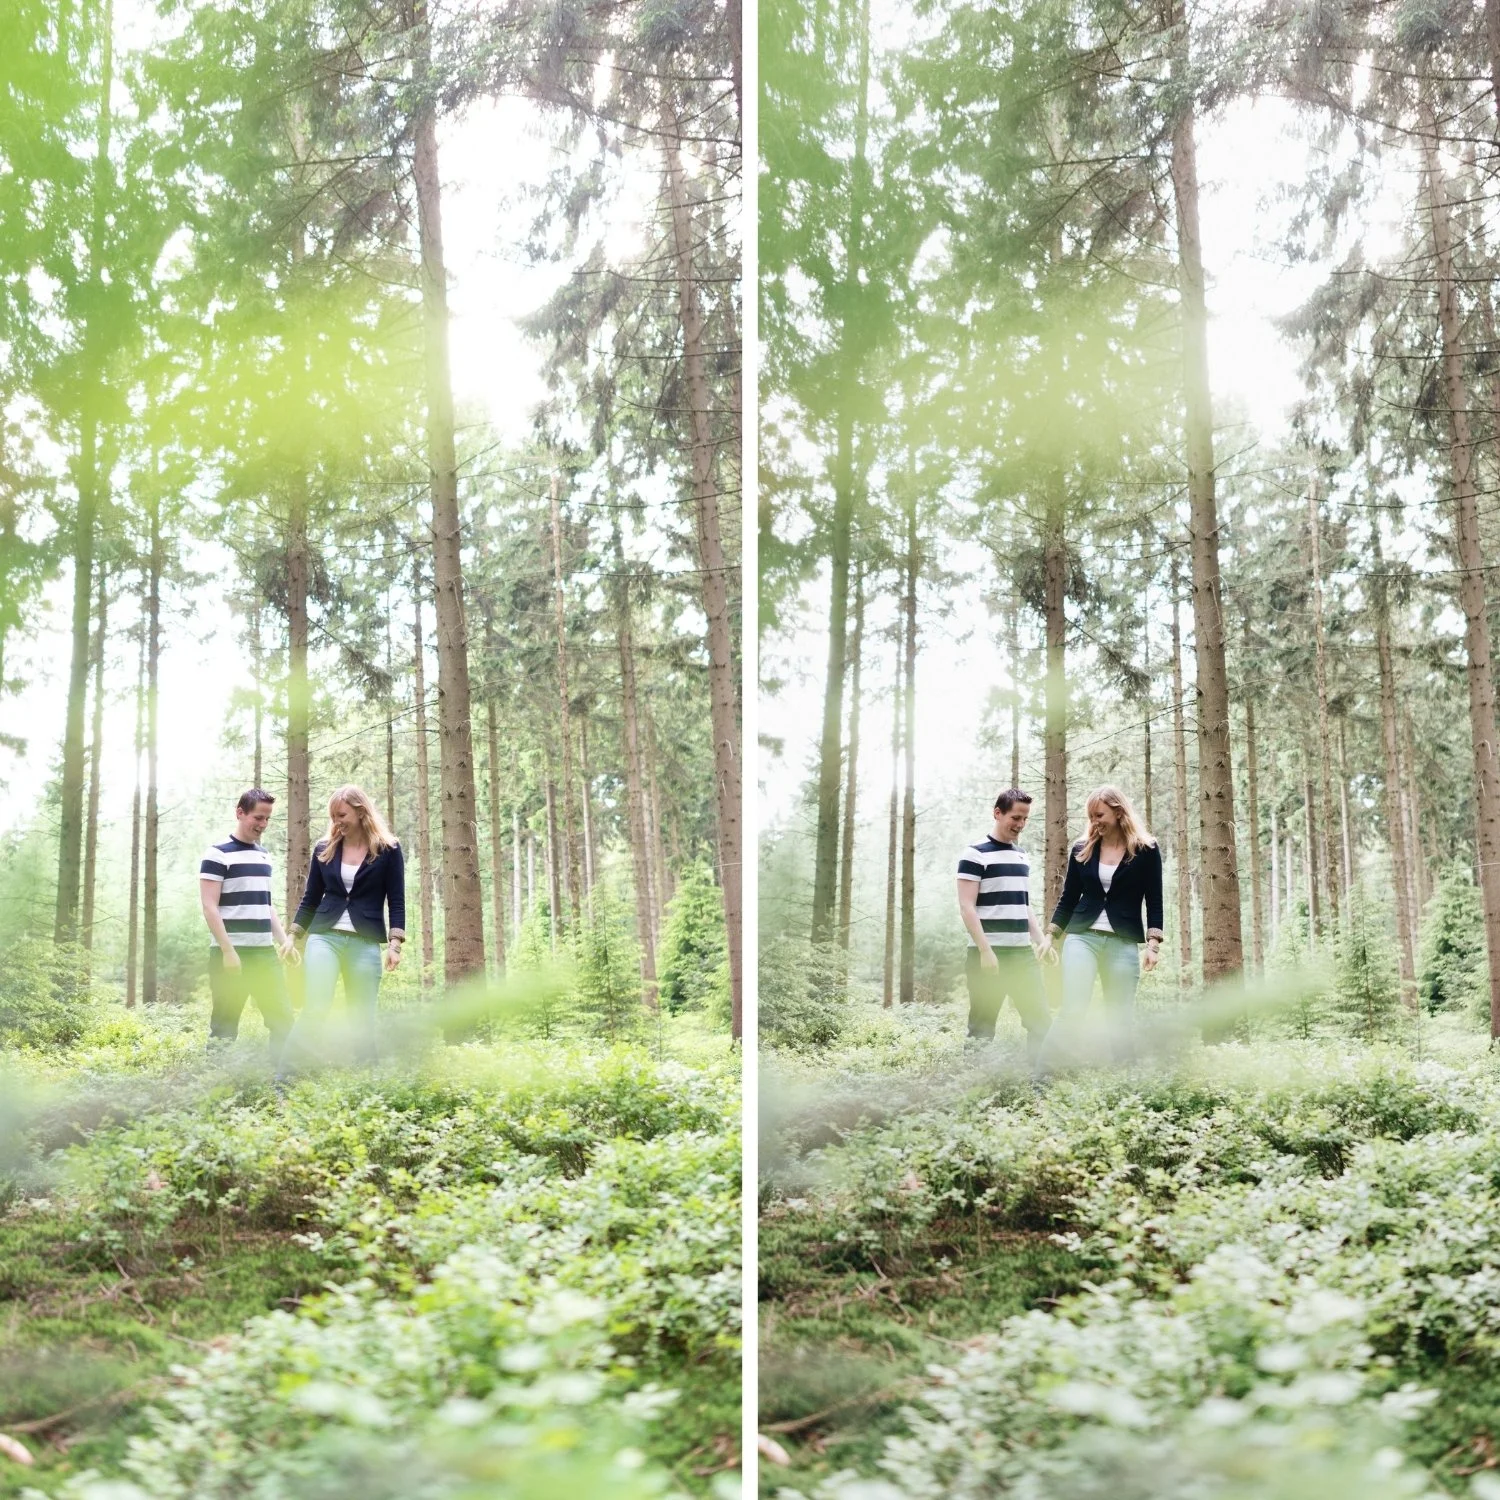
See split toning and Color Grading applied in a calibrated film preset:
Download the free Analog Film preset and examine the Color Grading panel to see how subtle Highlight and Shadow values create dimensional warmth.
For collections that use advanced Color Grading as their foundation, the Vesper Archive and the California Archiveboth use this principle extensively.