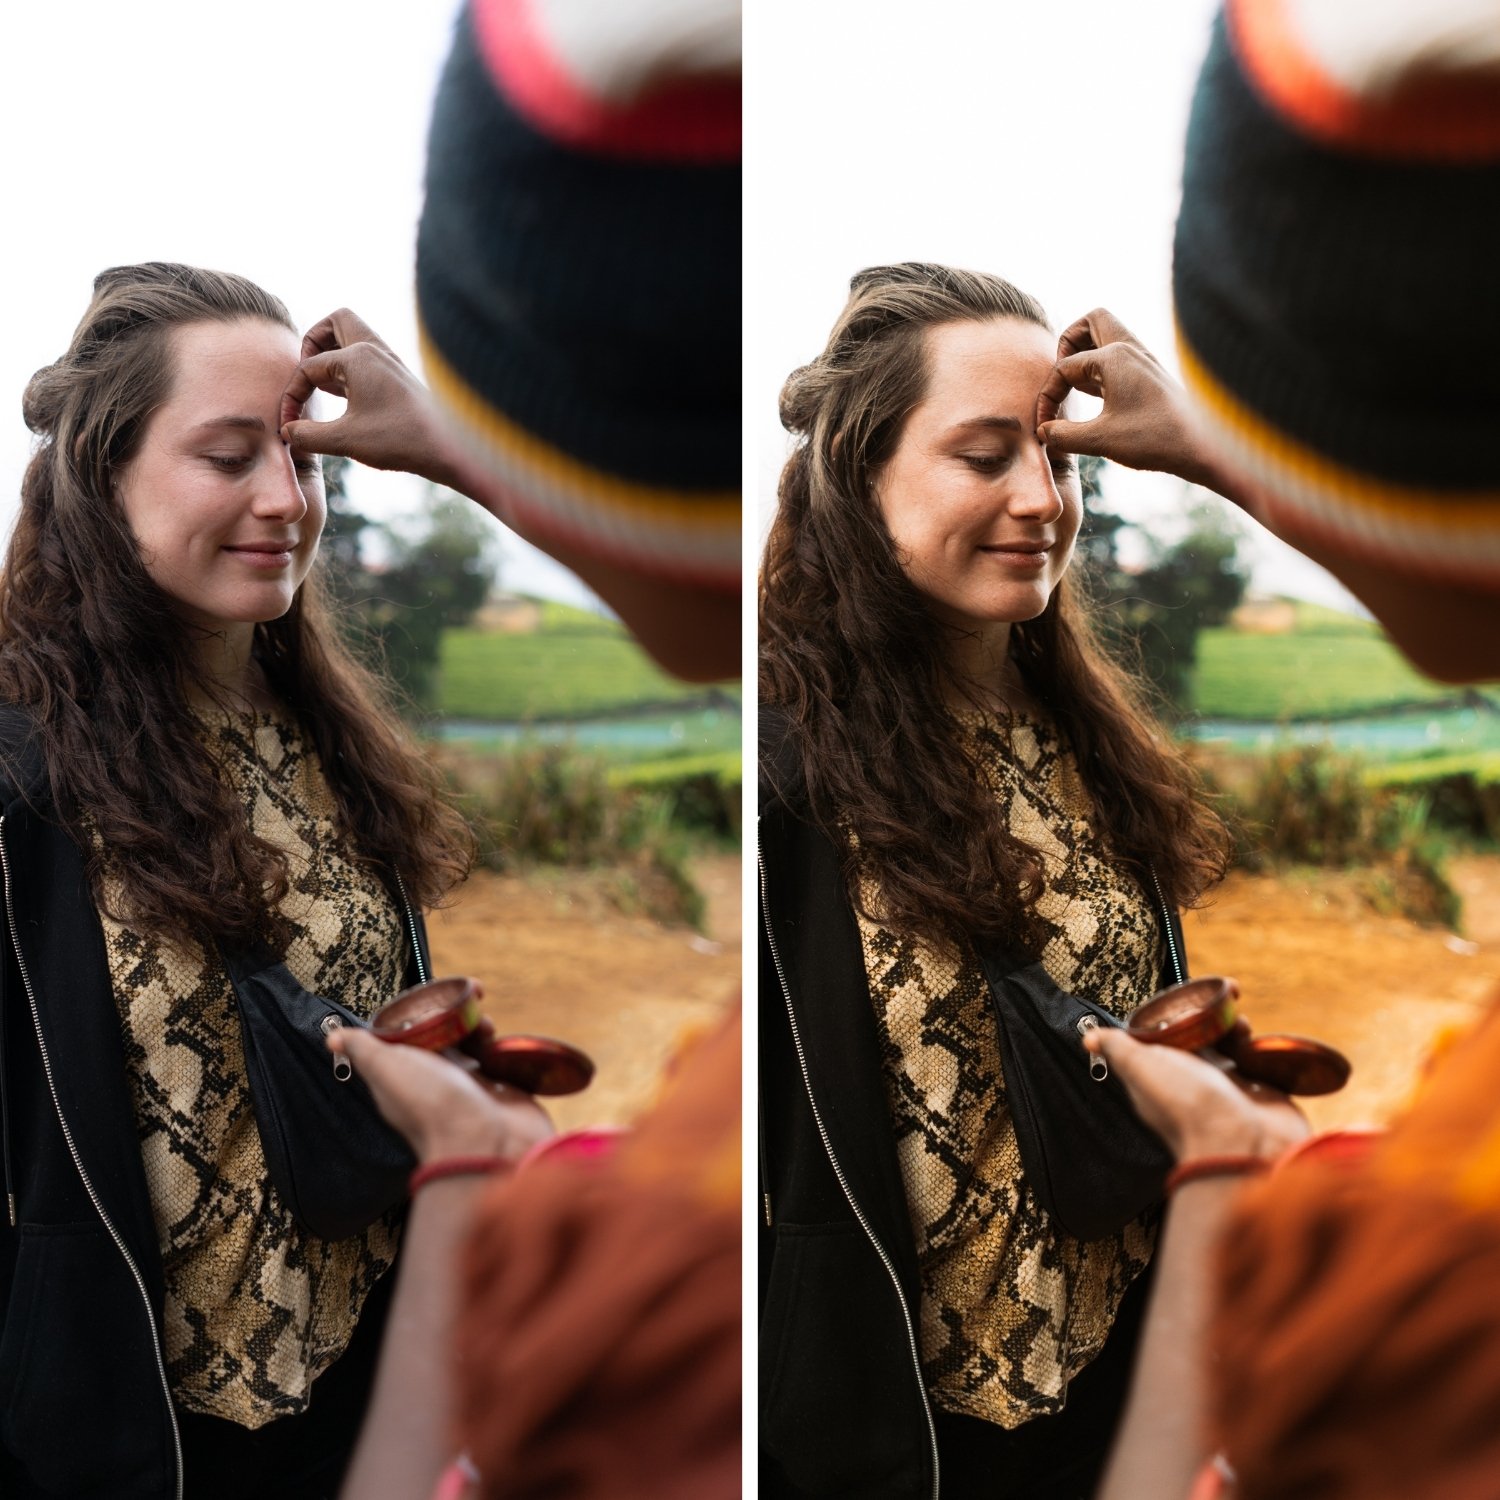
 Image 1 of 4
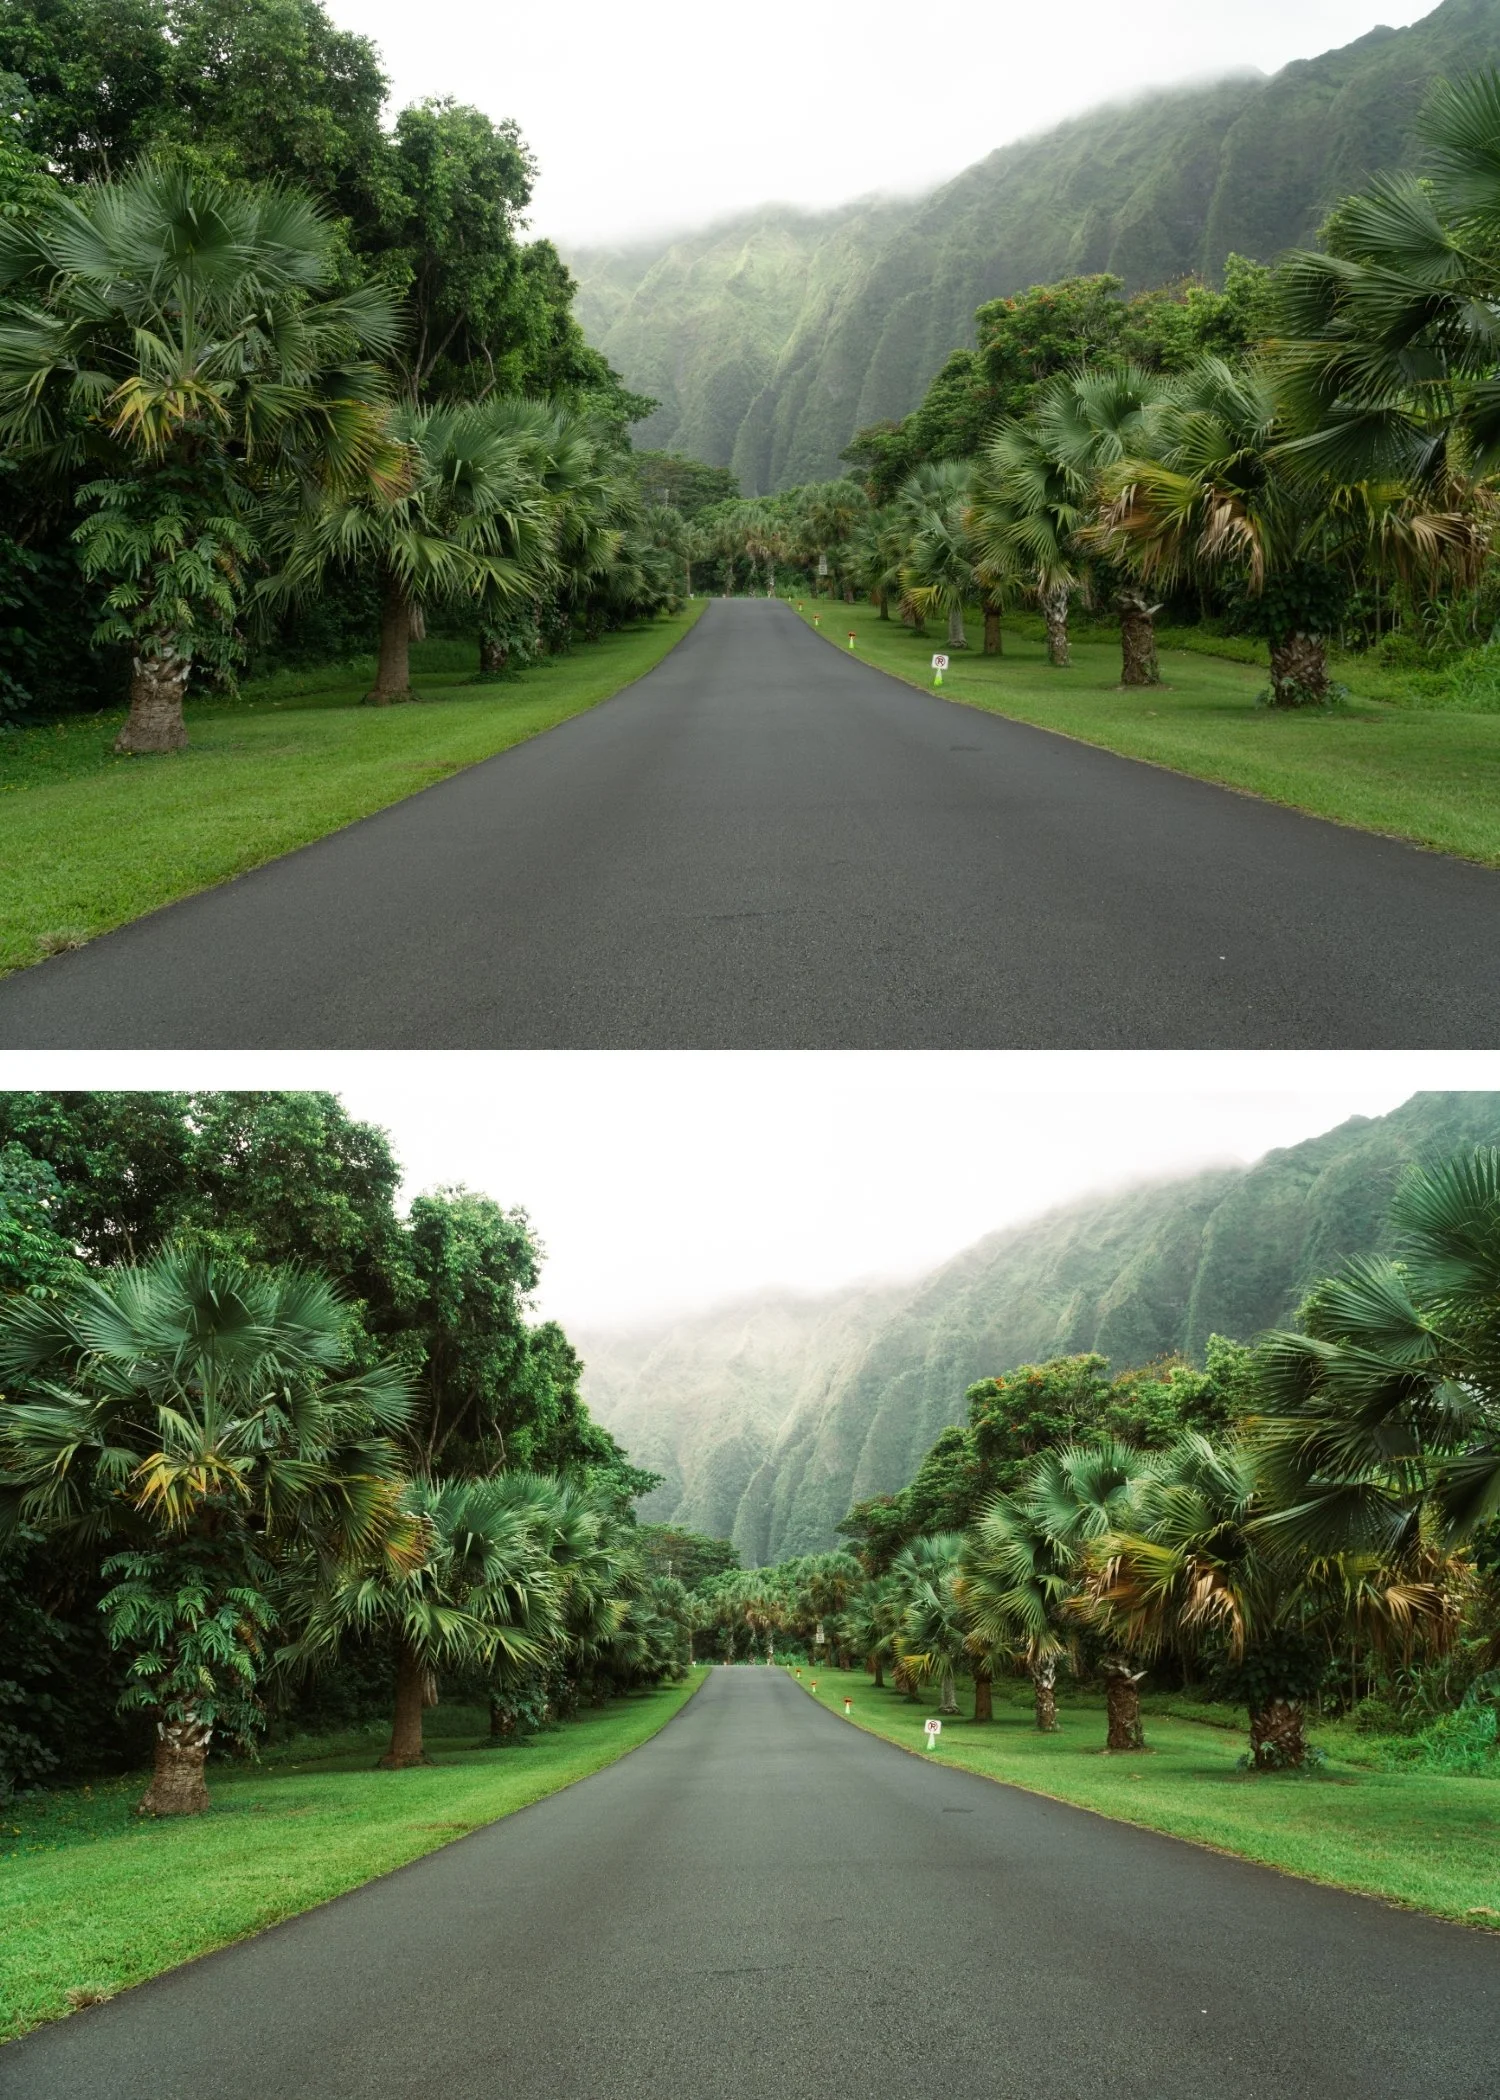
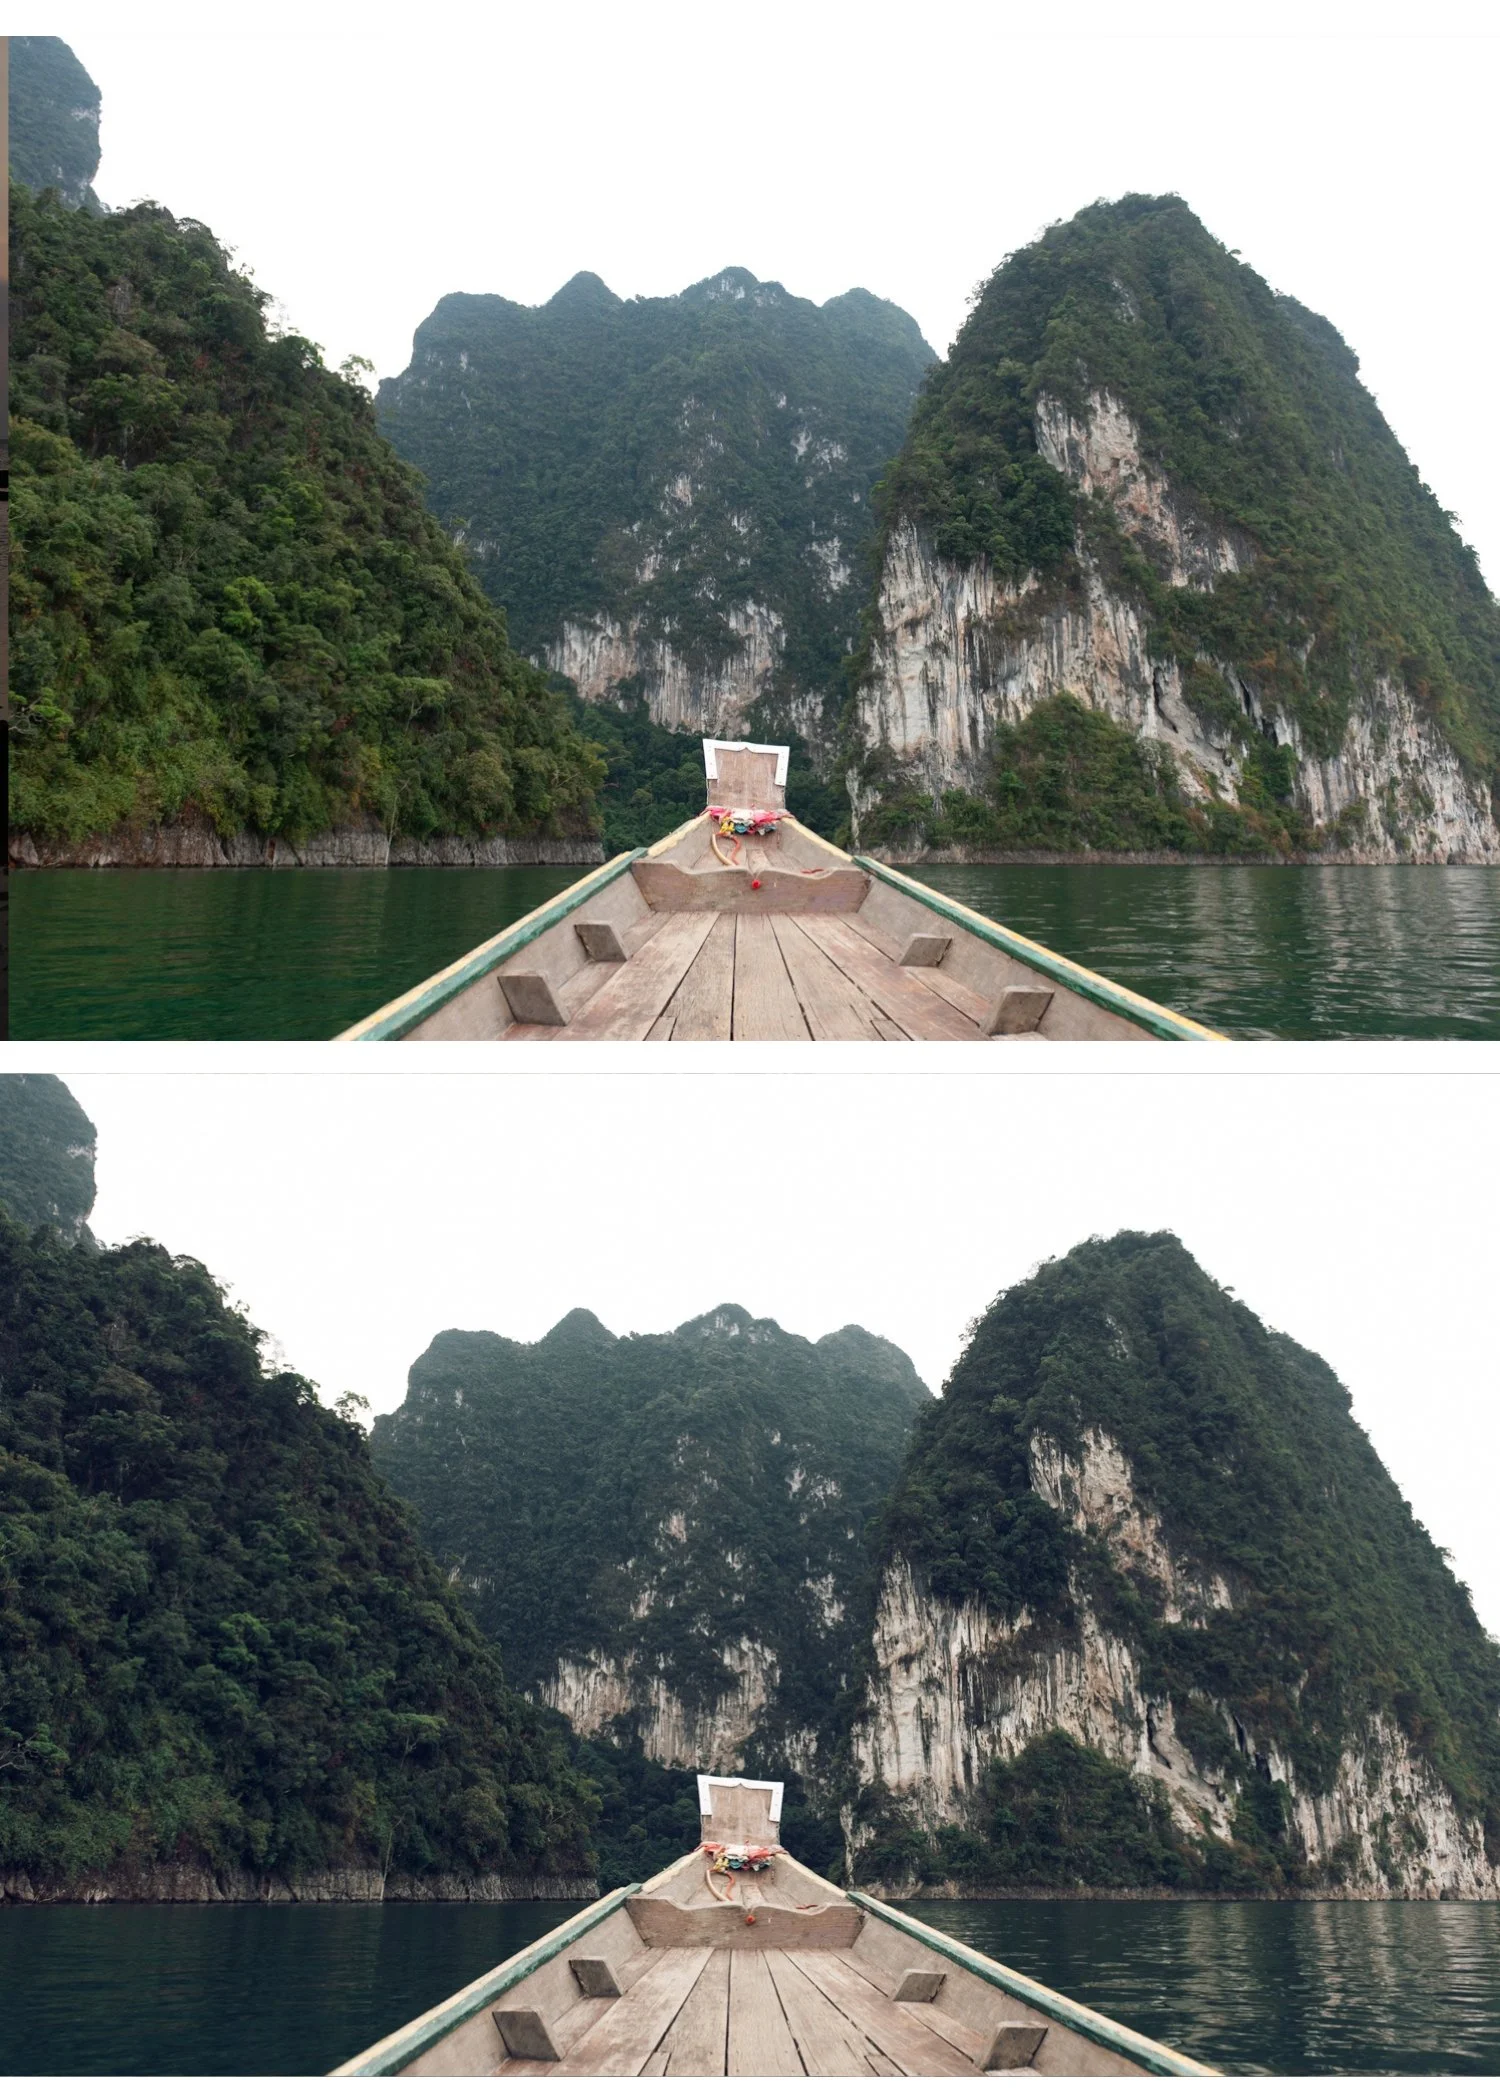
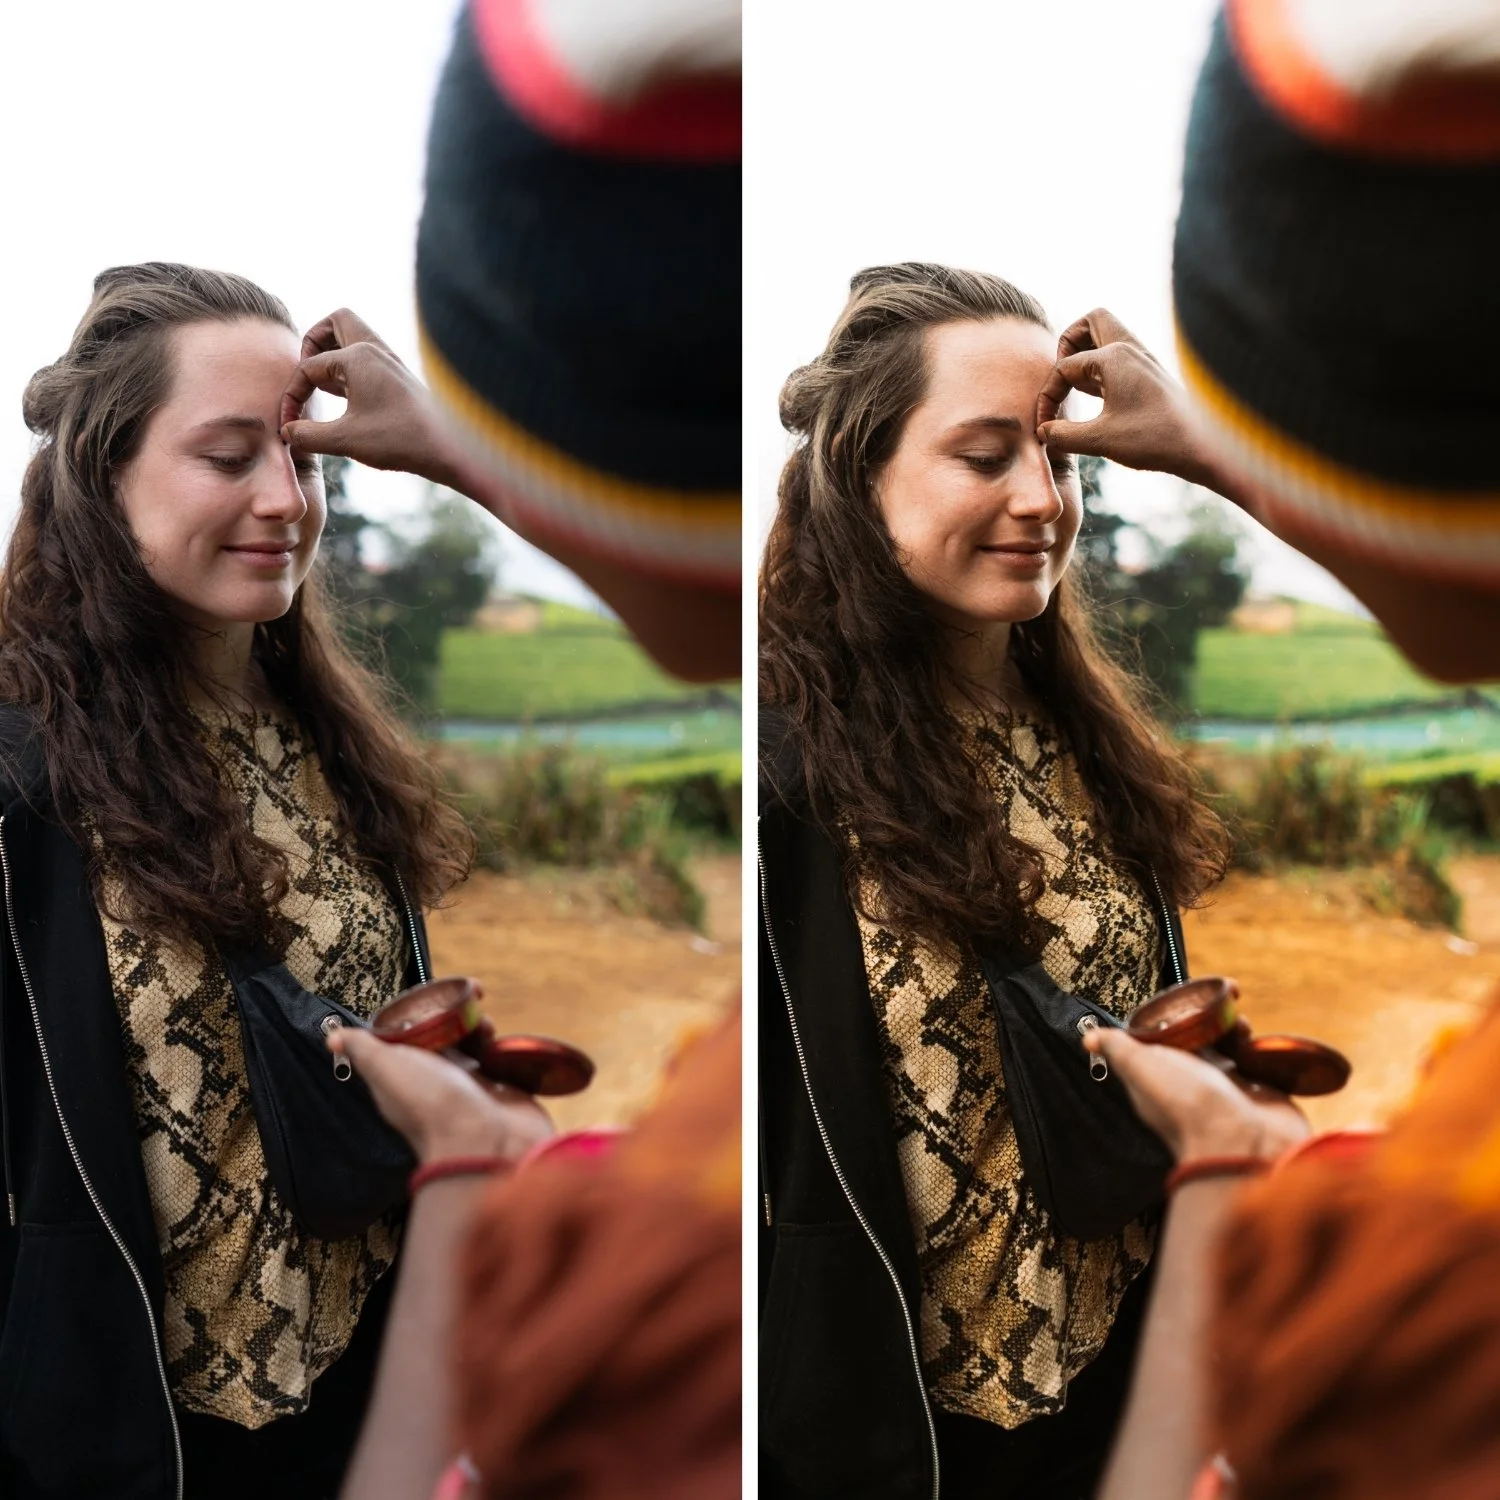 Image 2 of 4
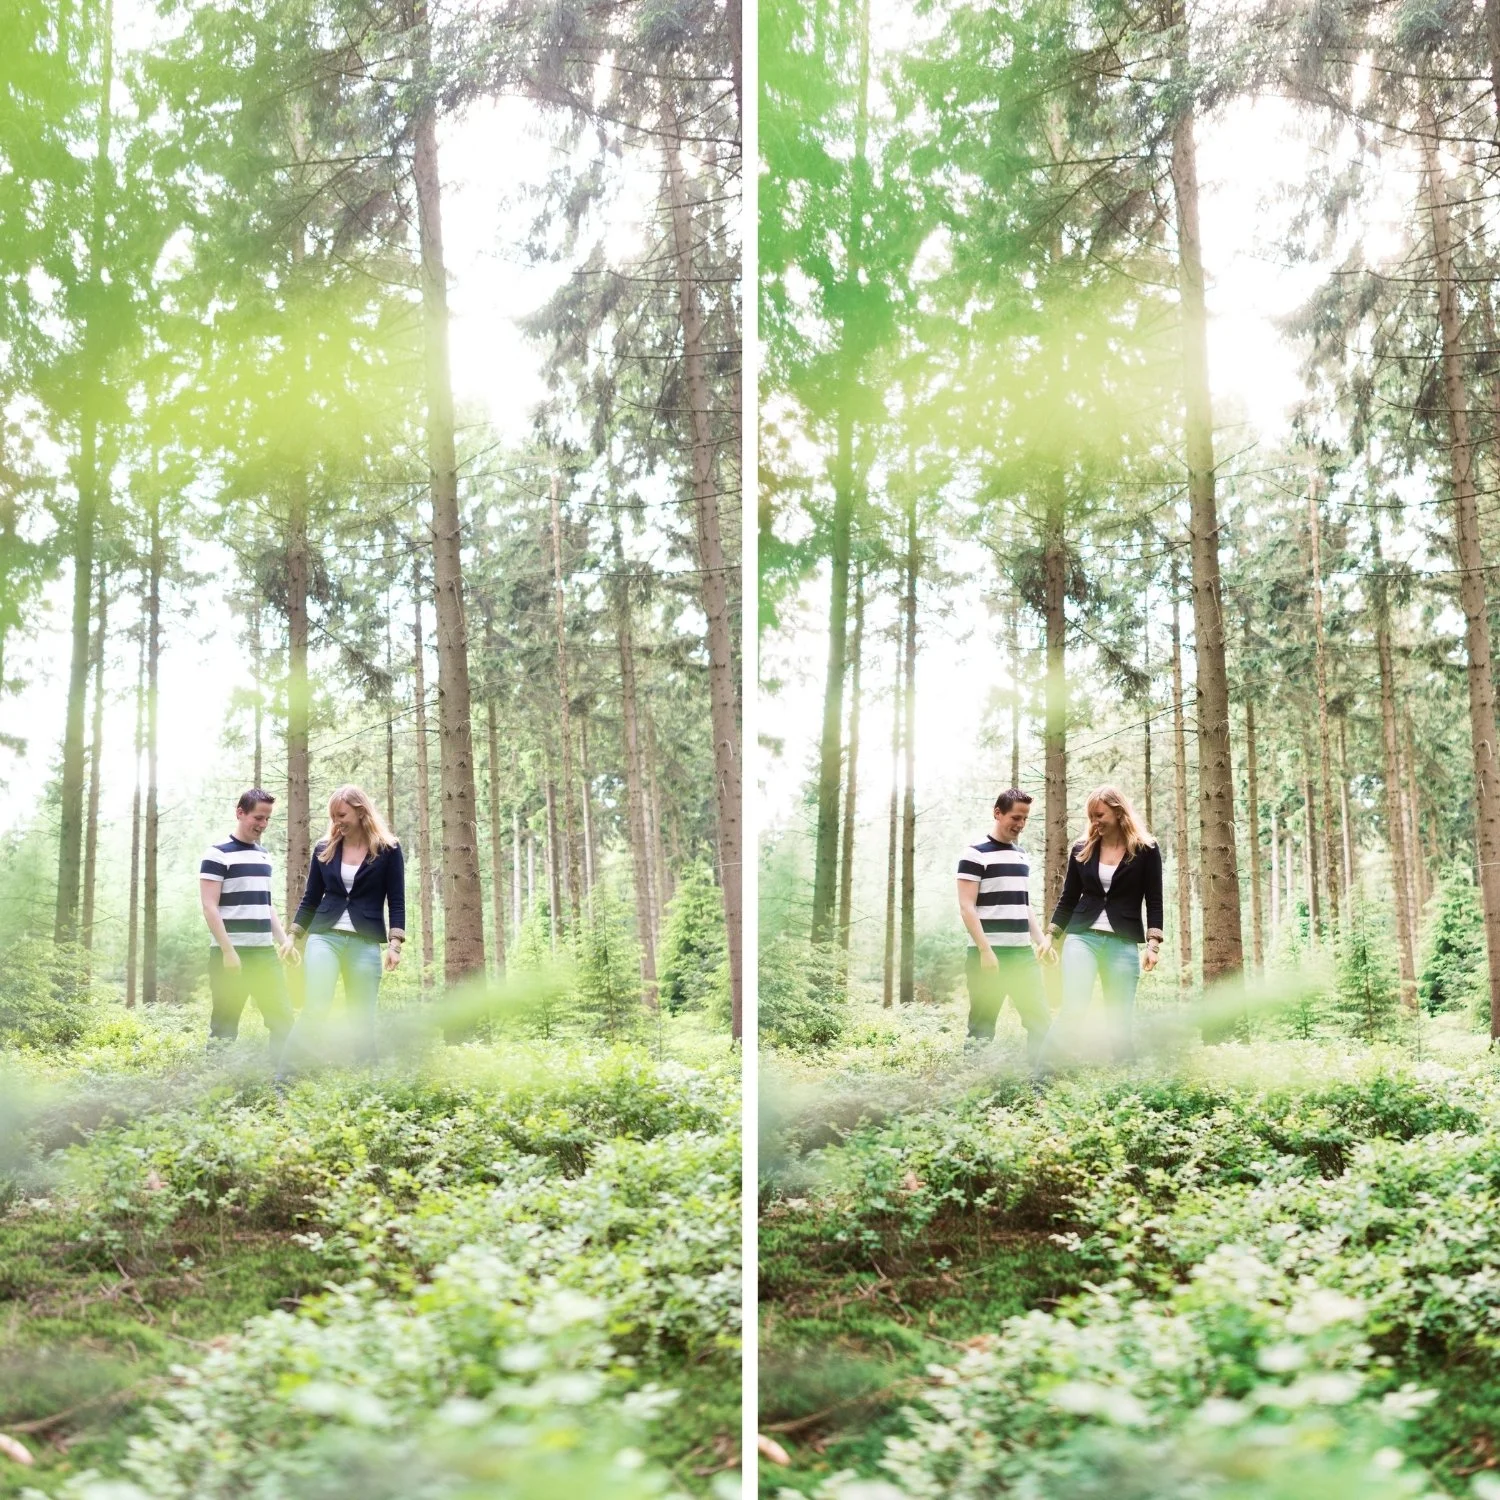
 Image 3 of 4
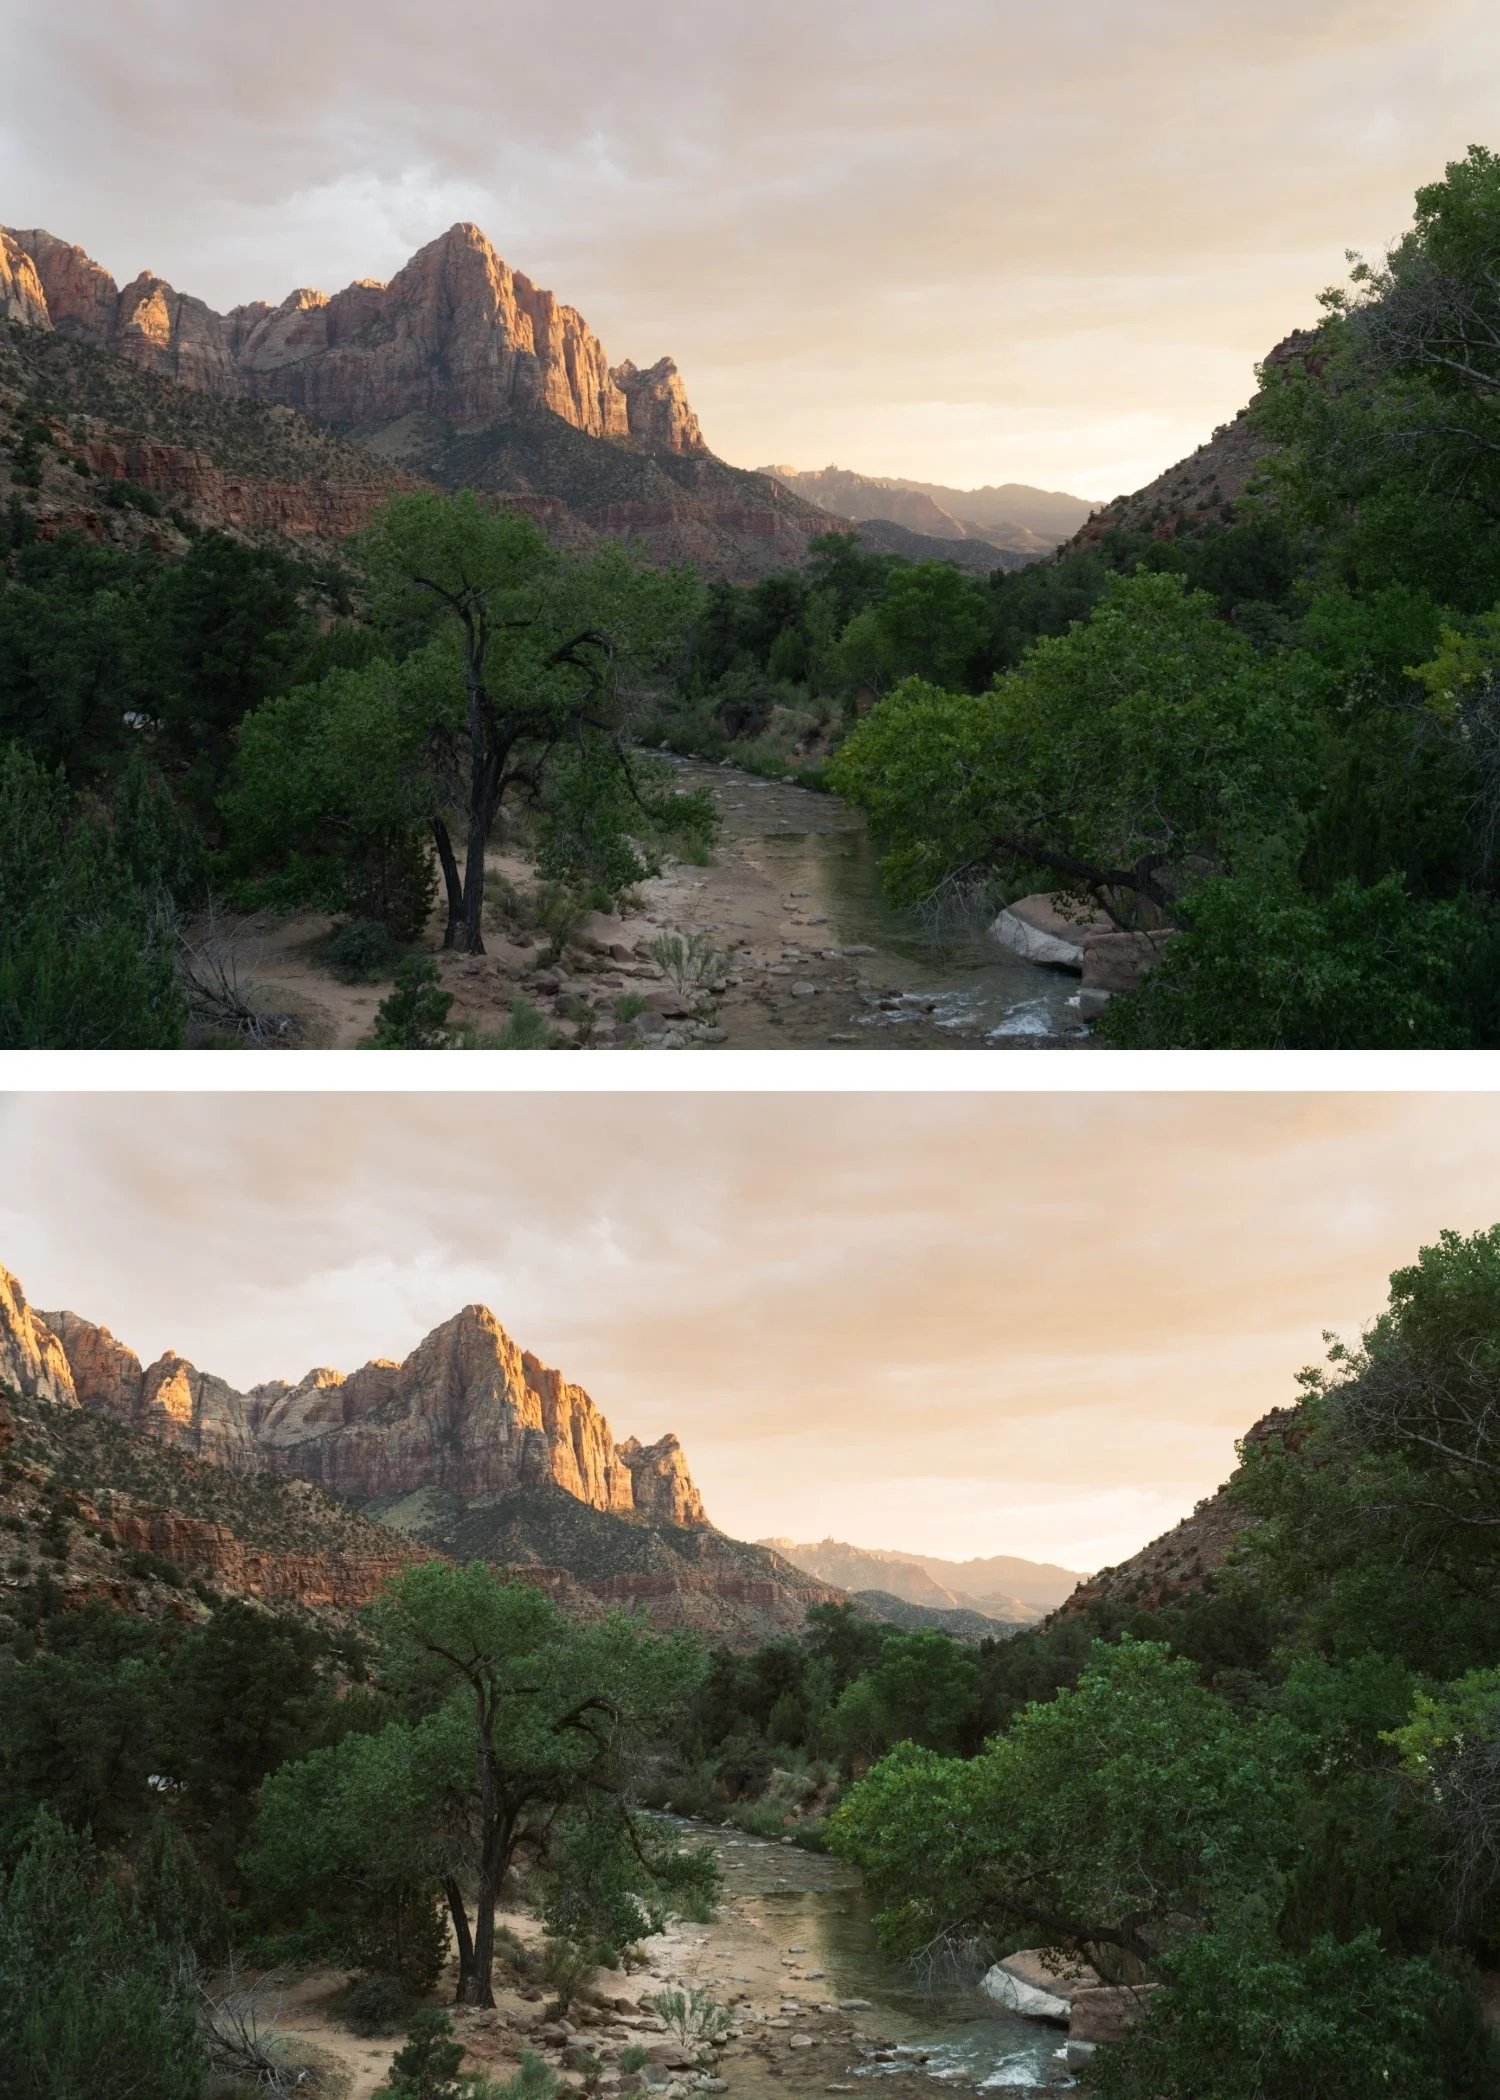 Image 4 of 4
Juniper 06 Deep Vintage | Vintage Film Preset for Lightroom Mobile & Desktop
-
J6 is for travel, street, and portrait photographers who want the Juniper Archive's most aged and characterful expression — where the depth and atmosphere of J6 suits the subject matter more than the lighter presets.
For photographers who use J1 or J2 for lighter content and want the most characterful option for specific subjects or moods.
-
It is the most atmospheric preset in the collection. J6's depth and aged quality create the strongest sense of place and time — photographs feel like they carry history.
The darkness is calibrated, not underexposed. J6's deeper shadows have warmth and vintage character — they are dark and atmospheric rather than simply dark.
It suits travel and street photography specifically. The full vintage depth of J6 suits the documentary, travel, and street photography tradition that vintage film photography defined.
-
1 × J6 Deep Vintage DNG file — for Lightroom Mobile
1 × J6 Deep Vintage XMP file — for Lightroom Classic
Installation guide
Lifetime access -
This preset captures the bold, high-contrast aesthetic and sharp clean tones similar to the iconic J6 filters. It’s the perfect professional alternative for those wanting an analog-inspired look that feels modernized for the digital age. By emulating the "deep-black" development process of premium fashion film stocks, the J6 ensures your digital shots have a polished, high-gloss finish that stands out on both desktop and mobile.
-
Step 1 — White balance and exposure assessment. J6 is the darkest preset in the Juniper Archive — assess the starting exposure before applying. If the photo is bright, J6 may read as correctly dark and atmospheric. If the photo is already moderately dark, reduce Exposure -0.1 to -0.2 before applying to prevent the result going too dark. Set white balance to 5,200-5,600K, Tint +5 — J6's deep warmth builds on a warm-neutral foundation.
Step 2 — Apply J6 Deep Vintage. The deep vintage colour, darker tonal range, amber shadow quality, and film grain apply simultaneously.
Step 3 — Adjust Exposure and White Balance per photo. More than any other Juniper preset, per-photo Exposure adjustment matters with J6 — the darker character means that over or underexposure in the starting file is amplified. Check each photo individually.
Portrait photography with J6: check that Orange Luminance is sufficient for skin to read as warm and present rather than dark and shadowed. If skin reads too dark in the shadow range, add Orange Luminance +6 to +10 after applying. A Radial Gradient on the face with Shadows +10 can also lift facial shadows while keeping the dark atmospheric quality in the background.
Camera-specific notes: Sony files need the standard Green Hue +10 toward yellow correction — Sony's green rendering fights the warm deep vintage character of J6 without it. Canon files are a strong natural fit — Canon's warm colour science and J6's deep amber warmth work together directly.
On phone photos: 78-80% strength. J6's darkness is calibrated for camera RAW files — on phone photos with their compressed tonal range, full strength can push the result too dark.
-
What is the difference between J6 and the Moody Film Archive? The Moody Film Archive is dark and atmospheric with a cooler, cinematic quality. J6 is dark with the warm vintage character of the Juniper Archive — moody within a warm, aged framework rather than the cool cinematic direction.
Is J6 good for indoor portrait photography? Yes for indoor portrait work in warm ambient conditions — J6's deep warmth suits candlelit and warm interior portraits. For bright or cool indoor conditions, J2 or J4 are more appropriate.