Best Lightroom Presets for Golden Hour Photography
Best Lightroom Presets for Golden Hour Photography
Golden hour is the most forgiving light in photography. The warm, directional quality in the hour after sunrise and before sunset flatters every subject, fills shadows with warm diffuse light, and creates the luminous quality that photographers spend the entire day waiting for. The editing challenge is proportional to the quality of the light: because the light is already doing so much of the work, the most common editing mistakes are making too many changes rather than too few.
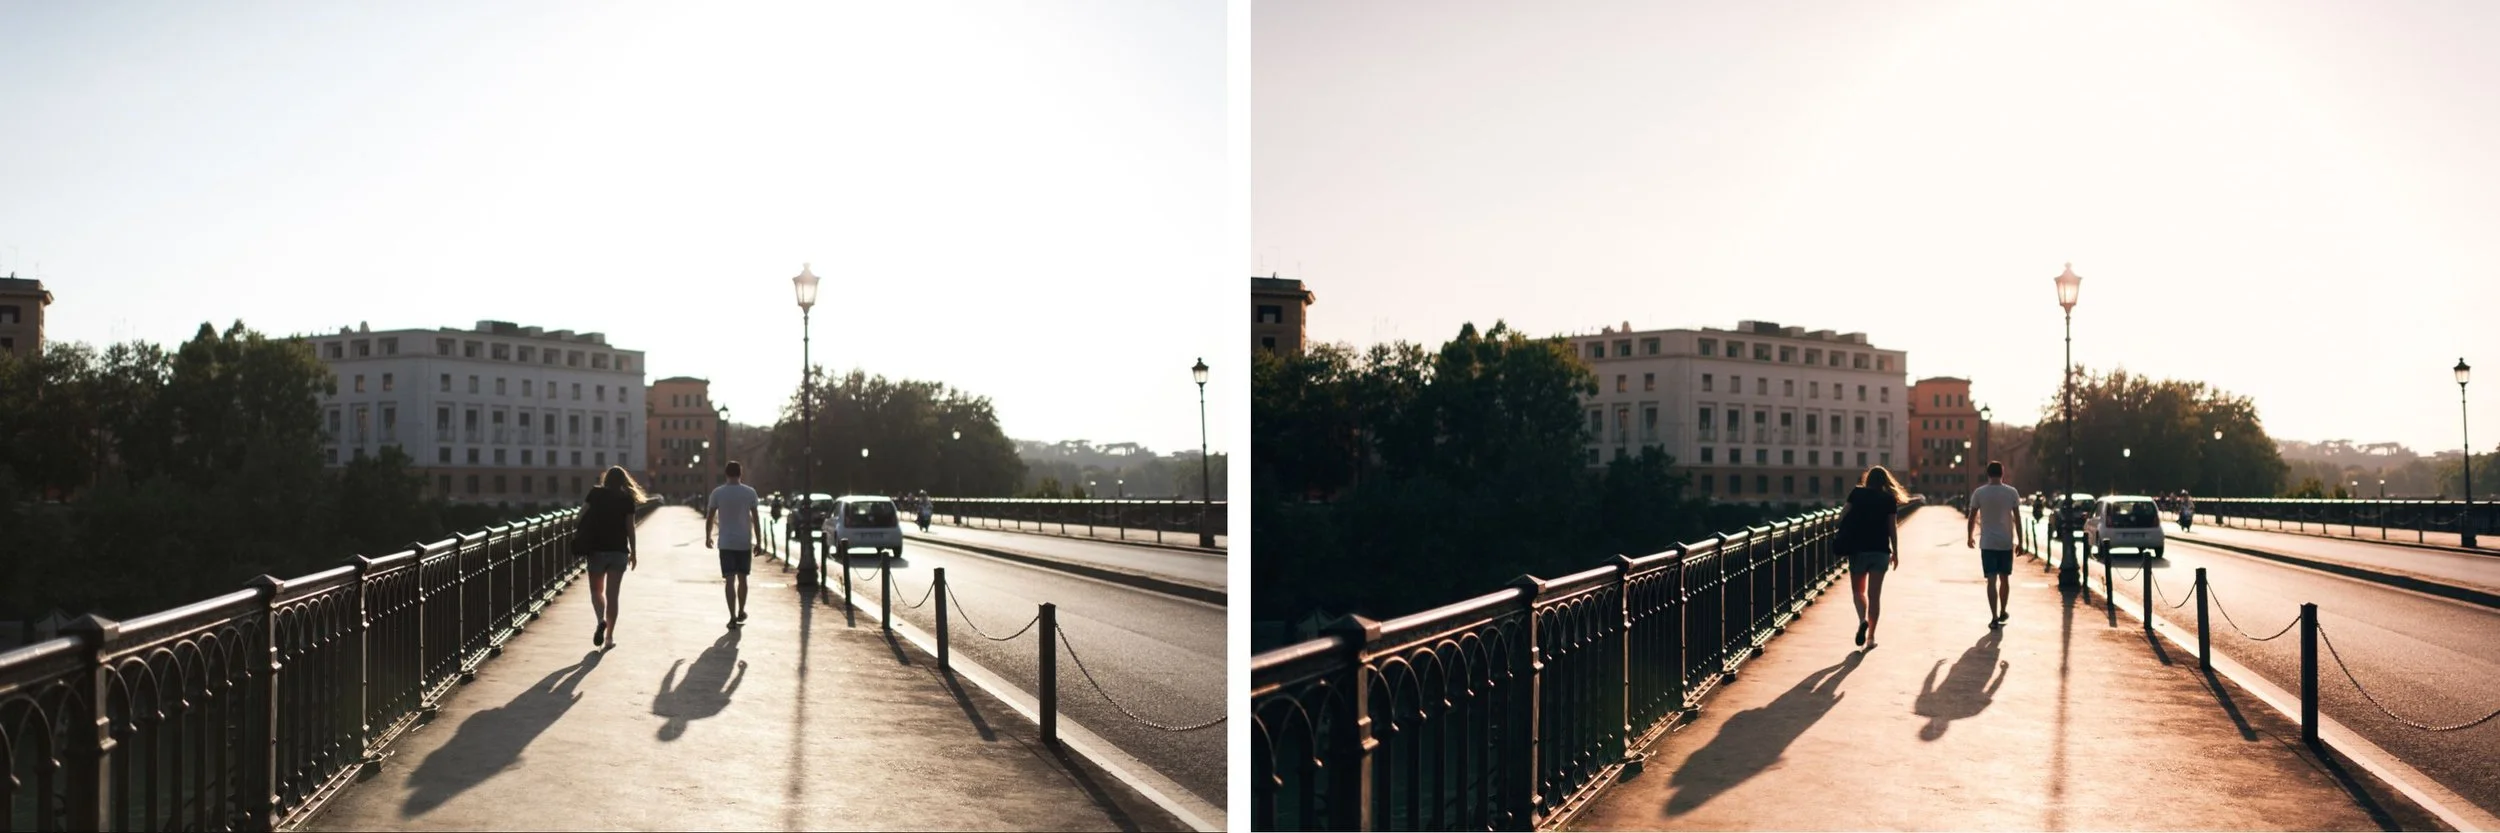
The right golden-hour preset enhances the existing warmth rather than recreating it. It protects the rich highlight detail that warm afternoon light creates before it disappears. It keeps skin golden without pushing it into orange. And it maintains the dimensional quality of the light rather than flattening everything into a warm filter. Understanding what this requires technically changes how you choose and use golden-hour presets.
The Two Mistakes That Ruin Golden Hour Edits
The first mistake is neutralising the warmth. Some photographers instinctively correct toward a neutral white balance even in golden hour because the warm cast appears heavy in the raw file preview. This removes the warmth that makes golden hour light special and produces a photograph that looks like it was taken at noon but with warmth applied afterward. The ambient warmth should be preserved as the foundation, not corrected away.
The second mistake is over-warming on top of already-warm light. Pushing Temperature to the maximum, adding heavy Color Grading warmth, and increasing Orange Saturation simultaneously on a photograph already taken in warm afternoon light produces scorched skin and yellow whites. The golden quality is replaced by a filter. The rule in golden-hour editing is always to enhance the existing light rather than recreate it.
What a Golden Hour Preset Needs to Do
A preset specifically calibrated for golden hour has different requirements than a general warm film preset. The highlight roll-off needs to be more protective because golden hour light pushes highlights bright on warm surfaces. Skin in direct late-afternoon sun approaches clipping faster than in softer light. A Tone Curve with a protected highlight point, output value around 220 to 228, prevents the golden highlights from clipping while maintaining their luminous quality rather than compressing them into flat grey.
The Color Grading needs to add warmth specifically in the highlights where warm light concentrates, not applied globally. Highlight Hue in the 45 to 55 range at a Saturation of 8 to 12 adds golden warmth to bright areas specifically. The same warmth applied to shadows and midtones simultaneously produces the heavy, over-warm quality that reads as a filter rather than as light.
The Orange channel requires active management rather than simply leaving it at the default value. The warm ambient already pushes orange significantly on skin and warm stone surfaces. Orange Saturation should be reduced to negative 12 through negative 20, and Orange Luminance increased to positive 10 through positive 18. The saturation reduction prevents the orange quality while the luminance increase keeps skin bright and dimensionally warm. Without both adjustments together, skin either looks orange or looks flat within the muted palette.

Presets That Handle Golden Hour Well
The California Archive is the most directly applicable collection for golden hour outdoor photography. Nine presets spanning from the clean versatile C1 Clean Warm through the deep rich C9 Dark Warm are each calibrated for warm outdoor conditions with the highlight protection and orange channel management that golden hour photography requires. The collection works as a system where photographs from different times during the golden hour window, edited with different presets from the archive, read as a cohesive body of work with natural variation in warmth and depth.
For the richest, most saturated golden expression, the Summer ArchiveH4 Golden Summer and H5 Soft Summer are specifically calibrated for peak golden hour warmth. H4 handles the bold, vibrant golden quality of strong late-afternoon light. H5 handles the softer, more diffuse quality of overcast golden hour or the period just after the sun has dropped below the horizon.
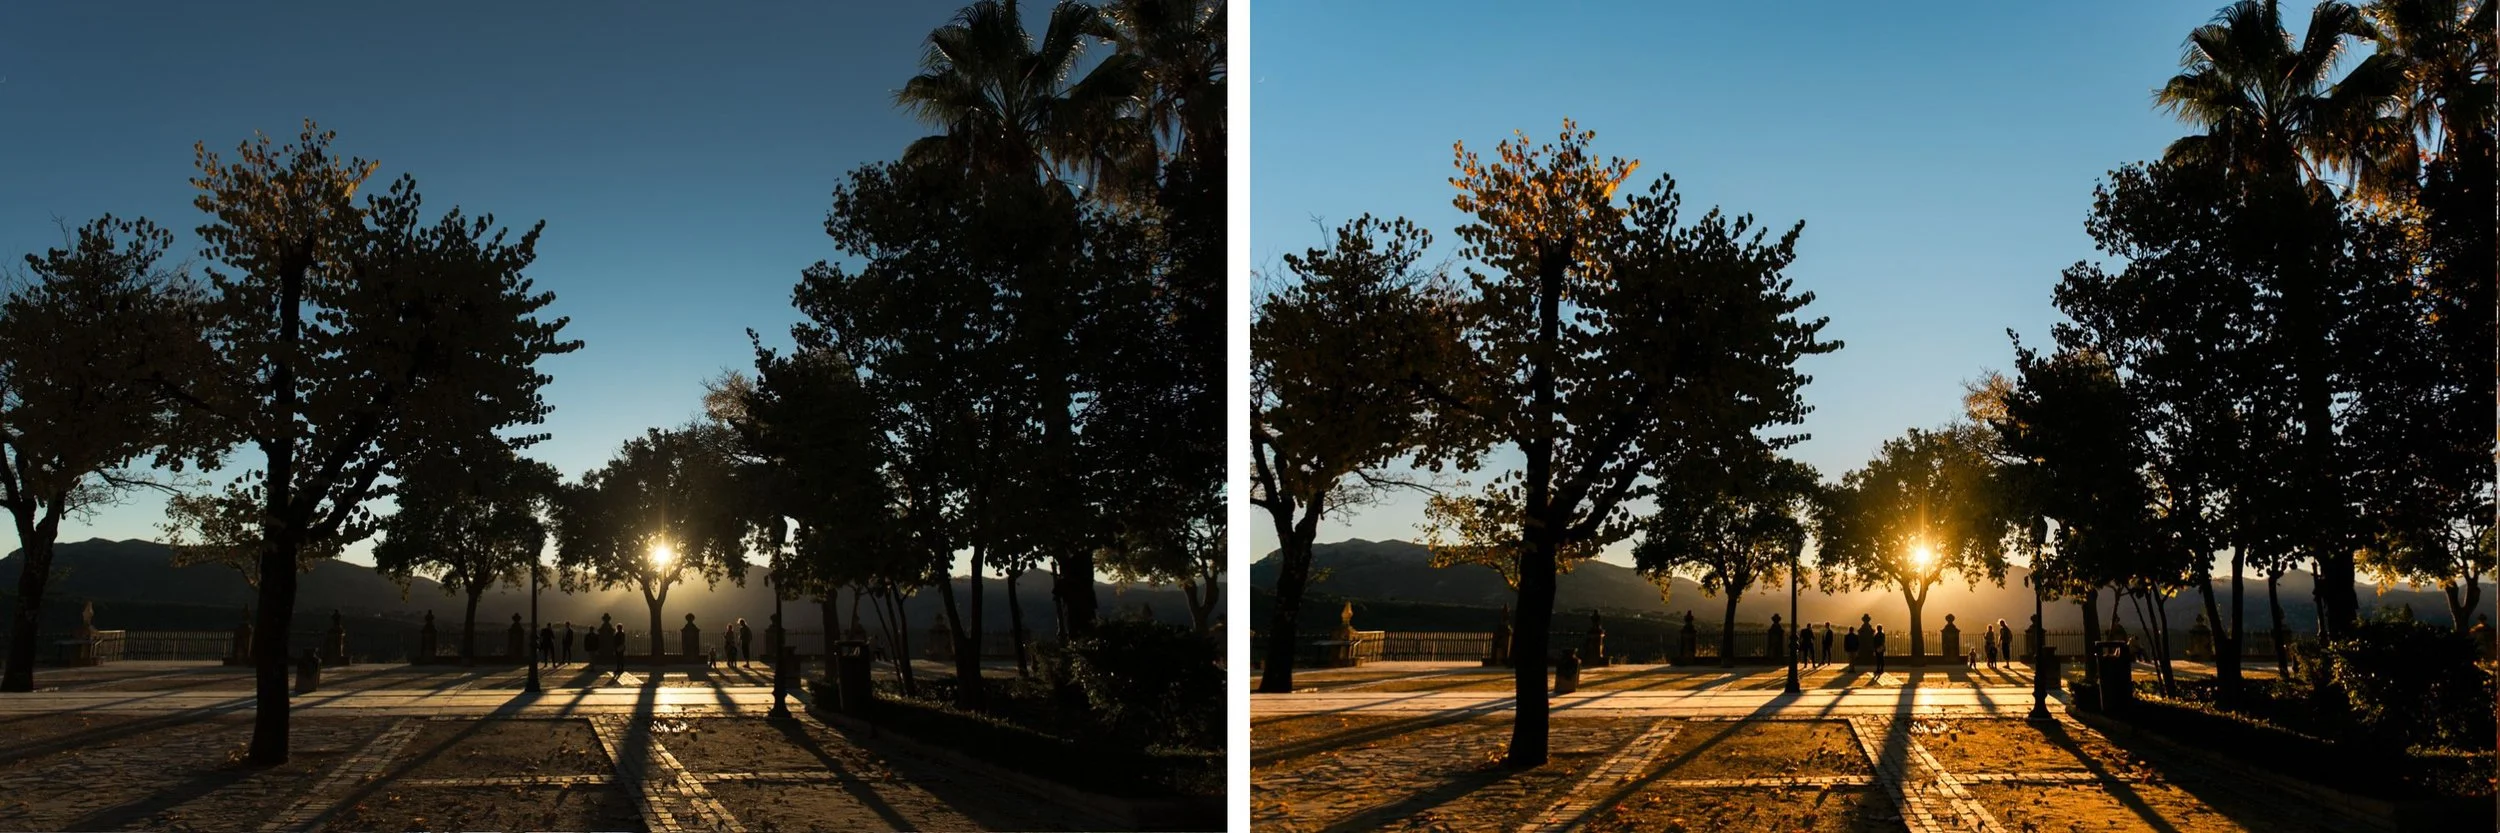
Within the Vesper Archive, V5 Golden Velvet is built specifically for the rich, luminous warm quality of late-afternoon photography. The warmth is dimensional rather than global, referencing the specific way late-afternoon light warms highlights and midtones while allowing shadows to retain some depth and cool contrast.
The Workflow That Works in Golden Hour Conditions
The most important workflow step for golden-hour editing is preserving the ambient warmth from the start rather than neutralising and then recreating it. Set White Balance to approximately 5,400 to 5,800 Kelvin before applying any preset. This retains the existing warmth in the foundation and allows the preset's calibration to build on it rather than replace it.
Reduce Highlights significantly before applying the preset, typically to negative 25 through negative 45 depending on how bright the scene is. Golden-hour photographs have warm highlights that approach clipping easily, particularly on skin and warm stone or sand surfaces. Creating space in the highlight range before applying gives the Tone Curve's roll-off behavior room to work on actual highlight detail rather than on values that have already clipped.
After applying the preset, evaluate skin specifically. The combination of warm ambient light, warm white balance foundation, and the preset's Color Grading can occasionally stack into orange skin even with Orange Saturation already reduced in the preset. If skin reads orange rather than golden, reduce Orange Saturation by an additional five points or pull Temperature back slightly.
Keeping Golden Hour Results Consistent Across a Session
Golden hour is a moving target. The quality and warmth of the light changes substantially within the hour, from the relatively bright and slightly less warm light twenty minutes before sunset through the richest golden period at fifteen to five minutes before sunset. Photographs taken across this range in the same session need editing that acknowledges the changing light while maintaining the overall warm film identity of the gallery.
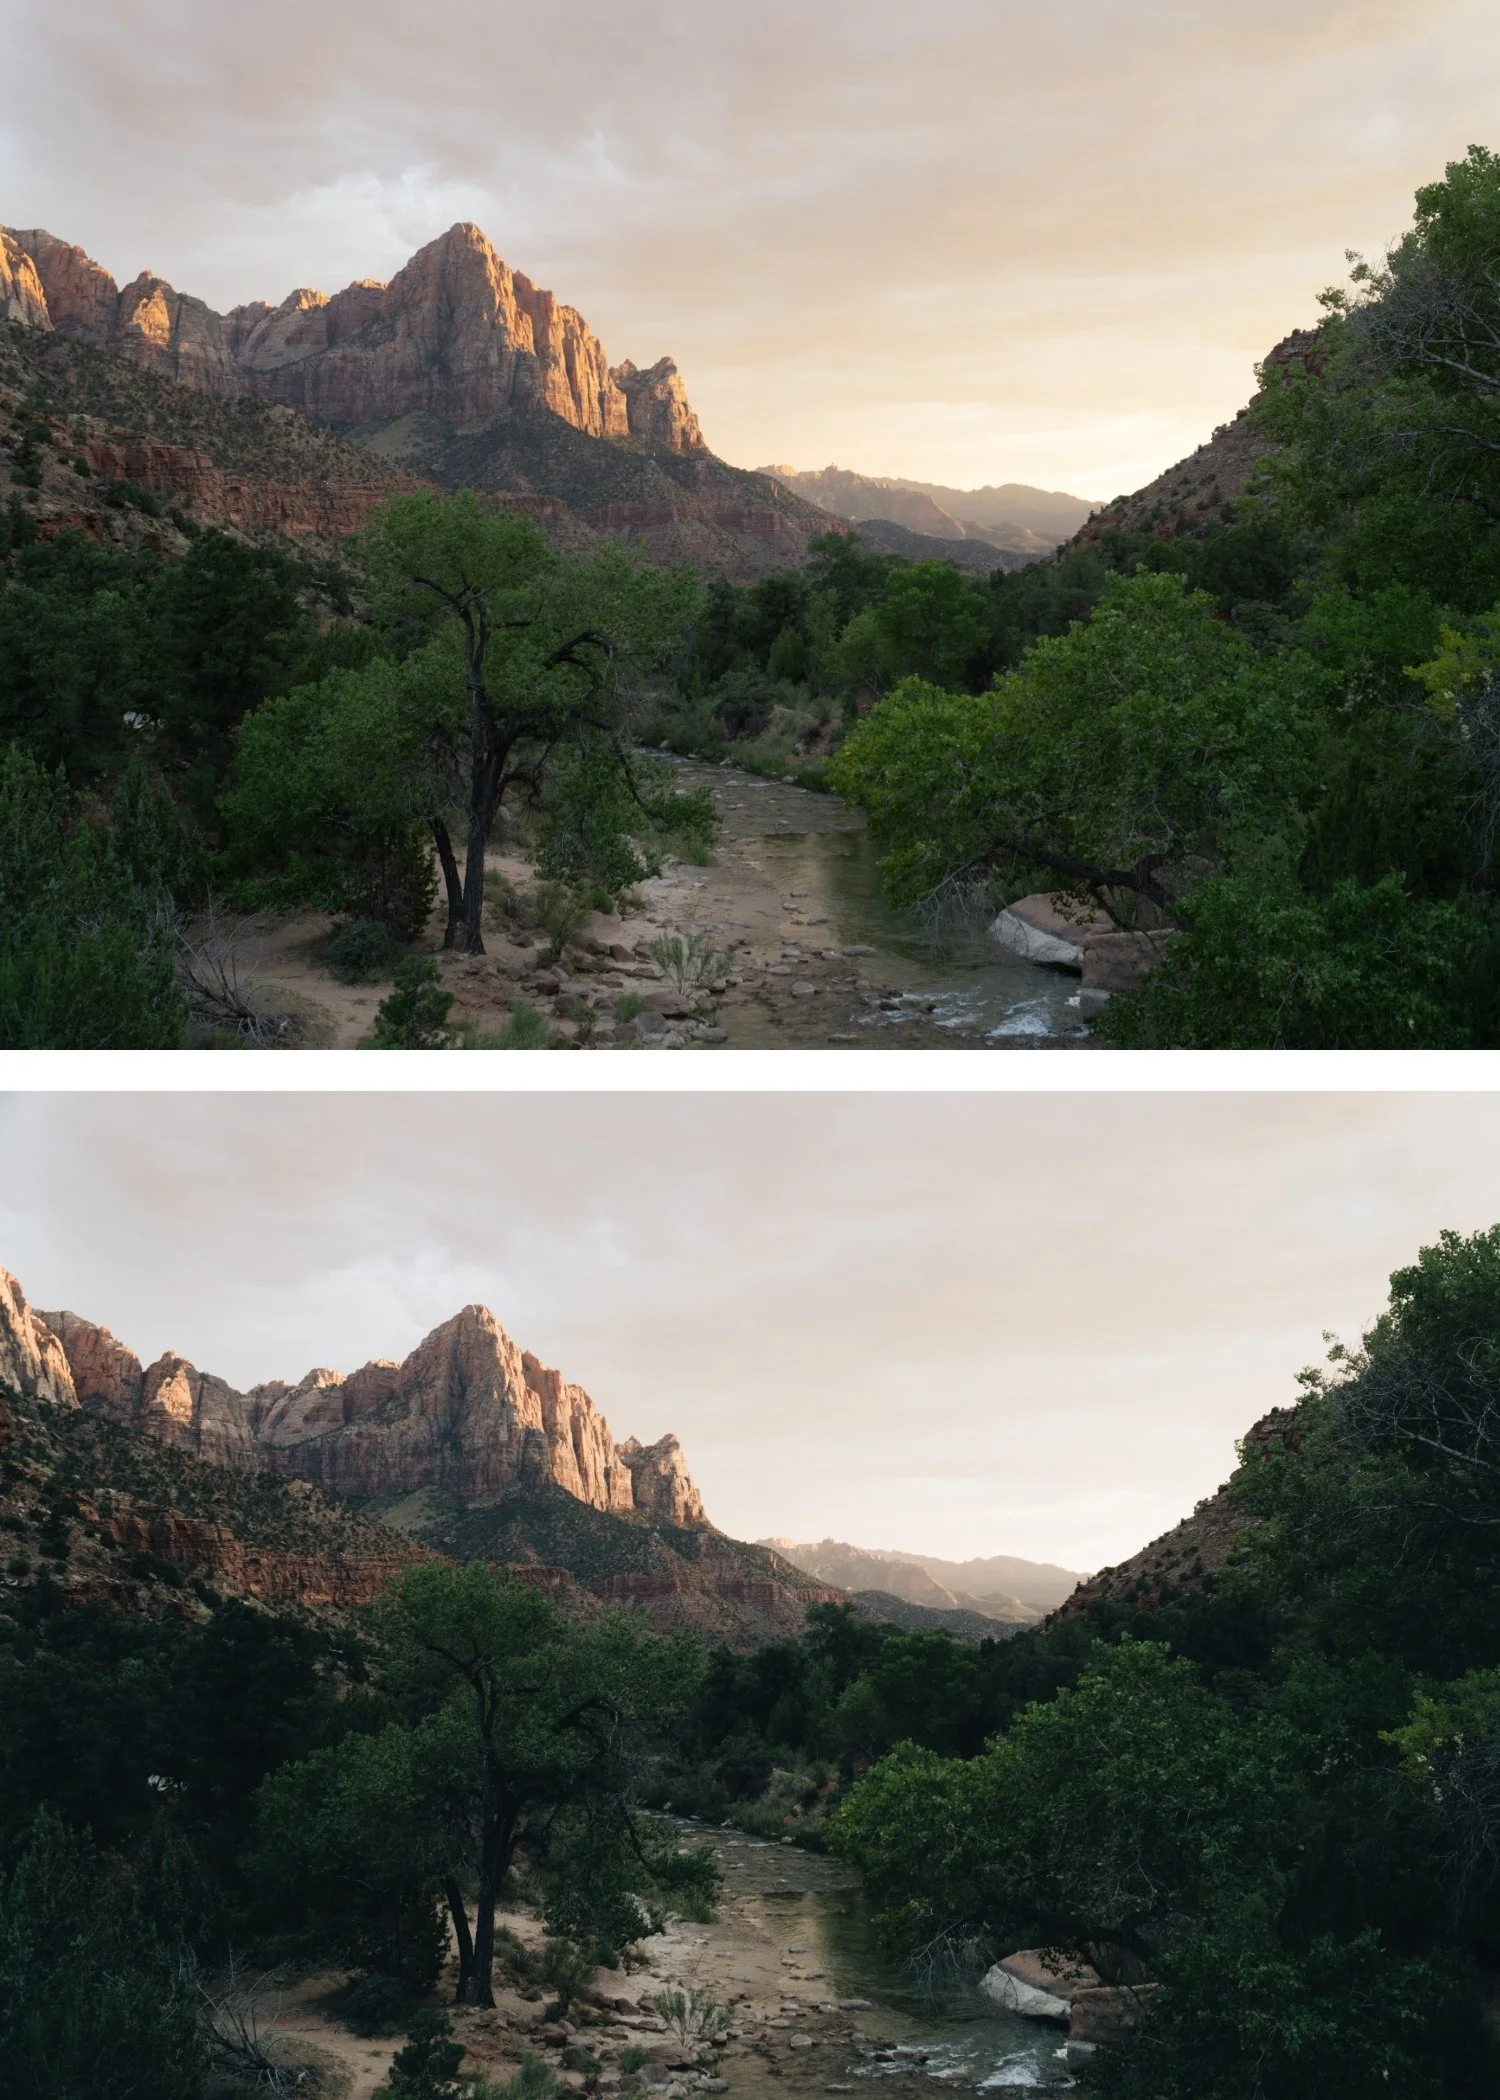
The most effective approach is to apply one preset to all photographs from the session as a starting point, then adjust White Balance per photograph to reflect the changing ambient temperature rather than recalibrating the entire preset per photograph. The preset provides the consistent aesthetic foundation. The White Balance adjustment per photograph handles the variation in the actual light conditions across the session.
FAQ
Should I shoot in RAW for golden hour photography?
Yes. Golden hour has high-contrast lighting with warm bright highlights and relatively cooler, darker shadows. RAW captures significantly more of this dynamic range than JPEG and gives the preset more material to work with for the highlight protection that golden-hour editing requires.
Why do my golden-hour photos look flat after applying a warm preset?
Usually because the preset is fighting the warmth rather than working with it. Check that White Balance was set warm before applying rather than being neutralised. Also check that Highlights are not being over-reduced. Protecting highlights too aggressively compresses the luminous quality of golden light into a flat, desaturated appearance.
Are golden-hour presets different from general warm presets?
Yes in three specific ways. Golden-hour presets have more aggressive highlight protection because the bright warm highlights are the defining quality of golden light and need careful handling. They have more targeted Color Grading warmth concentrated in the highlights rather than applied globally. And they have more intensive Orange channel management to handle the vivid orange that warm ambient light creates on skin and warm surfaces.
Does the warm quality of golden-hour presets work in other lighting conditions?
The warm character works in any warm-ambient conditions. In cool or overcast conditions, the warm preset direction creates a mismatch with the ambient. For overcast or diffuse-light photography, a warmer White Balance starting point before applying can bridge some of the difference, or a cooler, more neutral preset is a better match.
Try the golden-hour approach on your own photographs:
Download the free Analog Film presetand apply the Color Grading and Orange channel management described above to a golden-hour photograph. Compare the result with a version where you simply pushed Temperature higher to see why targeted warmth reads differently from global warming.
For complete golden-hour and warm outdoor preset systems, the California Archive andSummer Archive both cover the warm outdoor range. The Studio Archive includes both alongside every other collection at $89.
