Underexposed RAW to Film Edit
Underexposed RAW to Film Edit
Underexposed RAW files are more salvageable than most photographers realize. A camera RAW file underexposed by one to two stops retains the shadow detail that a JPEG would have lost to permanent noise and crushing. The recovery workflow for underexposed RAW is different from the standard film editing approach, but the film look is fully achievable from a correctly recovered starting point.
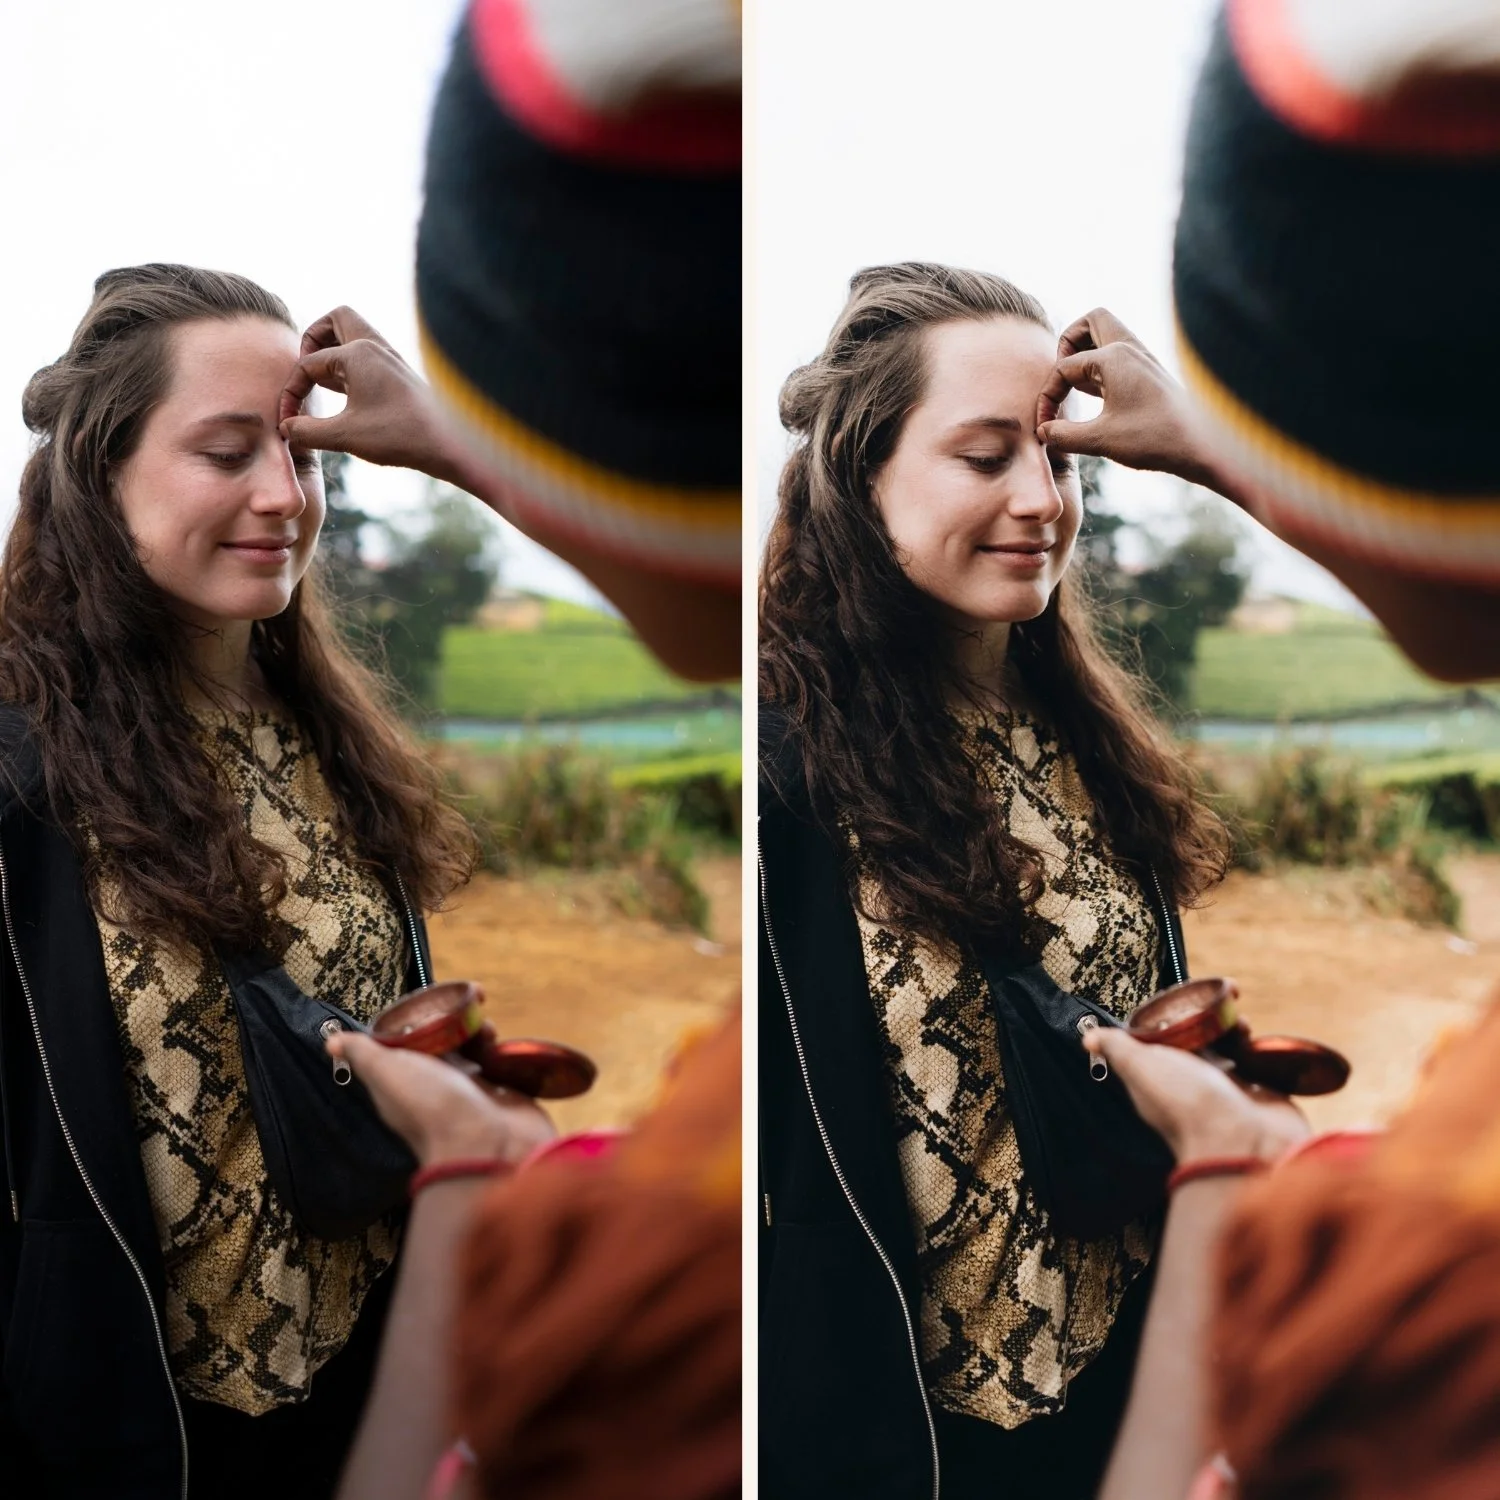
What Underexposure Does to a RAW File
When a RAW file is underexposed, the photons hitting the sensor are fewer than optimal for the scene. This means the signal-to-noise ratio in the shadow areas is lower — less light captured relative to the inherent electronic noise of the sensor. In the RAW file, this manifests as dark overall tones with good midtone and highlight detail but compressed shadow information that contains increasing amounts of noise in the darkest areas.
The histogram of an underexposed RAW file is shifted left, away from the right side where the sensor's optimal performance lives. Recovering this in Lightroom means shifting the tonal values right — increasing Exposure and Shadows — which brings up both the image detail and the noise simultaneously.
The Recovery First Principle
For underexposed film editing, the recovery work must happen before the film aesthetic adjustments. Applying a film preset to an underexposed file without first recovering the exposure produces a preset that sits on top of a dark, noisy foundation — the grain in the preset amplifies the existing noise, the shadow floor lift compounds the muddy appearance of lifted noise, and the warm Color Grading contaminating dark areas looks unnatural.
The sequence is: recover exposure and tonal range first, evaluate the recovered result, then apply film adjustments to the recovered starting point.
Step 1: Exposure Recovery
Exposure: +0.8 to +1.8 depending on the degree of underexposure. For a one-stop underexposure, +1.0 to +1.3 typically returns the image to a correct starting exposure. For two-stop underexposure, +1.8 to +2.3.
Shadows: +20 to +40. Underexposed files need more Shadow lifting than correctly exposed files to bring detail out of the dark range.
Highlights: -15 to -25. After recovering Exposure, highlights that were previously safe may approach clipping. Standard protection.
Whites: -10 to -15.
Blacks: 0 for now. The shadow floor lift will be applied in the film adjustment stage, not during recovery. Applying Blacks lift during recovery before the film edit can produce a flat, muddy result.
Step 2: Noise Management Before Film Adjustments
Recovering an underexposed RAW file lifts noise alongside detail. Before applying film grain, the existing noise needs to be managed so that the two types of texture do not conflict.
In the Detail panel: Luminance Noise Reduction 25-40, Luminance Detail 60-70, Luminance Contrast 45-55. These values smooth the lifted noise without eliminating texture entirely. Color Noise Reduction 25-35.
The goal is not to produce a completely noise-free image — that would remove the underlying texture that integrates naturally with film grain. The goal is to reduce the most obvious and unpleasant noise artifacts while retaining the underlying texture.
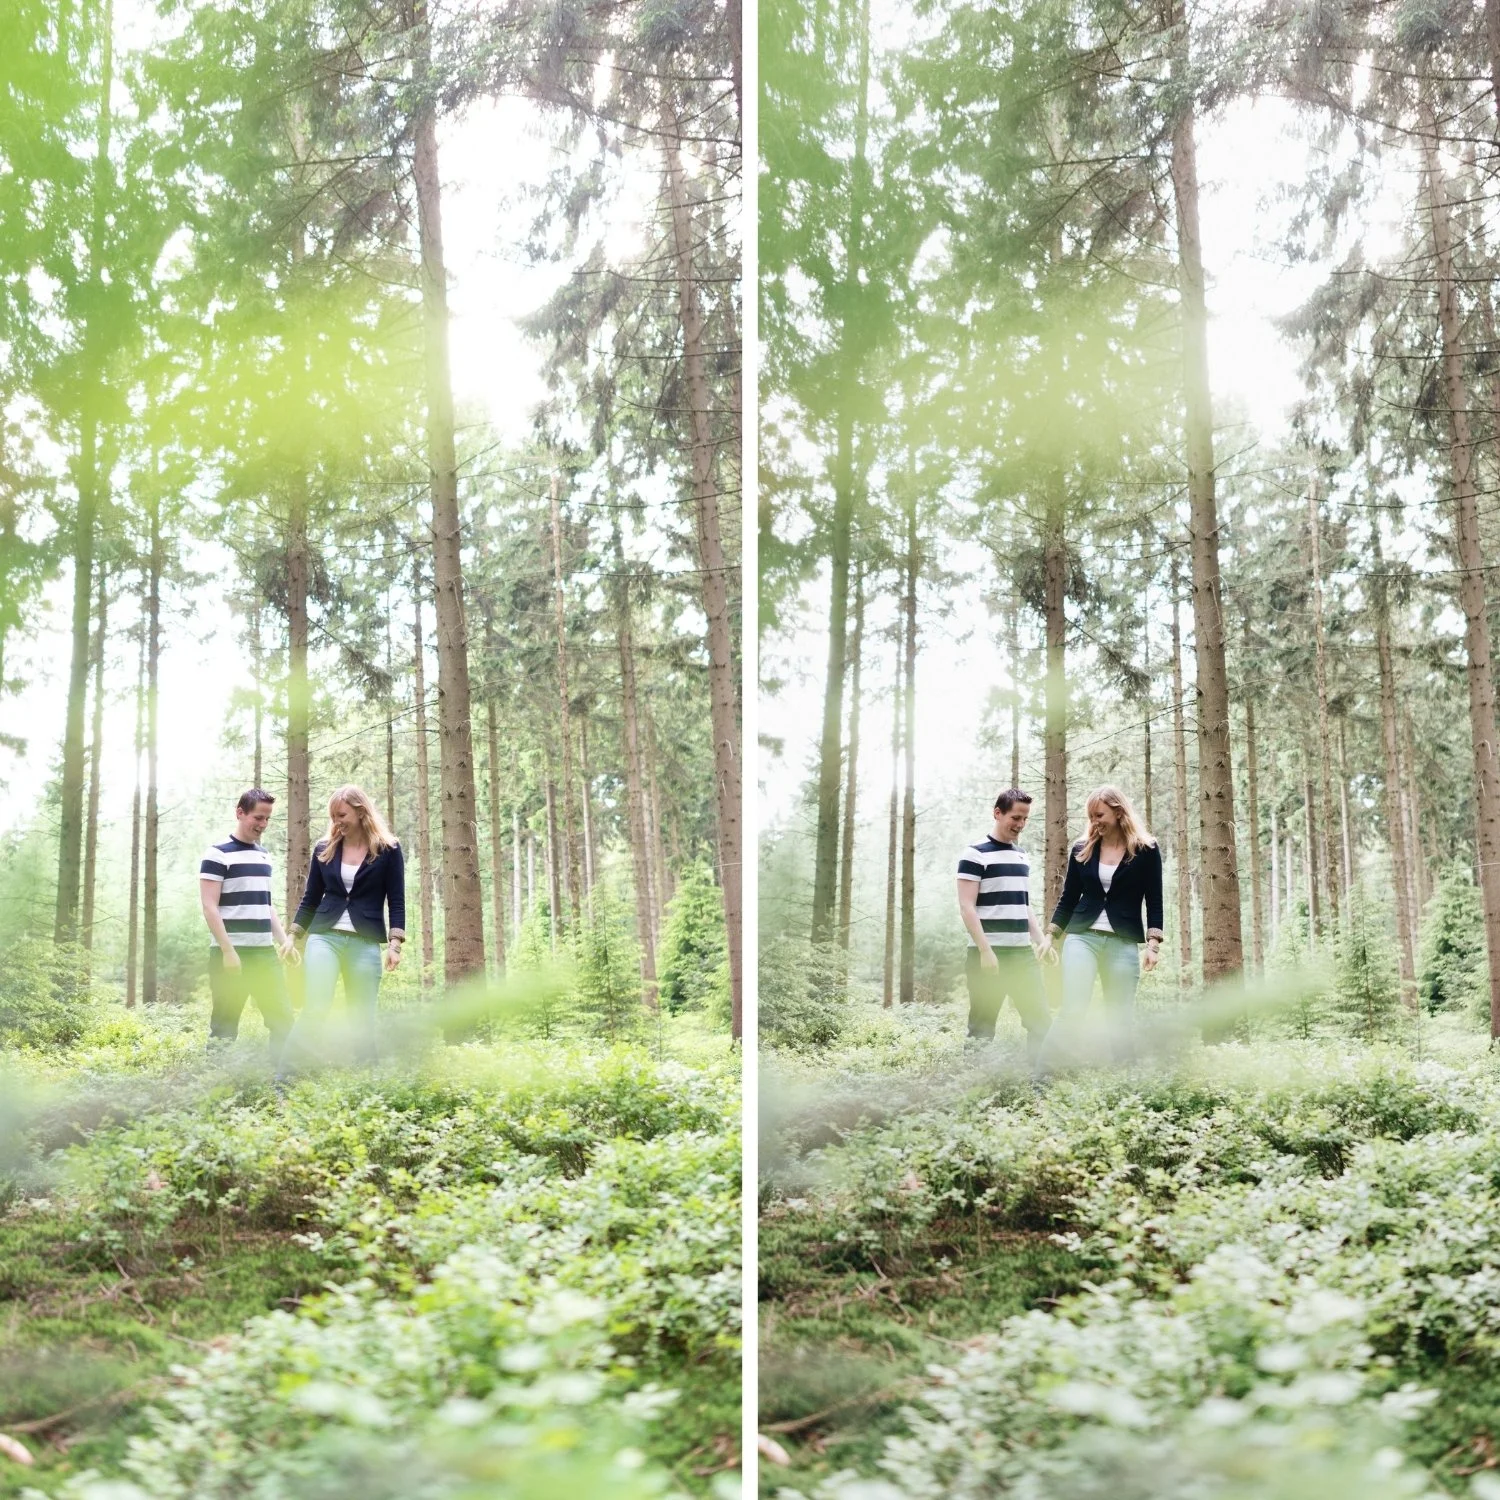
Step 3: Film Adjustments on the Recovered Base
With the exposure recovered and noise managed, the recovered file should look approximately like a correctly exposed starting point with some additional texture from the noise reduction. Now apply film adjustments as normal.
Tone Curve: the standard film Tone Curve with shadow floor lift, gentle S-curve, and protected highlight point.
HSL: standard adjustments for the lighting condition and camera.
Color Grading: standard highlight warmth and shadow depth.
Clarity: -5 to -10. Slightly less negative than a clean starting file because the noise reduction has already softened detail structure.
Grain: The Critical Adjustment for Underexposed Files
Grain on a recovered underexposed file requires different calibration than grain on a clean starting file. The noise reduction has created a slightly different surface texture than a clean RAW provides. Film grain applied at standard settings can conflict with the processed noise texture rather than integrating naturally.
Reduce Grain Amount to 10-15 (versus 15-22 for clean files). Reduce Size to 18-24. The grain should work with the existing texture rather than adding a separate layer on top.
Evaluate the grain at 100% zoom. If the image looks like grain sitting on top of a processed surface rather than integrated organic texture, further reduce Amount.
FAQ
How underexposed is too underexposed to recover?
For most modern cameras, two to three stops underexposed is still recoverable with acceptable results. Beyond three stops, noise in the shadow areas becomes severe enough that noise reduction destroys detail alongside noise. The camera's ISO also matters — lower ISO underexposure is more recoverable than high ISO underexposure.
Does underexposed recovery work on JPEG?
Poorly. JPEG compression permanently discards much of the shadow detail and amplifies shadow noise at the same time. JPEG underexposure recovery typically produces visible banding and noise at even one stop below optimal.
Is it better to underexpose or overexpose RAW files?
Slightly overexposing RAW (exposing to the right) captures more tonal information on the higher end of the sensor's dynamic range where the signal-to-noise ratio is best. Slight underexposure is more recoverable than slight overexposure because clipped highlights cannot be recovered while lifted shadows can.
Start with a calibrated base for your recovered files:
Download the free Analog Film preset and apply it after completing the exposure recovery workflow above.
For the complete film contrast approach, How to Balance Contrast for a Soft Analog Look covers the Tone Curve and contrast structure. For the role of grain in film editing, The Role of Grain in Film Emulation covers calibration for varied starting conditions.
