Overexposed Photo Recovery in Film Style
Overexposed Photo Recovery in Film Style
Overexposed RAW files present a harder recovery challenge than underexposed ones. What was not captured at exposure — clipped highlight detail — cannot be recovered. But within the range of recoverable overexposure, the specific properties of the film look can actually work with rather than against the bright starting point.
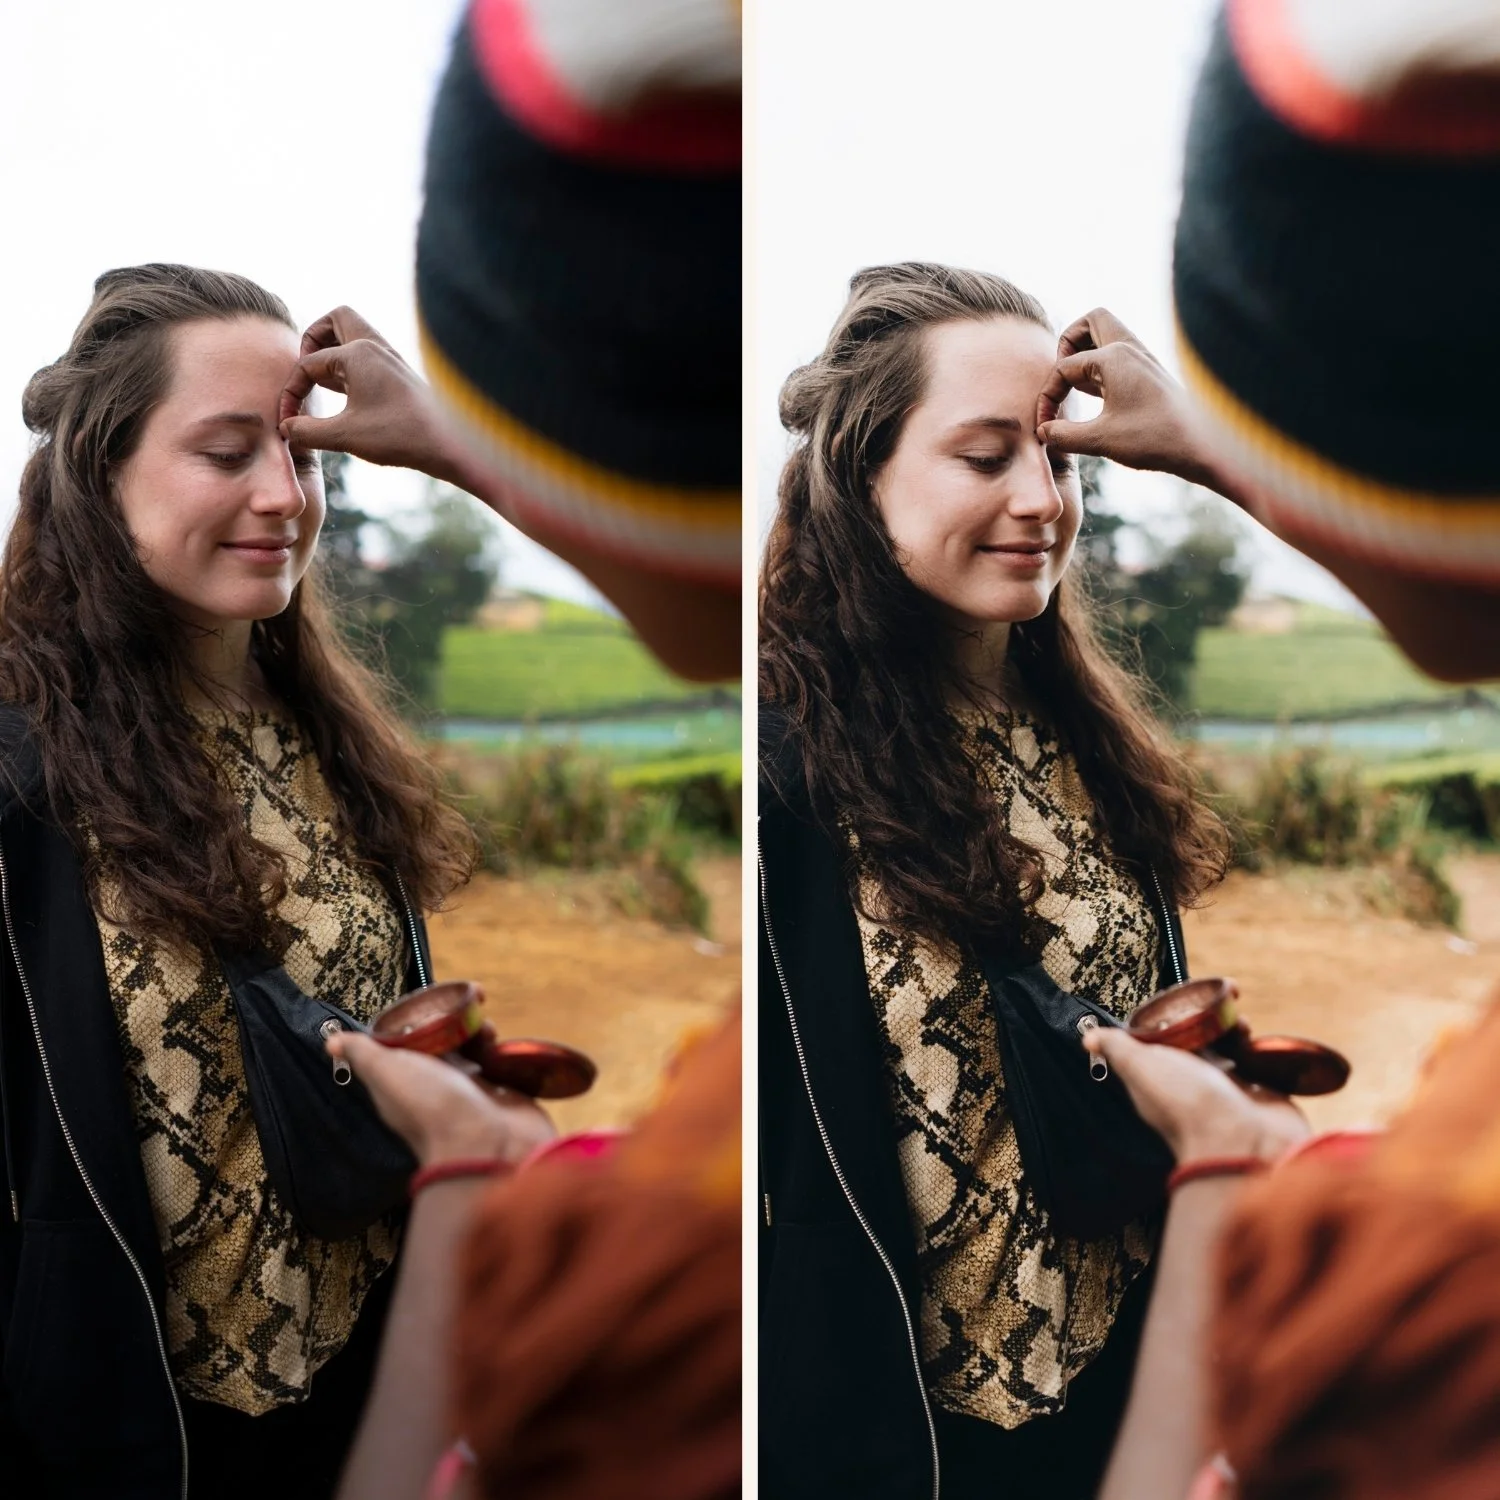
The Difference Between Recoverable and Non-Recoverable Overexposure
An overexposed RAW file has two categories of bright areas. The first is recoverable — areas that appear very bright in the raw preview but still contain tonal information in the RAW data that Lightroom can bring down. The second is genuinely clipped — areas where all three color channels have reached maximum and no detail remains.
Whether a bright area is recoverable depends on how the camera RAW data was captured. Cameras have more dynamic range than JPEGs, which means areas that look blown out in the in-camera preview may still contain RAW data. The test is to drag Highlights and Whites to their minimum values in Lightroom. If detail appears in previously white areas, that data was recoverable. If they remain pure white, they are genuinely clipped.
For film editing, genuine clipping limits the approaches available. The bright, washed-out character of the film look can work with some degree of overexposure — but only if there is some tonal structure remaining in the bright areas.
Step 1: Maximum Highlight Recovery
Highlights: -100. Pull all the way to minimum first to assess what recoverable data exists.
Whites: -70 to -100. Aggressive reduction.
After these adjustments, evaluate the image. Areas that previously looked blown out should now show some tonal structure if the data was recoverable. If areas remain completely white at maximum reduction, they are genuinely clipped and unrecoverable.
Step 2: Exposure Reduction
Exposure: -0.5 to -1.2. After recovering highlights, bringing overall Exposure down moves the recovered highlight data into the midtone range where the film aesthetic can work with it.
Shadows: 0 to +10. Moderate — overexposed files often have naturally lifted shadows, so aggressive Shadow lifting is rarely needed.
Blacks: +5. Standard shadow floor lift.
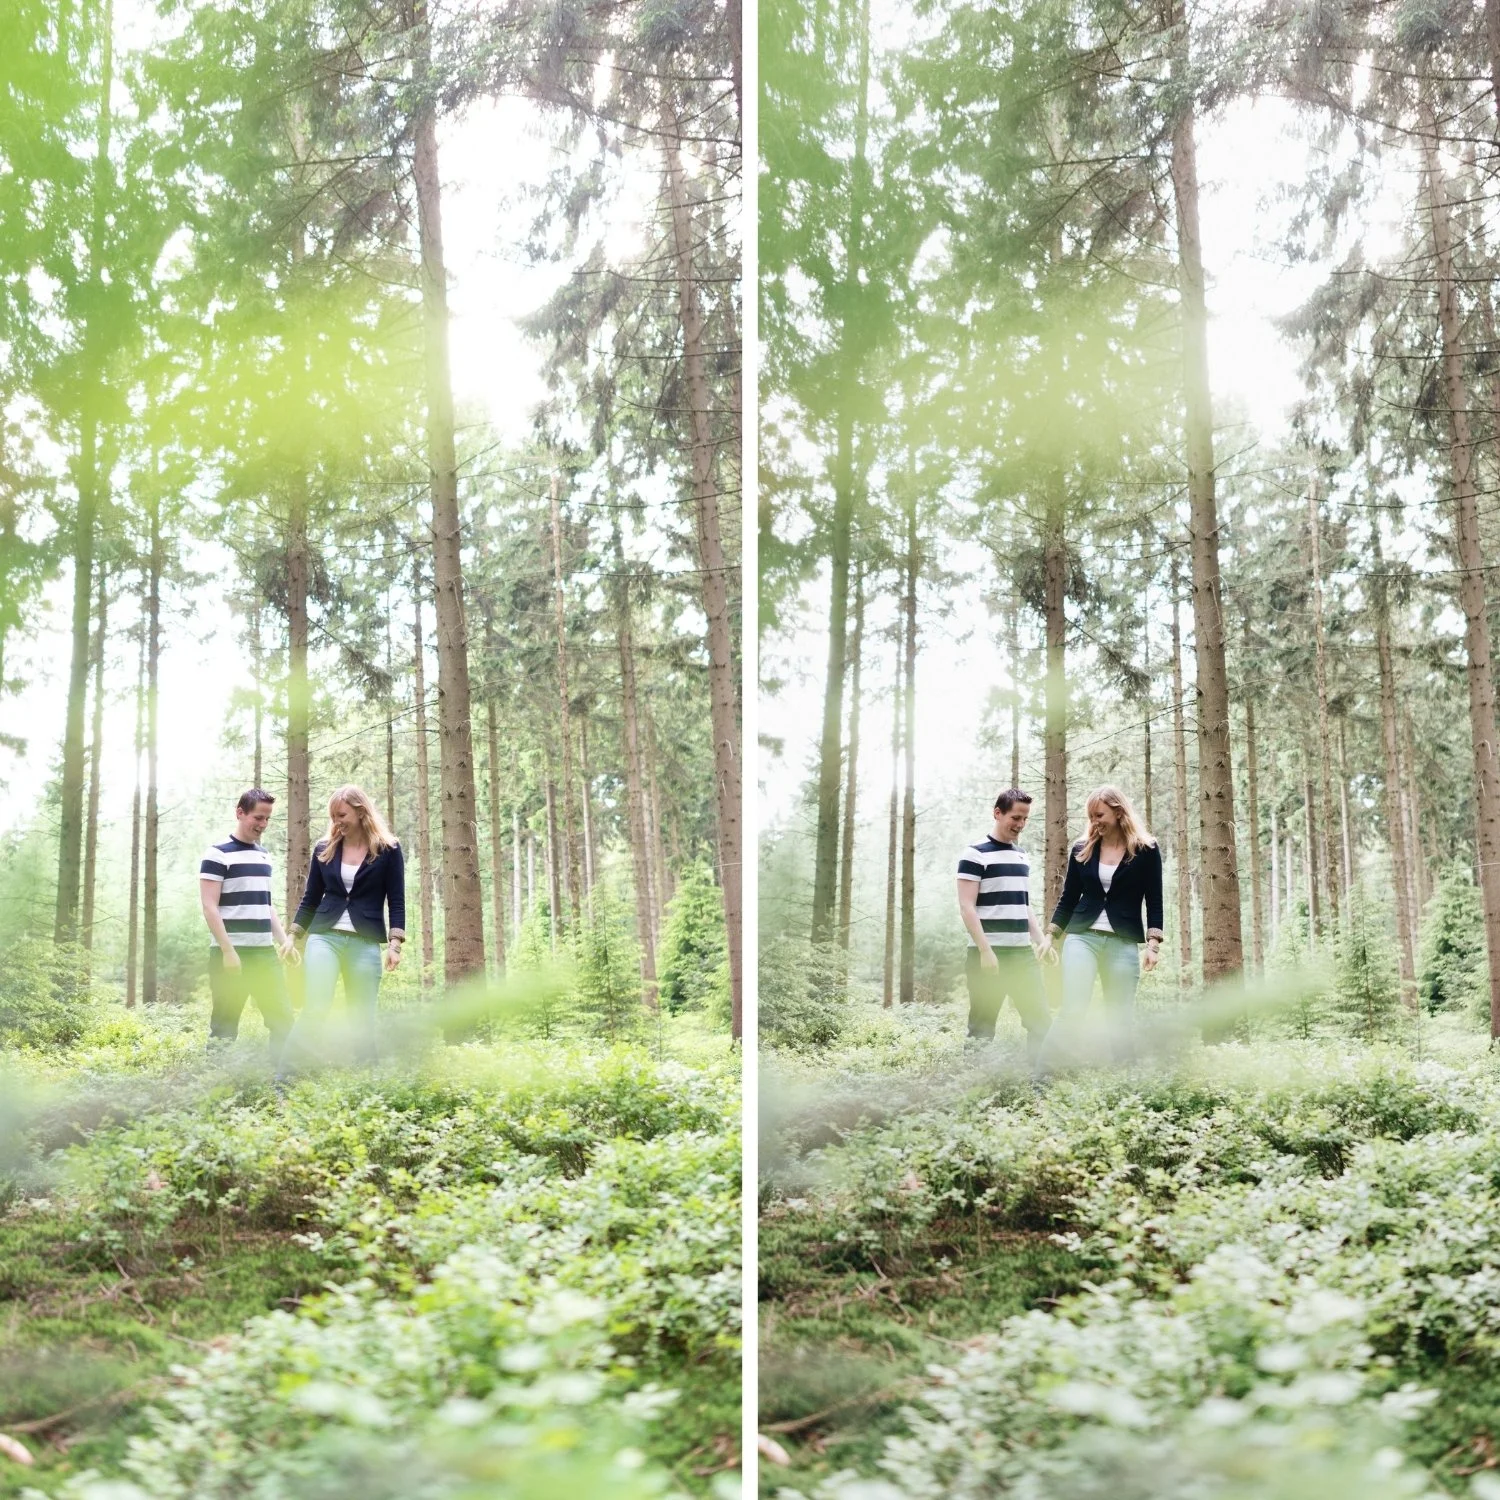
Step 3: Tone Curve for Bright Starting Material
Overexposed recovery requires a different Tone Curve shape than standard film editing. The highlight range needs the most aggressive attention.
Shadow point: output 15.
The curve should be heavily weighted toward highlight compression. Add a control point at input 210, output 185 — a significant downward displacement that compresses the entire upper tonal range. A second point at input 240, output 210. This creates a steep downward bend in the highlights that pulls the recovered bright areas into a usable, film-quality highlight range.
The midtone curve should be more conservative than a standard edit because the overall tonal range is already high.
Working With the Bright Starting Point
An alternative to fighting the overexposure is working with it. The high-key, bright film aesthetic — the look of the S-IV Pure Light or high-key portrait direction — works from a bright starting point naturally. If the overexposed file still contains usable tonal structure after the Highlights reduction, a high-key film approach can produce a legitimately beautiful result that uses the brightness as an aesthetic quality rather than a problem.
Apply a high-key film approach: standard HSL color management, Color Grading with highlight warmth, film grain calibrated for bright starting material (Amount 12-16, Size 18-24, Roughness 45-55), and a Tone Curve that does not push for additional contrast but simply provides the shadow floor and gentle separation.
The result is a bright, luminous film look that references high-key photography rather than the standard warm ambient quality. For lifestyle and portrait photographers who work in bright conditions, this approach converts overexposed material from a problem into a stylistic direction.
FAQ
Can I recover clipped highlights in film editing?
Clipped highlights — where all three channels have reached 255 — cannot be recovered. Information not captured during exposure is gone. The film look can work around clipped areas using the high-key approach described, but the missing detail cannot be restored.
Why does my overexposed recovery look flat?
Aggressive Highlights and Whites reduction without rebuilding contrast through the Tone Curve produces a flat, grey quality. The curve step is essential — the recovery reduces the tonal range, and the curve adds the separation back within that compressed range.
Does overexposure recovery work on phone photos? iPhone and Android JPEG files have less recoverable highlight range than RAW. Smart HDR on iPhone captures some additional highlight range, but significantly less than camera RAW. On phone JPEG files, overexposure of more than half a stop is generally permanent.
Apply film adjustments to your recovered photos:
Download the free Analog Film preset as a starting point after recovery.
For high-key bright film aesthetics, the Bright & Clean Archive is calibrated for bright starting material. For highlight behavior fundamentals, Highlight Roll-Off Explainedcovers the technical background.
