Film Grain Lightroom Preset — Complete Guide (2026)
Film Grain Lightroom Preset — Complete Guide (2026)
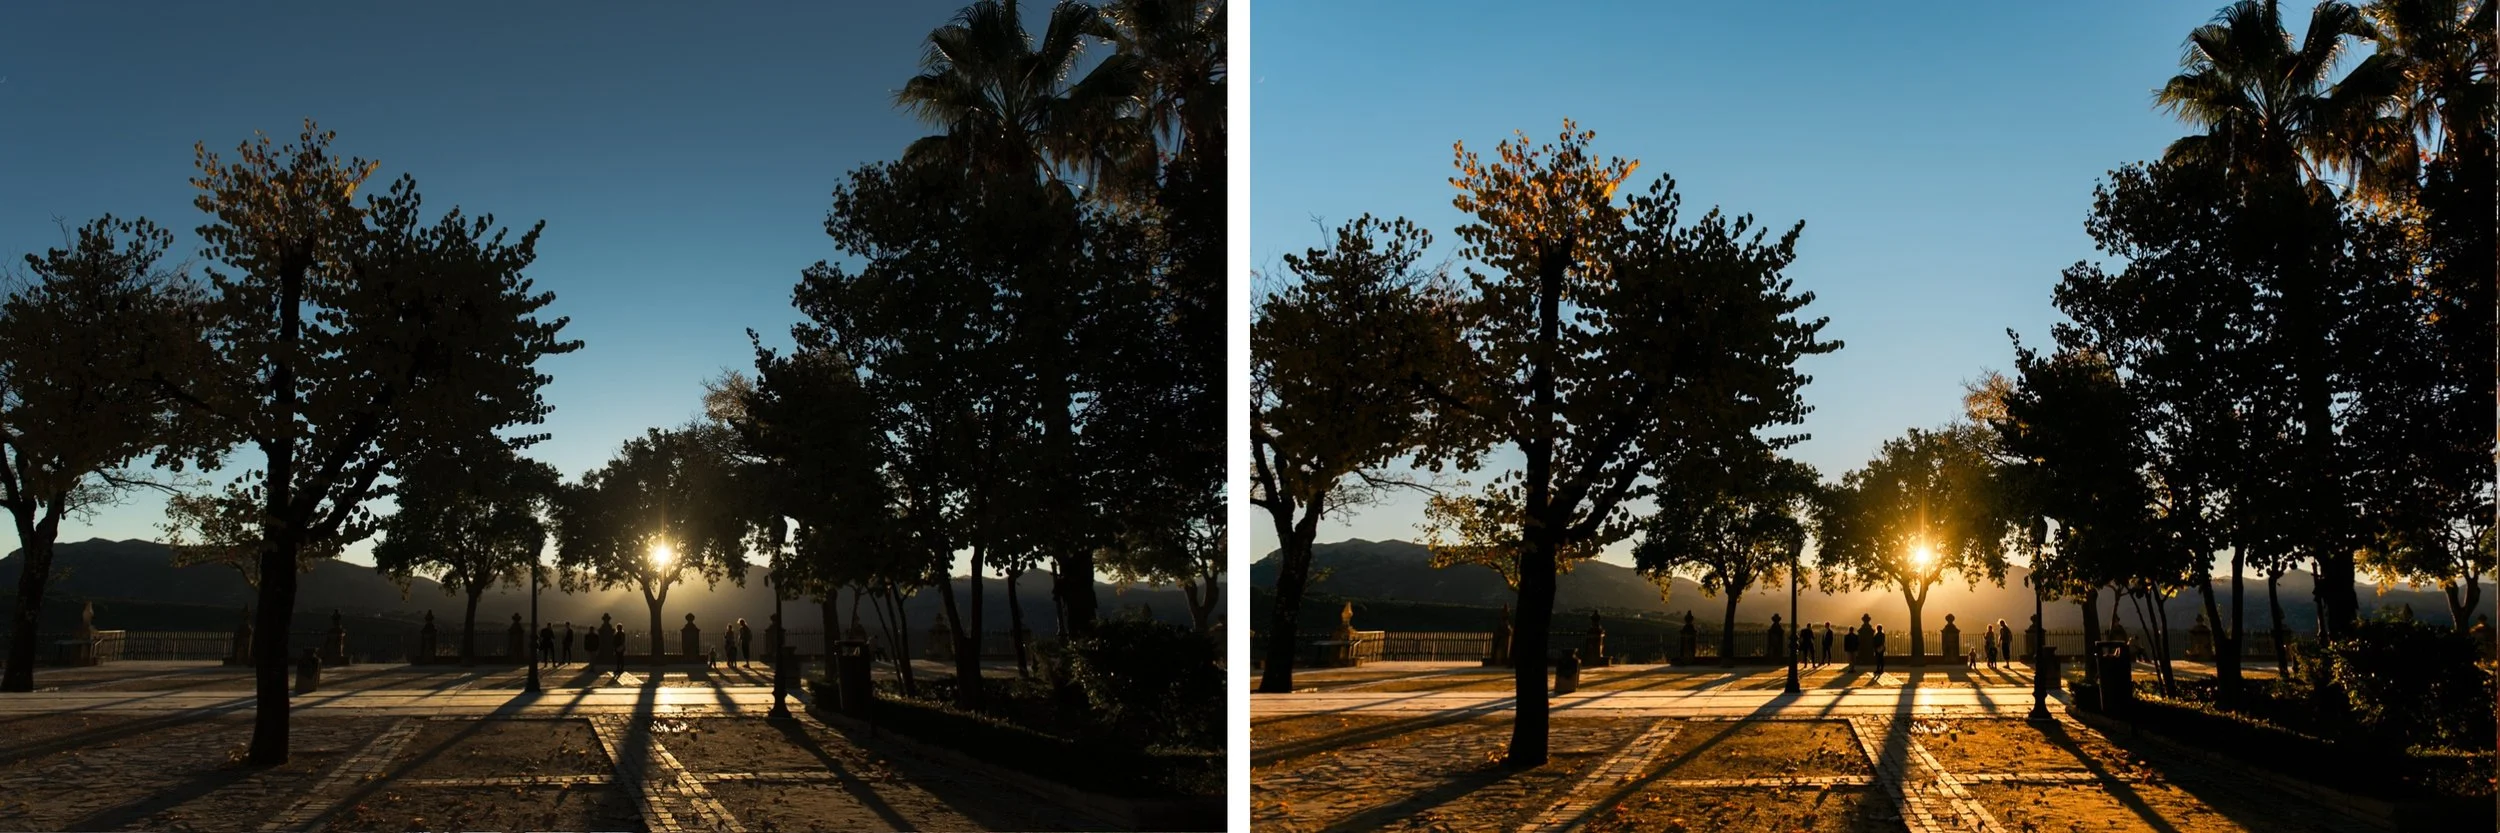
Film grain is one of the most searched editing techniques in Lightroom — and one of the most misunderstood. Most photographers either add too much and end up with something that looks like a social media filter, or add too little and wonder why their photos still look digital.
This guide covers the exact settings for authentic film grain in Lightroom, the difference between grain and digital noise, and which presets have grain built in correctly.
What is film grain and why does it matter?
Film grain is the random, organic texture created by silver halide crystals in analog film emulsions. It's random, irregular, and varies in size and density across the frame. That randomness is what makes it feel organic rather than digital.
Digital noise — which is what you get from shooting at high ISO or from heavy shadow recovery — looks completely different. It's uniform, repetitive, and colour-tinged. Adding Lightroom grain on top of digital noise makes things worse, not better.
The goal of Lightroom's grain tool is to add the organic, irregular texture of film grain to a clean digital image — not to simulate noise.
The three grain sliders explained
Lightroom's grain tool has three sliders in the Effects panel. Understanding what each one does is the difference between authentic and fake-looking grain.
Amount
How much grain is visible. This is the primary slider.
0-10: Invisible or nearly invisible
10-25: Subtle — adds texture without being obvious
25-40: Moderate — visible grain with clear film character
40-60: Heavy — obvious grain, references pushed film stocks
60+: Very heavy — typically too much for most photography
For authentic film grain, stay between 15-35 for most photography styles.
Size
How large the individual grain particles are. This is the most misunderstood slider.
Small Size (10-25): Fine grain — references slow film stocks like Kodachrome 64 or Kodak Portra 100. Clean and subtle.
Medium Size (25-40): Standard grain — references ISO 400 film like Kodak Portra 400 or Kodak Tri-X. The most commonly used range.
Large Size (40-60): Coarse grain — references pushed film or fast stocks like Kodak 3200. Expressive and dramatic.
The mistake most photographers make: using Amount 40+ with Size 50+ — this creates something that looks like a filter rather than film grain. Real film grain is relatively fine even at higher amounts.
Roughness
How irregular and random the grain appears. High roughness = more organic. Low roughness = more uniform and digital-looking.
0-30: Uniform, regular — looks more like digital noise than film
40-60: Moderate irregularity — the sweet spot for most film looks
60-80: High irregularity — references older, coarser film stocks
80+: Very rough — specific to very old or heavily pushed film
Always keep Roughness at 40 minimum for authentic grain. Anything below 40 starts to look digital.
Exact grain settings by film stock style
Kodak Portra 400 grain (portrait and lifestyle)
Amount: 20-25
Size: 25-30
Roughness: 45-50
Subtle, fine grain that adds texture without competing with skin detail.
Kodak Tri-X 400 grain (street and documentary)
Amount: 30-40
Size: 30-35
Roughness: 55-65
More pronounced grain with rougher irregularity — the classic documentary photography grain.
Kodachrome 64 grain (travel and landscape)
Amount: 15-20
Size: 20-25
Roughness: 35-45
Very fine grain, almost invisible. Adds texture without being noticeable.
Pushed Tri-X grain (expressive B&W)
Amount: 45-55
Size: 35-45
Roughness: 60-70
Heavy, expressive grain for dramatic black and white work.
Vintage/aged film grain
Amount: 30-40
Size: 35-45
Roughness: 55-65
Add slight vignette: -15 to -20
Why grain looks wrong — and how to fix it
Grain on top of digital noise This is the most common problem. If your base image has visible noise (from high ISO or heavy shadow recovery), adding grain creates a messy combination of both. Fix: apply Noise Reduction before adding grain. Reduce Luminance Noise to 20-30, then add grain on top.
Too large with too much amount Amount 50 + Size 50 = filter, not film. Reduce both. If you want visible grain, use Amount 35-40 with Size 25-30 rather than pushing both to maximum.
Low Roughness making grain look digital If your grain looks uniform and repetitive, increase Roughness to 50-60. The irregularity is what makes grain feel organic.
Grain that disappears after exporting If you export at a smaller resolution (1080px for Instagram), grain can become invisible or look compressed. Add slightly more grain than you think you need — Amount 5-8 higher than your screen preview suggests — to compensate for export downscaling.
Grain in black and white editing
Black and white photography benefits most from visible grain because the grain adds the tonal texture that colour photography has naturally. For B&W film grain.
Amount: 30-45 (more visible than colour)
Size: 30-40
Roughness: 55-70 (rougher for B&W — it feels right with the monochrome tones)
Check the grain at 100% zoom. In B&W, you want the grain to be slightly visible at 100% — it should look deliberate, not accidental.
For B&W preset guides: Black and White Film Lightroom Preset Guide
Presets with authentic grain built in
Good film presets have grain already calibrated correctly — you don't need to add it manually. The Analog Film Archive presets include grain calibrated specifically for each preset's tonal character.
The A6 has fine grain (Amount ~20, Size ~25) calibrated for portrait and lifestyle work. The moody presets have slightly more grain (Amount ~25-30) that suits the darker tonal range. The black and white presets have the most grain (Amount ~35-40) appropriate for film B&W character.
EXPLORE THE ANALOG FILM ARCHIVE — $27
Free preset with authentic grain
The free A6 preset includes film grain calibrated for analog portrait and lifestyle photography. Download and apply it to see what correctly calibrated grain looks like on your own photos — then adjust from there.
FAQ
What grain settings should I use in Lightroom?
For most film photography looks: Amount 20-30, Size 25-35, Roughness 45-55. This range works for portrait, lifestyle, and travel photography. For documentary and street work, increase Amount to 30-40 and Roughness to 55-65.
Why does my Lightroom grain look fake?
Usually caused by Size too large relative to Amount, or Roughness too low (below 40). Keep Size relatively small (20-35) and Roughness at 45+ for authentic results.
Should I add grain before or after other adjustments?
After everything else. Grain interacts with sharpening and noise reduction, so apply it last. If you have digital noise, apply Noise Reduction first, then add grain.
Does grain look the same on all photos?
No, grain looks different depending on the base tonal values. Dark images show grain more prominently than bright images. You may need to reduce Amount slightly on darker photos and increase it on brighter ones.
Does film grain affect sharpness?
Slightly, grain adds texture that can read as reduced sharpness at 100% zoom. If you're adding significant grain (Amount 35+), reduce Sharpening slightly to compensate.