Beyond the Neon: A Masterclass in Moody Landscape Filters and Adventure Photography
Nature is breathtaking, but digital sensors are often literal. They capture every neon green blade of grass and every harsh blue sky with a clinical precision that can strip the "soul" out of a wilderness shot.
If you’ve ever looked at your raw files from a misty mountain hike or a deep forest trek and felt they looked "flat," you aren’t alone. The secret to professional adventure photography isn't just the gear it's the tonal depth.
In this guide, we explore how to move away from artificial saturation and master the art of the Moody Landscape Filter.
1. The Problem with "Digital" Greens
The most common mistake in outdoor photography is over-saturating greens. Digital cameras often render foliage in a yellowish, neon-like spectrum that feels artificial.
The Moody Shift: To achieve that high-end, editorial look seen in travel magazines, you must shift your greens. By moving the green hue toward "Cyan" and desaturating the yellows, you create a Deep Forest aesthetic. This is the foundation of our Glow workflow, which prioritizes the rich tones of pine needles and moss over bright, distracting grass.
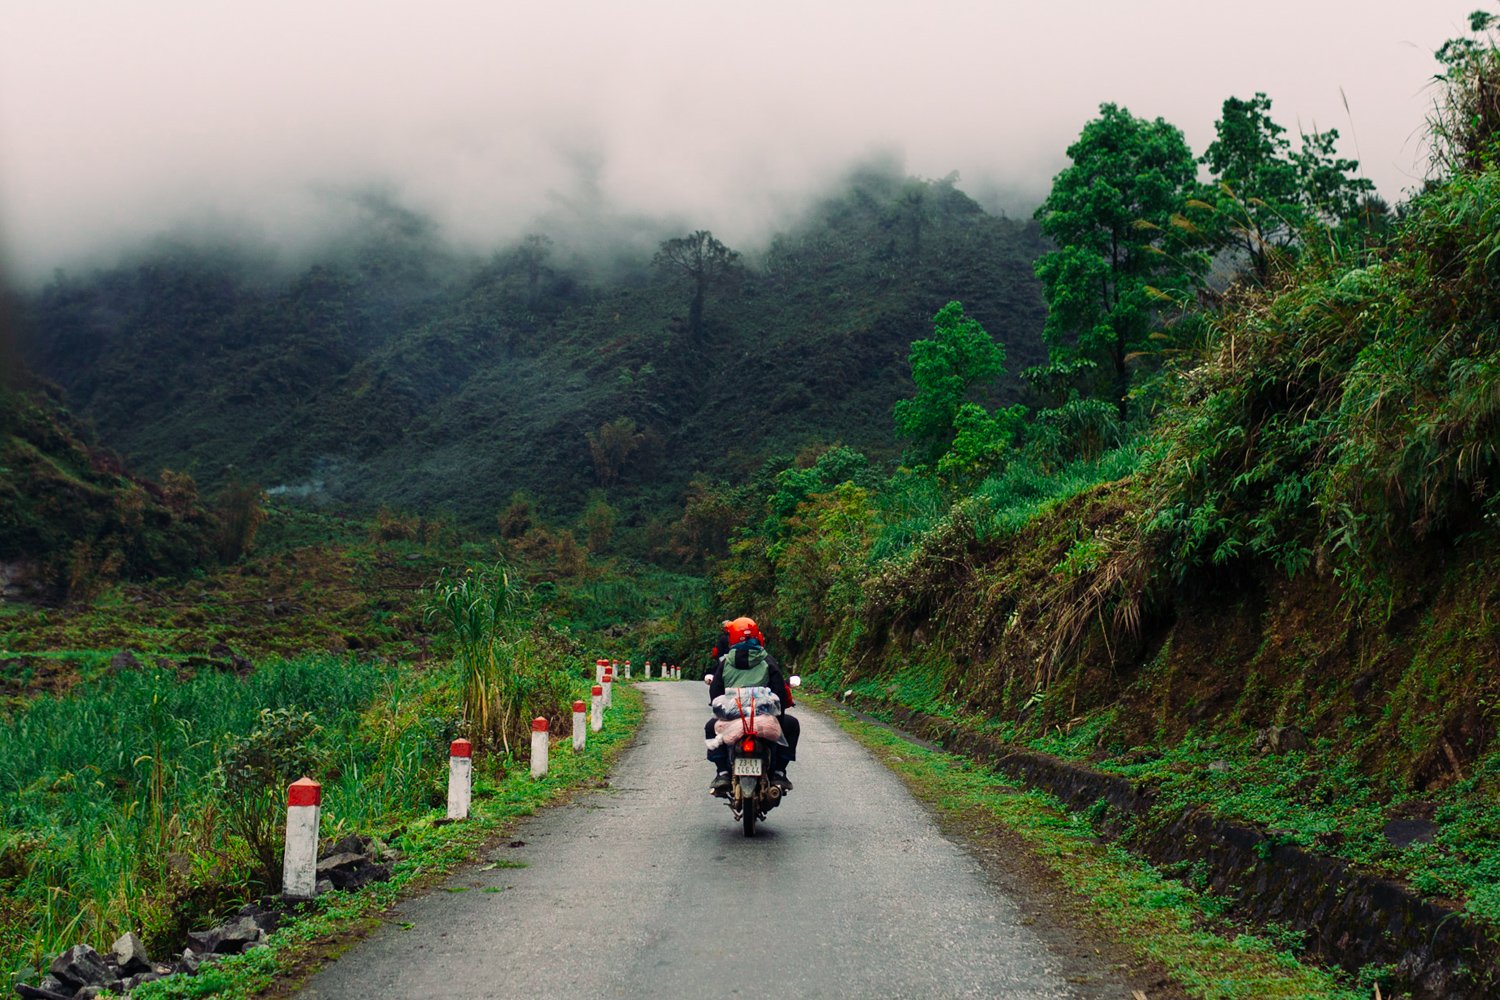
2. Capturing the Atmosphere: The Misty Peak Effect
"Moody" doesn't just mean dark; it means atmospheric. Fog, clouds, and mist are the best friends of a landscape storyteller.
When editing for a Misty Peak (Vesper 05) look, the goal is to emphasize the "haze" rather than fighting it.
Pro Tip: Use a subtle matte finish in your shadows. This adds a "weight" to the clouds and makes the silhouettes of mountain ranges feel more powerful. This cool-toned, desaturated approach creates a sense of silence and scale that "bright and poppy" filters simply can't reach.
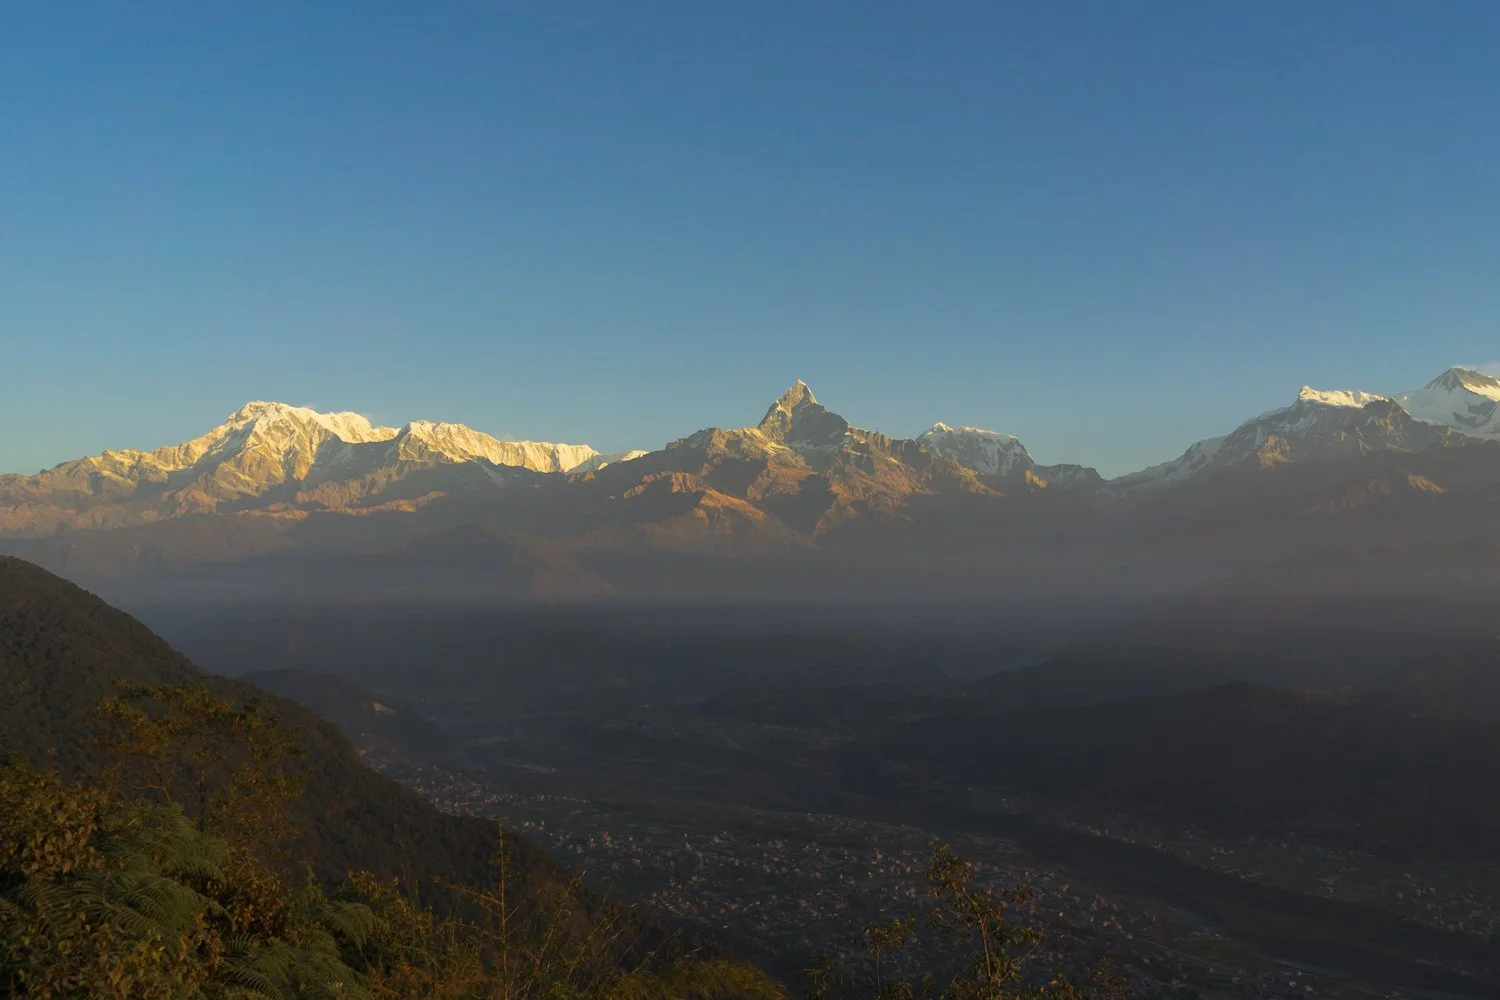
3. Grounded Earth: Canyons, Deserts, and Autumn
When the landscape shifts to browns, oranges, and ochre, the challenge is keeping the colors "rugged" instead of "burnt."
Whether you are shooting the red rocks of a canyon or the falling leaves of autumn, you want to enrich the earth tones. Our Moody 05 (Moody Earth) approach focuses on the "burnt sienna" spectrum. By deepening the reds and oranges while keeping the highlights creamy, you create a sophisticated, warm look that feels as expansive as the desert itself.
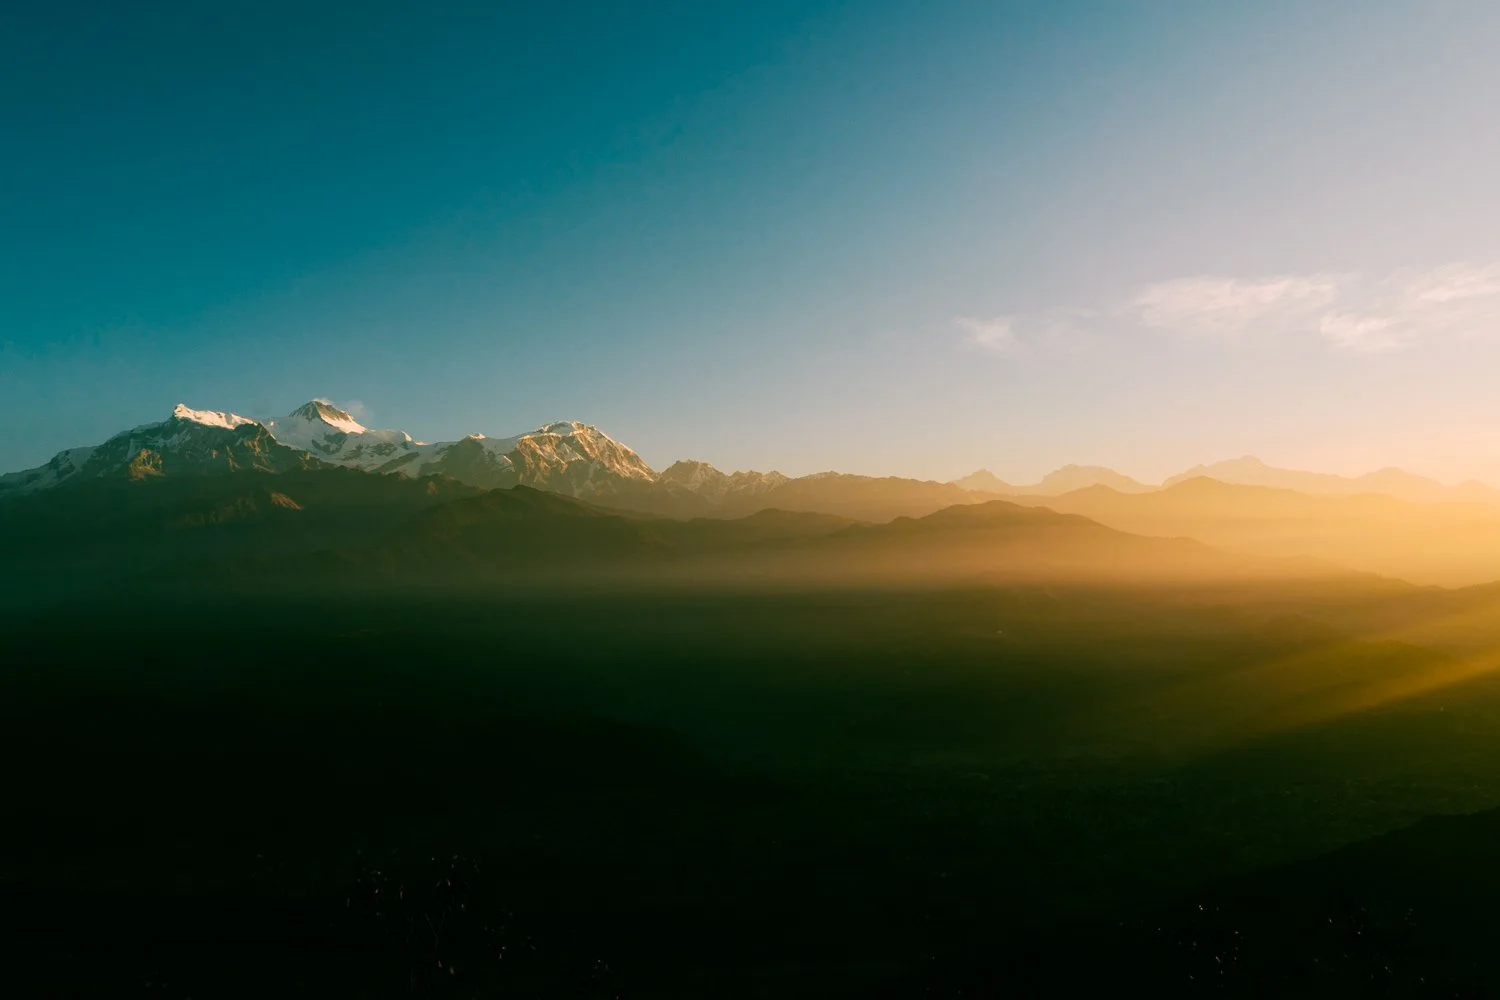
4. Golden Hour in the Wild: The Sun-Drenched Valley
Even in a "moody" collection, there is room for light. The Sun-Drenched Valley (California 01) aesthetic is about that rare moment when the sun hits the wildflowers. The key is a subtle pop. You want the primary colors to stand out against a grounded, earthy background. This ensures your "Golden Hour" shots look expensive and curated, rather than looking like an oversaturated postcard.
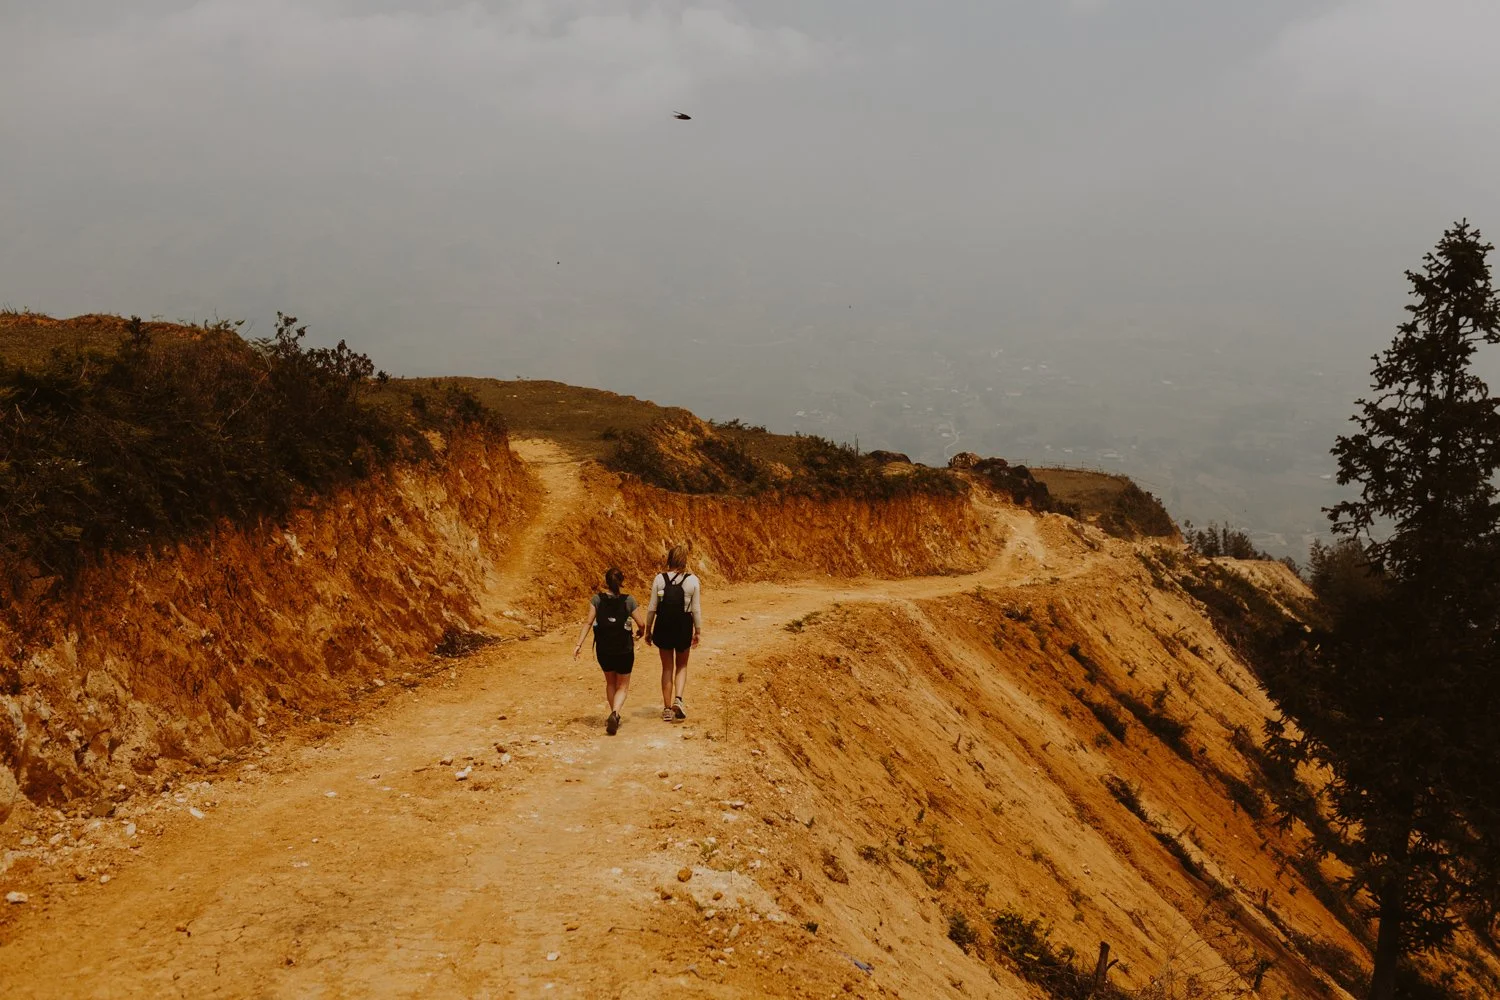
5. Why Every Adventure Story Needs a Cohesive Feed
An adventure isn't just one photo; it’s a narrative. From the intimate "getting ready" shots in a van to the epic wide-angle mountain peaks, your edit is the thread that ties the story together.
By using a unified set of Professional Landscape Presets, you ensure that your beach, forest, and mountain shots all feel part of the same "Great Outdoors" legacy.
Unlock the Spirit of Adventure
If you’re ready to stop fighting neon greens and start creating landscapes with soul, The Great Outdoors Collection is your new toolkit.
For the storyteller who wants it all from "Clean Girl" urban shots to "Moody Forest" peaks unlock The Studio Archive and get every professional tool we’ve ever built.