Why My Film Preset Looks Too Dark — How to Fix It (2026)
Why My Film Preset Looks Too Dark — How to Fix It (2026)
Your film preset looked great in the preview or on someone else's photo, but on yours it looks too dark — murky shadows, lost detail, or just generally underexposed. The preset is not broken. Here is what is actually happening.
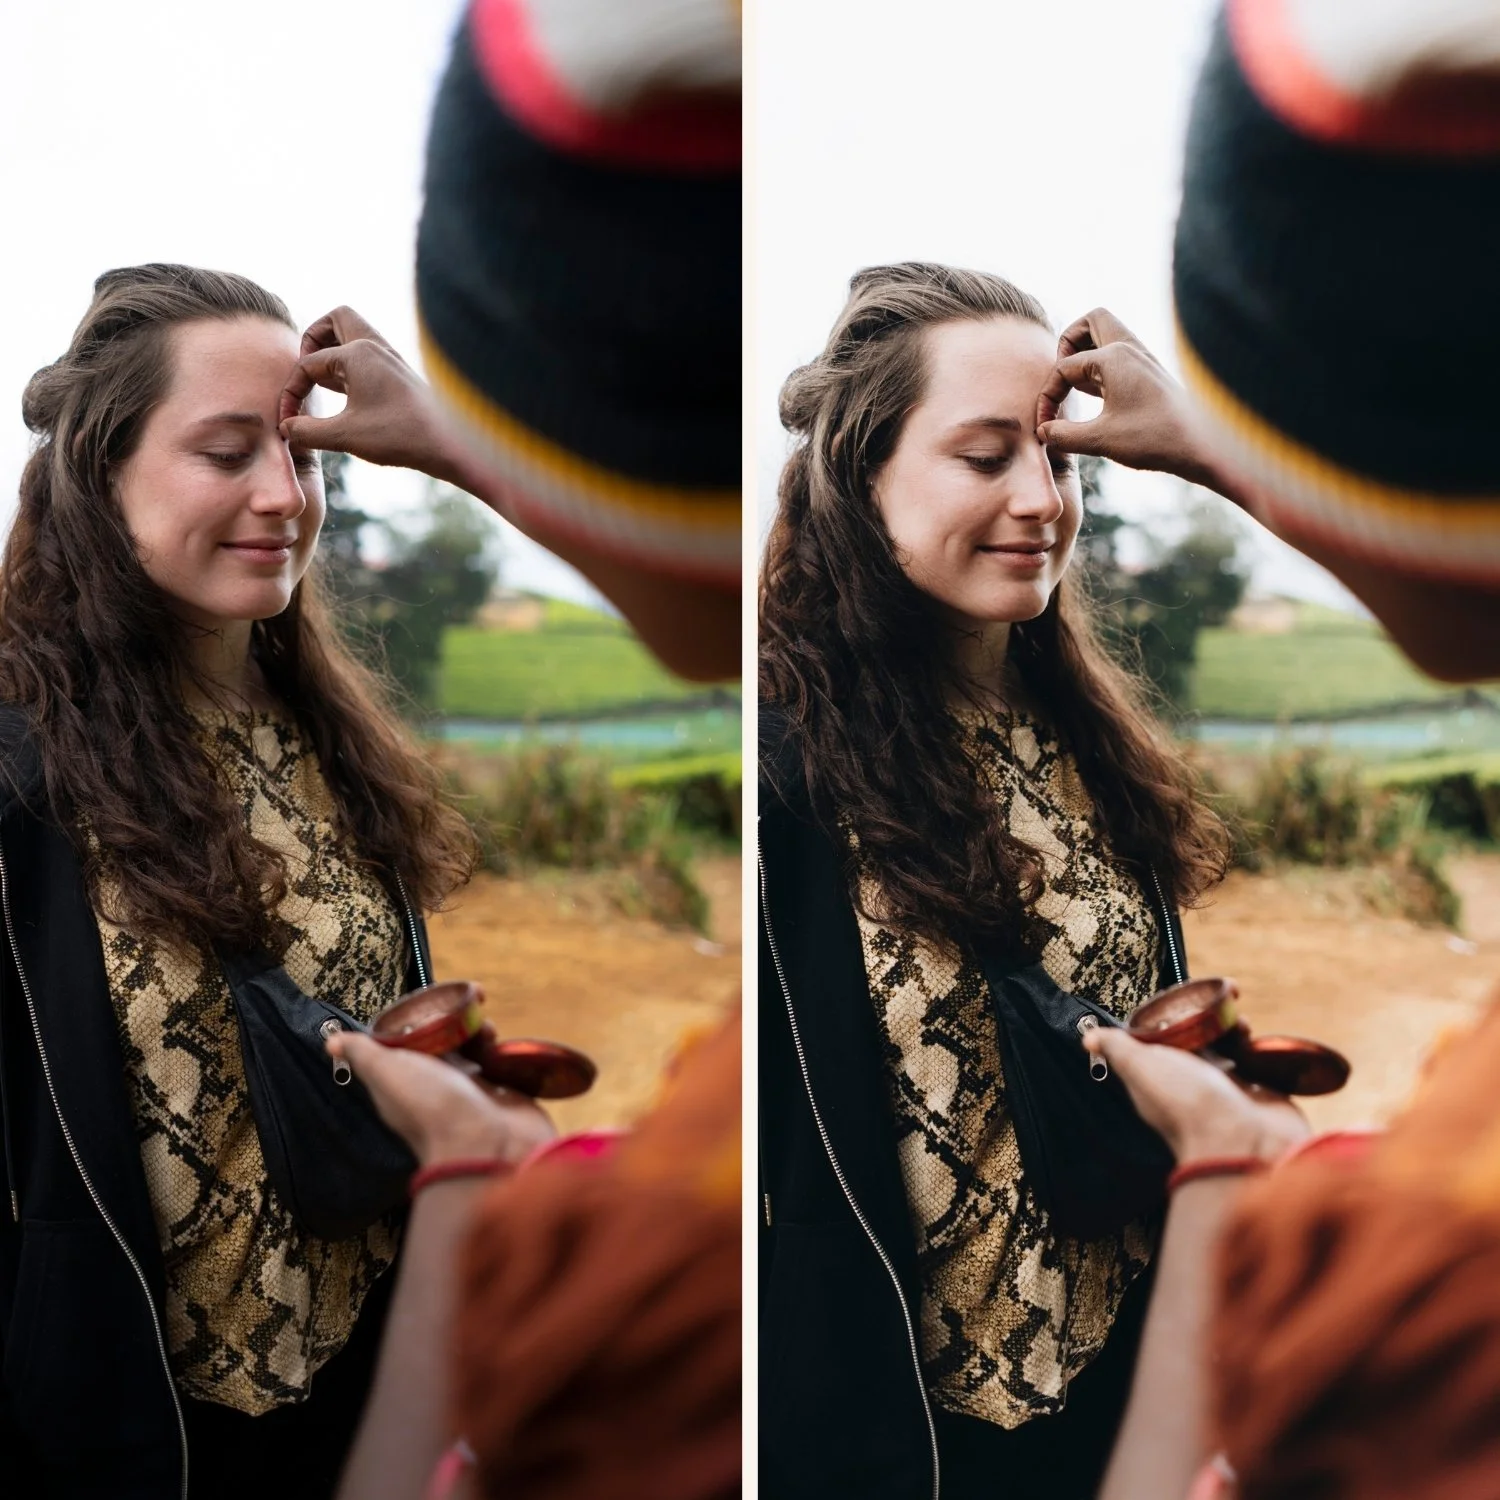
Cause 1 — Your starting photo is underexposed
Film presets are calibrated for a correctly exposed starting point. Most film presets pull down Highlights and Exposure slightly to create the soft, protected quality of film. Applied to an already underexposed photo, this makes it significantly darker.
The fix: Before applying any preset, lift Exposure until your photo looks correctly bright. On a phone photo, this usually means the histogram sitting roughly in the middle with no data pushed hard against either edge.
Then apply the preset. The darkening effect of the preset should now land in the right place.
Cause 2 — Preset amount is too high on mobile photos
Film presets are calibrated for RAW files from dedicated cameras. Phone photos — iPhone and Android — already have more contrast and darker shadows than the RAW files the preset was designed for. A full-strength film preset on a phone photo often looks too dark because the phone's processing plus the preset's darkening adds up to too much.
The fix: After applying the preset, reduce the preset amount using the slider that appears at the bottom of the screen. Start at 70-75% instead of 100%. The film quality remains but without the combined darkening of phone processing plus full preset strength.
Cause 3 — The preset is a moody preset applied to a low-light scene
Moody film presets deliberately deepen shadows and reduce exposure for atmospheric depth. Applied to a photo already shot in low light or shade, the combined effect is very dark.
The fix: Either lift Exposure +0.5 to +0.8 after applying the preset, or switch to a cleaner, less moody preset for low-light scenarios. The A6 Clean Portrait or Analog Film Archive presets are calibrated for versatile conditions and do not deepen shadows as aggressively.
Quick checklist
If your preset looks too dark:
Check starting exposure — lift before applying
Reduce preset amount to 70-75%
After applying: lift Shadows +10 to +15 and Blacks +10
If still too dark: switch to a lighter preset variant
Free lighter starting point
The free A6 preset is calibrated for a clean, open film look with lifted shadows. If moody presets are consistently too dark on your photos, A6 is a better starting point.
FAQ
Why do film presets look darker on iPhone than on camera photos?
iPhone processing adds contrast and deepens shadows before Lightroom sees the file. The same preset on an iPhone JPEG looks darker than on a camera RAW because the phone already pushed the shadows down. Reduce preset amount to 70-75% on phone photos.
Should I adjust exposure before or after applying a preset?
Before. Always fix exposure before applying the preset. The preset is calibrated for a specific brightness range — applying to the wrong starting exposure gives the wrong result.
Can I make a moody preset lighter without losing the film look?
Yes. After applying, lift Shadows +10 to +20 and Blacks +5 to +10. This opens the shadows while keeping the color and tonal character of the moody preset. The result is a lighter version of the same look.
