Color Temperature vs Tint Deep Dive
Color Temperature vs Tint Deep Dive
White balance is the foundation of every film edit. Get it wrong and no amount of HSL adjustment, Color Grading, or Tone Curve work will produce the result you are looking for. But most photographers use white balance as a single control — dragging Temperature warmer or cooler — without understanding that white balance in Lightroom is actually two independent controls with different effects, and both need to be used correctly.
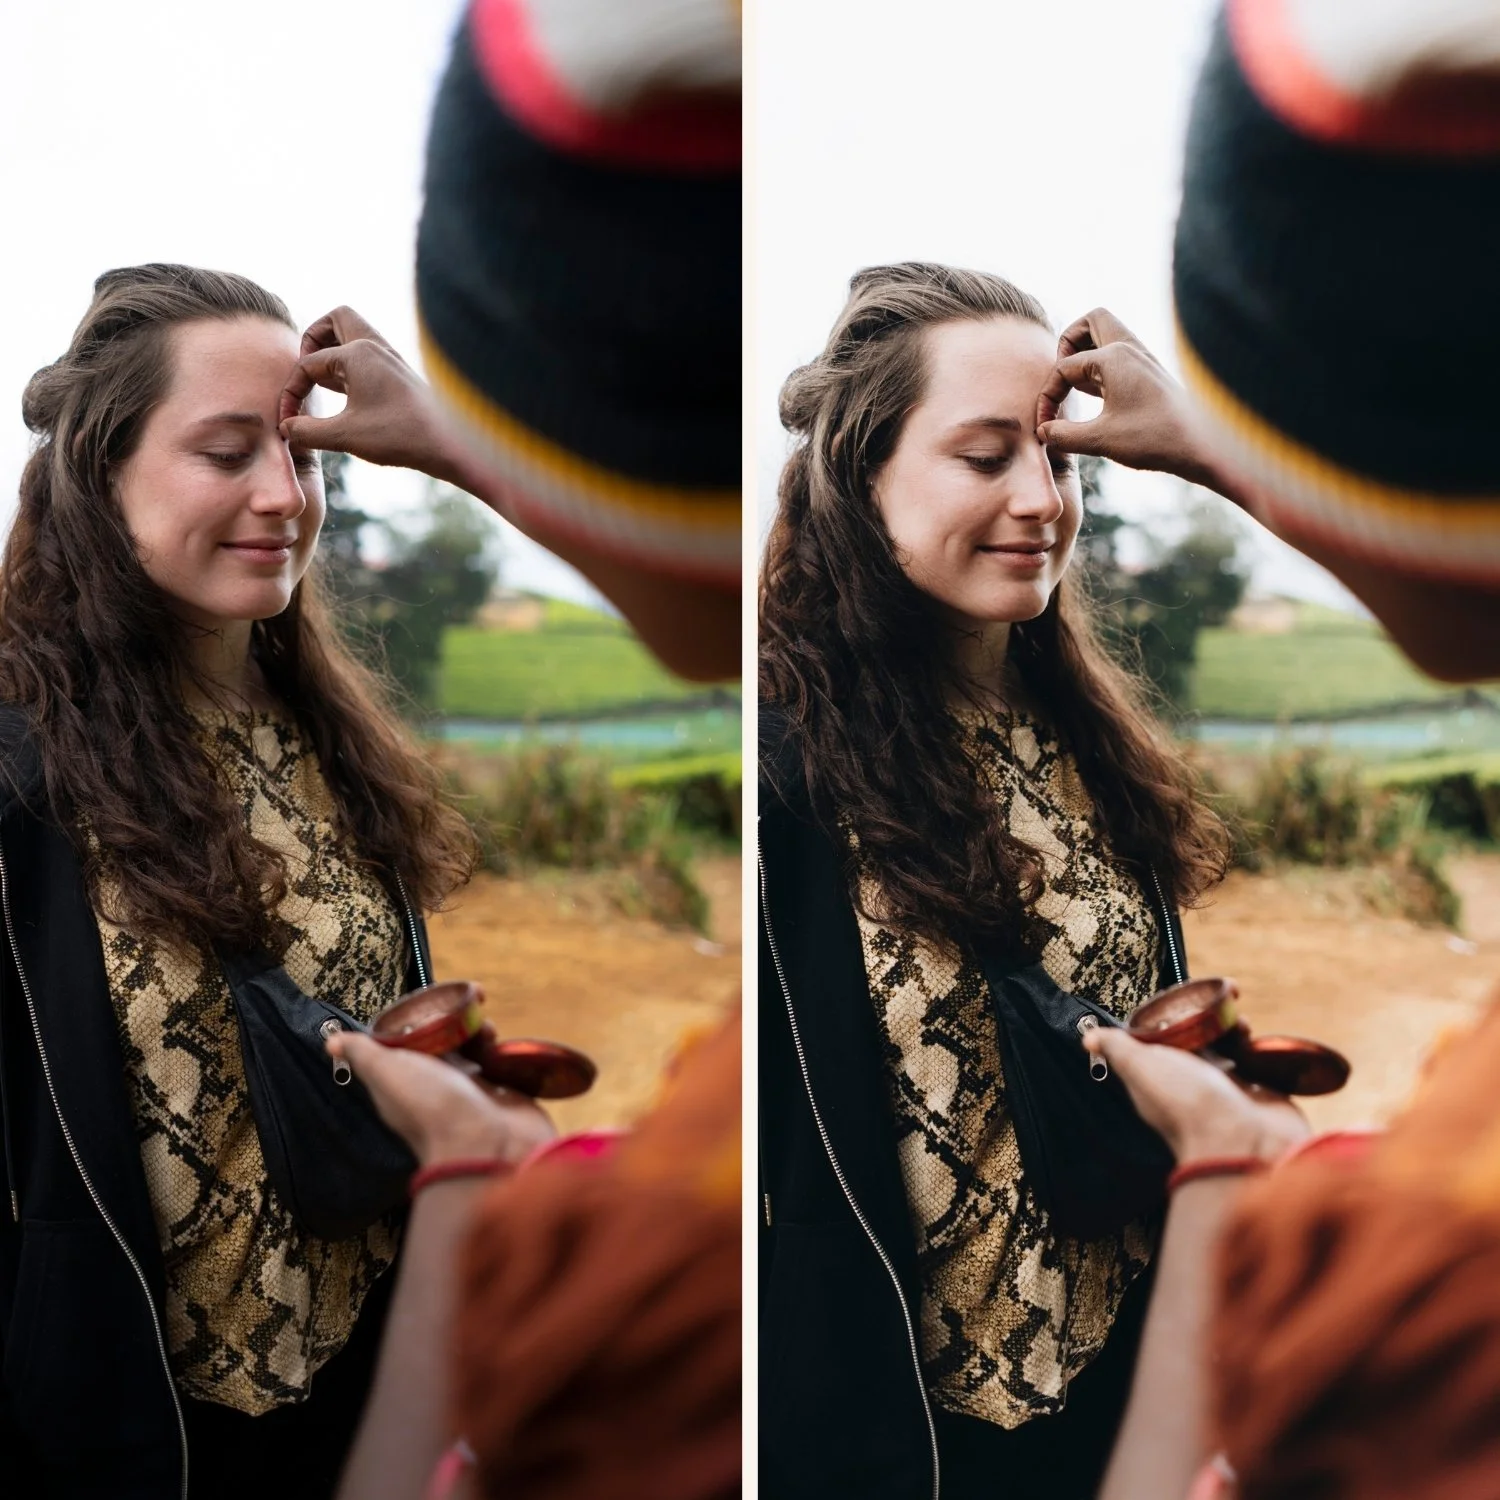
What Temperature Controls
Temperature moves along the blue-to-yellow axis of the color spectrum. Lower Temperature values add blue. Higher values add yellow-orange warmth. The value in Kelvin corresponds to the color temperature of a light source — lower Kelvin numbers describe cooler, bluer light; higher Kelvin numbers describe warmer, more orange light.
When you adjust Temperature in Lightroom, you are shifting the entire image simultaneously along this blue-yellow axis. A Temperature increase of +500K adds approximately the same amount of yellow-warm to highlights, midtones, and shadows at the same time. This is different from Color Grading, which targets specific tonal ranges. Temperature adjustment is global.
For film editing, Temperature is primarily used to establish the correct ambient warmth of the scene before applying other adjustments. The goal is to match the color temperature of the dominant light source — daylight at approximately 5,200-5,500K, overcast at 5,500-6,500K, shade at 6,500-7,500K, tungsten at 2,800-3,200K. Correcting to the ambient first creates a neutral starting point on which all other film adjustments can work correctly.
What Tint Controls
Tint moves along the green-to-magenta axis — perpendicular to the blue-yellow axis of Temperature. Lower Tint values add green. Higher values add magenta.
This is less intuitive than Temperature, which maps to a familiar concept of warm and cool. The Tint control matters because real-world light sources are not purely warm or cool — they have a green or magenta bias alongside their temperature character. Fluorescent lighting is cool and green-tinted. Sodium vapor street lighting is warm and orange with a slight magenta component. Overcast daylight is cool and often slightly green. Mixed indoor and outdoor lighting creates complicated color casts along both axes.
Incorrect Tint is one of the most common causes of skin tones that look wrong despite a correct Temperature setting. Skin in photos with a green Tint cast reads as olive or sickly. Skin with a heavy magenta cast reads as artificially pink. Neither is fixable by Temperature adjustment alone.
For film editing, Tint is typically used in two ways. First, as a correction tool: adding +4 to +12 Tint (toward magenta) to counteract the slight green cast that is common in diffuse daylight, overcast conditions, and shade. Second, as a deliberate warm-shift tool: a slight positive Tint in the +3 to +8 range adds a warm-magenta quality to skin tones that references the specific warmth of film photography without pushing the yellow warmth of Temperature.
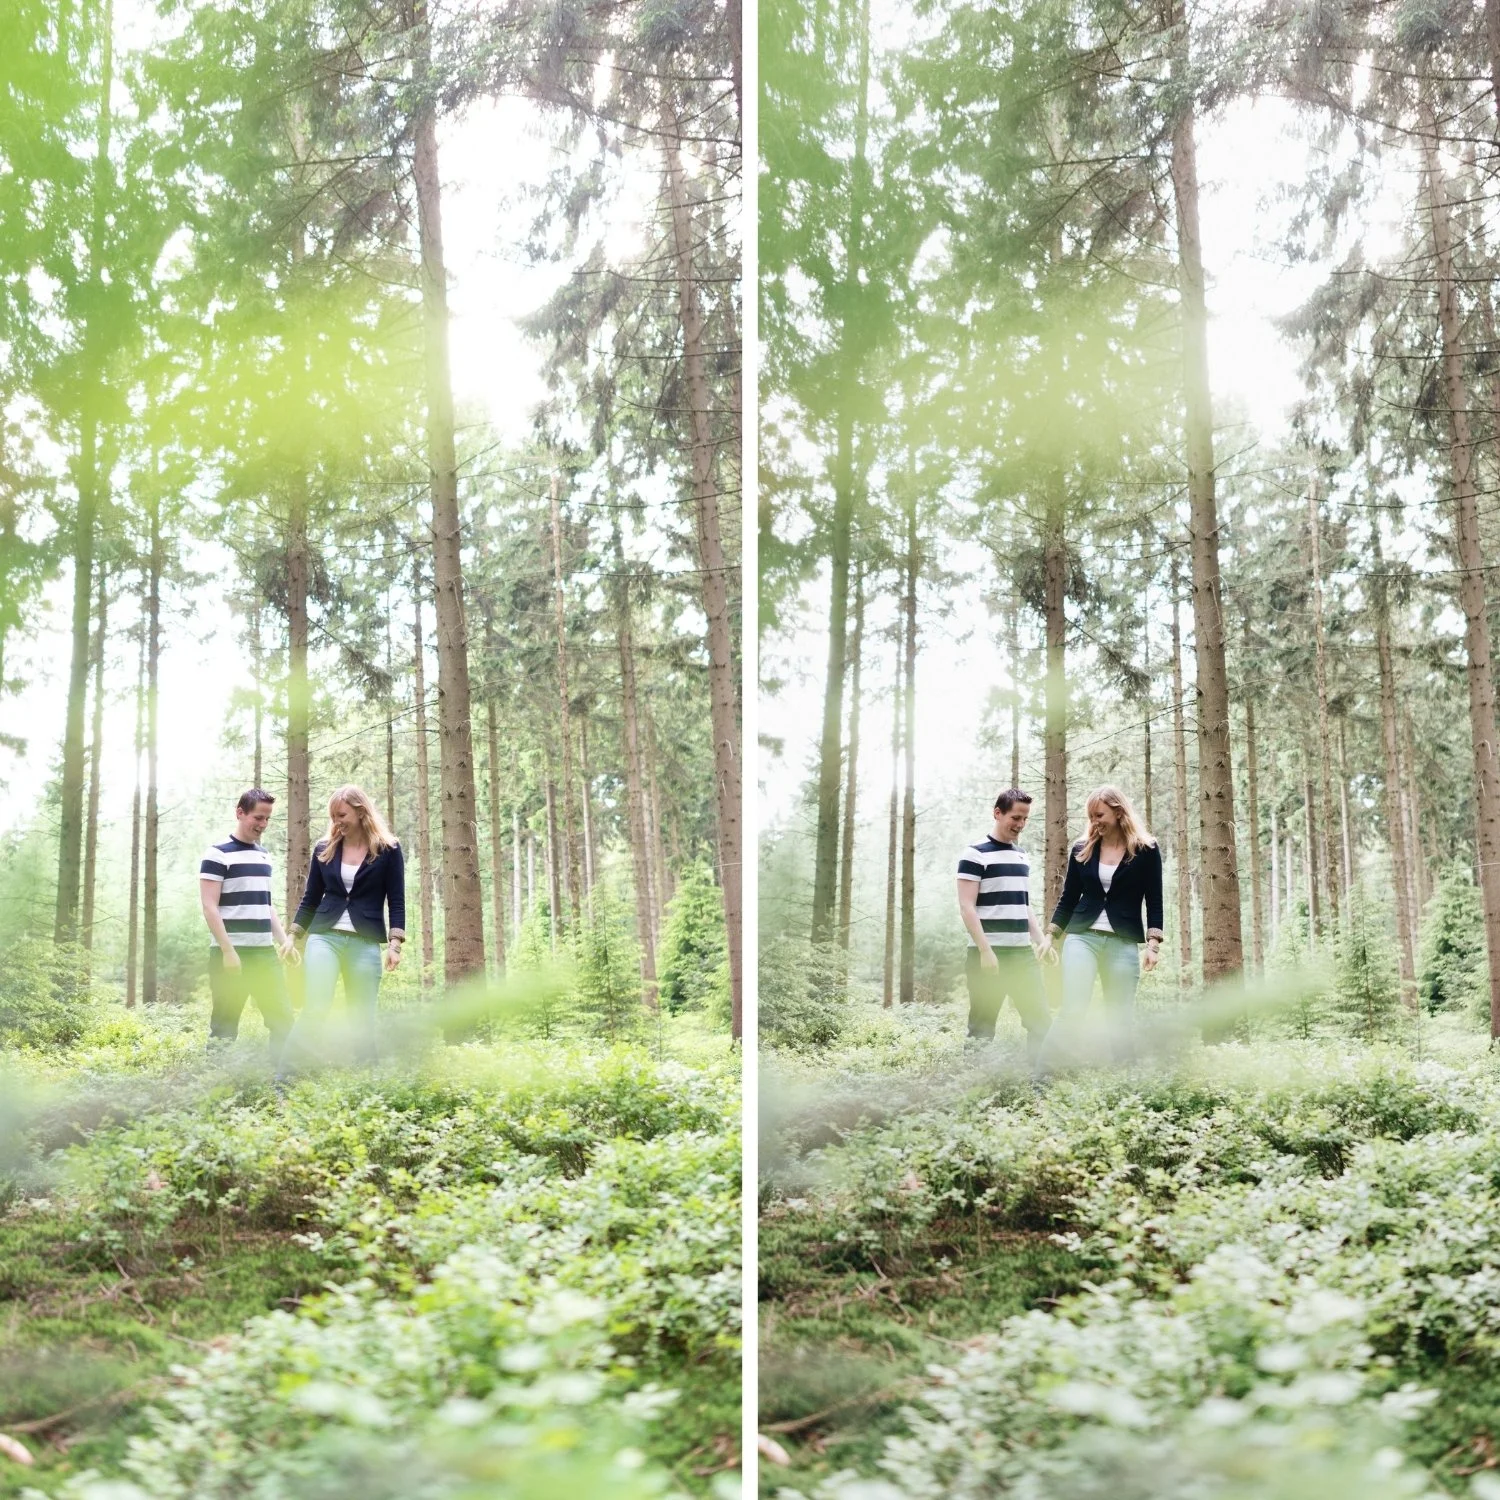
How Temperature and Tint Work Together
Correct white balance for film editing almost always requires both sliders to be set intentionally, not just Temperature. The neutral point for any light source is the combination of Temperature and Tint that removes the color cast of that light source. Moving away from neutral in one direction adds warmth, in another adds coolness, in another adds magenta, in another adds green.
For warm film aesthetics in outdoor daylight, a practical starting point is Temperature at 5,200-5,500K and Tint at +5 to +10. This creates a warm-neutral foundation with a slight magenta component that flatters skin and reinforces the warm film quality without yellowing whites.
For overcast and shade conditions, Temperature at 5,500-6,000K and Tint at +8 to +15 counteracts the cooler, slightly green-shifted quality of diffuse outdoor light while adding warmth toward the film direction.
For indoor warm ambient (tungsten, warm LED), Temperature at 3,200-4,200K and Tint at +5 to +12 manages the color balance of warm artificial light without pushing it into orange.
The Relationship Between White Balance and Color Grading
A common confusion in film editing is the interaction between white balance adjustment and Color Grading. Both add warmth, and stacking both in the same direction produces more warmth than either alone. This is frequently the cause of orange skin tones — the photographer has added warmth through Temperature, through Color Grading Highlights, and through a warm preset's HSL settings, and the three have combined to produce orange rather than warm.
The workflow solution is to establish white balance first, evaluate the color base, then apply Color Grading. Do not add warmth through both white balance and Color Grading without checking the result at each stage. If skin reads warm and natural after white balance correction, Color Grading can add the film highlight quality at lower Saturation (5-8). If skin already reads orange after white balance, reduce Temperature before adding Color Grading.
Using Temperature and Tint for Camera-Specific Calibration
Different cameras have different white balance behavior. Some cameras (particularly Sony) have a tendency to render slightly cool-green compared to Lightroom's assumed neutral. Others (Canon) are slightly warmer. When the same Temperature setting produces different-looking results on different cameras, the camera's color calibration is the cause.
For Sony files: a Tint increase of +5 to +12 above the baseline is typically needed to remove the slightly green cast that Sony's white balance rendering produces in diffuse light. For Canon files: the warmer color science means slightly lower Temperature values (by 100-200K) produce equivalent warmth to other cameras.
FAQ
Should I always use the Eyedropper tool for white balance?
The Eyedropper sets Temperature and Tint simultaneously to neutralize a selected color. For pure technical correction this is useful. For film editing, the target is not neutral — it is a specific warm character. Start with the Eyedropper on a neutral surface, then manually push Temperature and Tint toward the film direction from that corrected point.
Why does my skin look green even though Temperature is warm?
Green skin tones with warm Temperature indicate a negative Tint (green cast). Increase Tint by +5 to +15 to push toward magenta and remove the green cast. This often occurs when shooting under fluorescent or LED lighting without color correction.
Does white balance affect RAW and JPEG differently?
In RAW files, white balance is a non-destructive instruction applied during processing — it can be changed freely in Lightroom without quality loss. In JPEG files, white balance is baked into the file at capture and cannot be fully reversed in post. For film editing, RAW white balance flexibility is a significant advantage.
Apply correct white balance to your film edits:
Download the free Analog Film presetand test it at different Temperature and Tint settings to see how the starting white balance affects the final result.
For skin tone management that depends directly on correct white balance, How to Edit Natural Skin Tones covers the full process. For the warm film look in outdoor conditions, How to Create a Timeless Travel Aesthetic applies Temperature and Tint calibration to travel photography specifically.
