From Flat RAW to Cinematic Film Look
From Flat RAW to Cinematic Film Look
A flat, undercontrasted RAW file is not a failed photograph — it is an ideal starting point. The deliberate practice of exposing toward the flat end of the histogram, or shooting in a camera profile that retains maximum tonal range, provides the material that cinematic film editing requires. You cannot create detail that was not captured; you can transform detail that exists into a cinematic film quality.
This guide covers the complete workflow from a flat RAW starting file to a finished cinematic film look.

Why Flat Starting Files Are Ideal
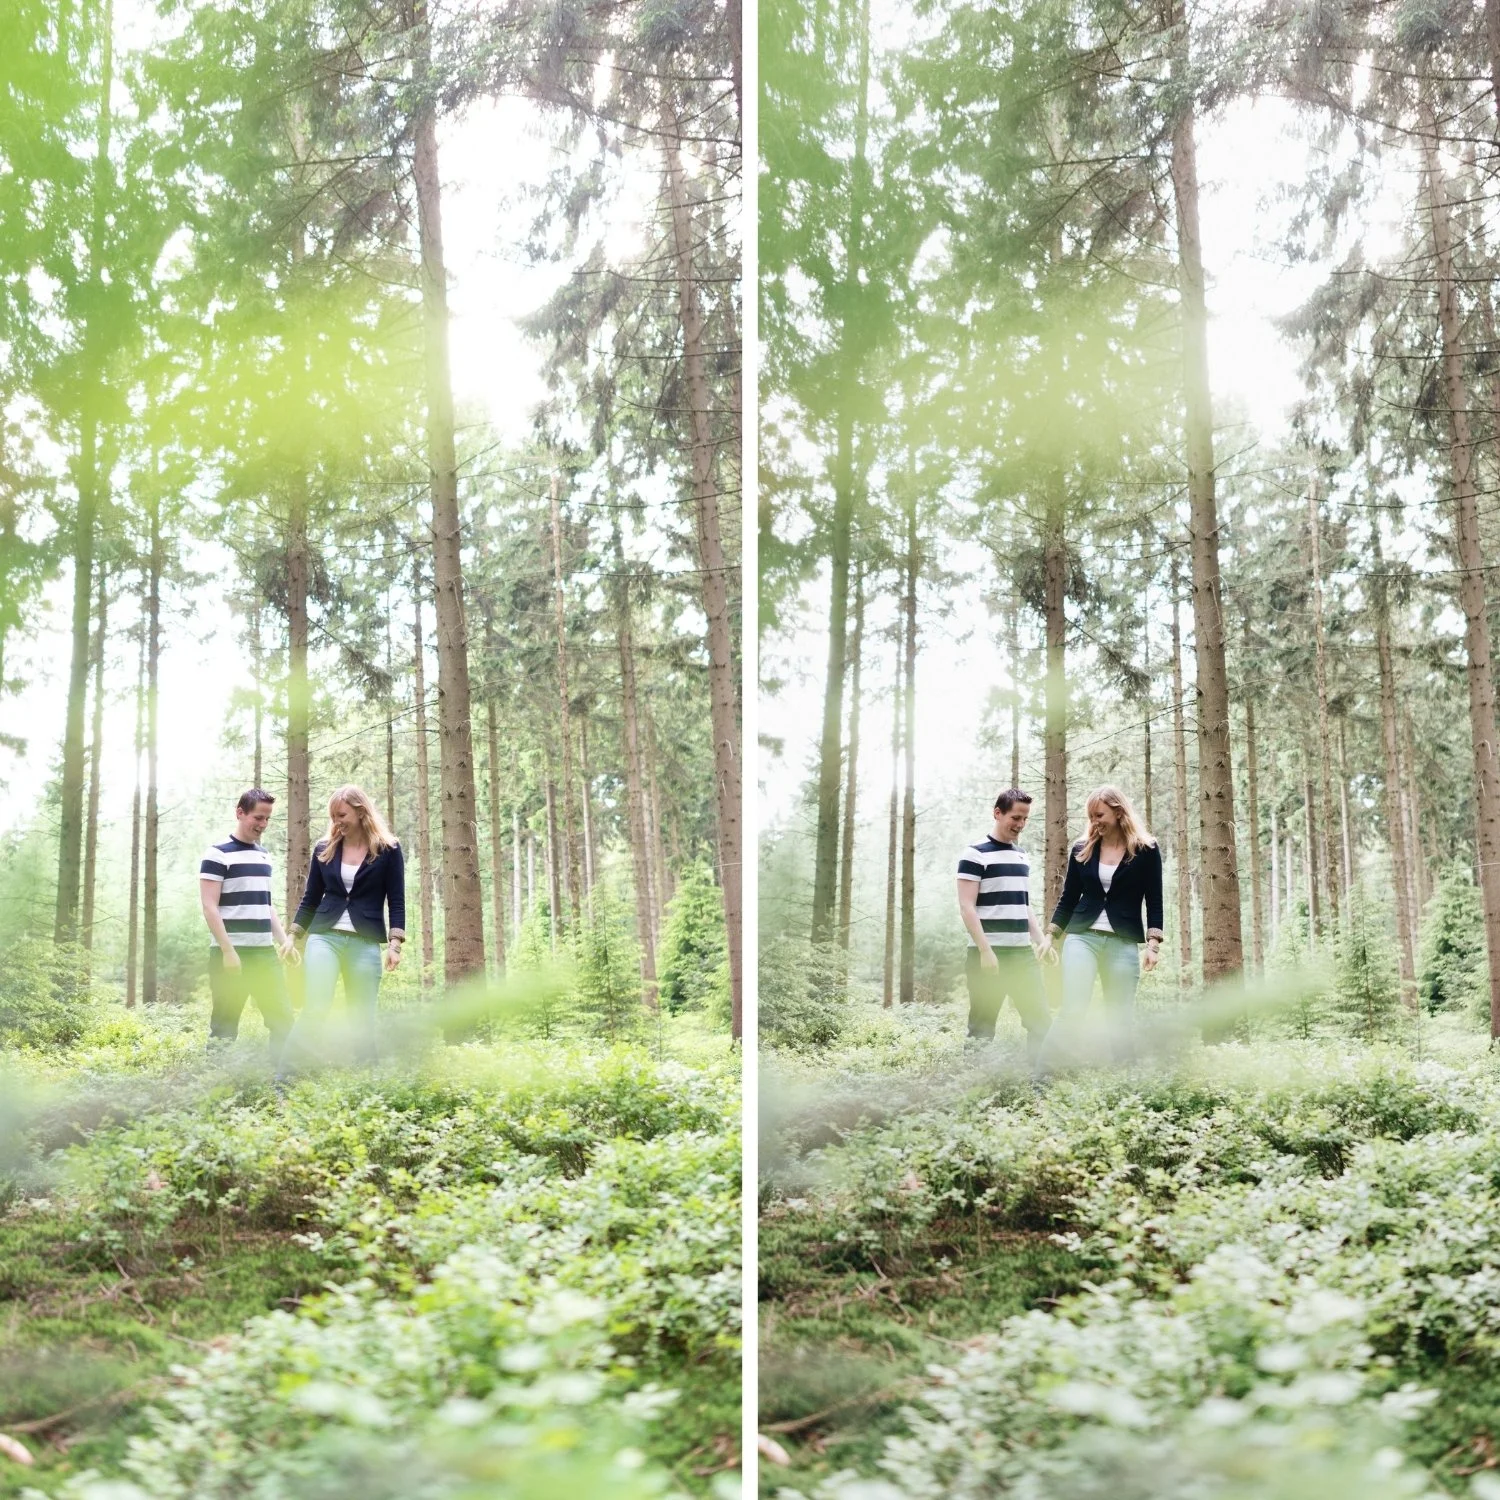
The cinematic film aesthetic requires two properties that conflict directly with the in-camera contrast and color processing that most cameras apply. First, protected highlight detail — the creamy roll-off of film photography that only exists when highlight data was not clipped in camera. Second, shadow detail that can be placed precisely — the dimensional dark areas that carry grain and atmosphere without going absent.
A flat RAW or log-style starting file preserves both. Highlights are far from clipping. Shadows retain detail rather than crushing. The tonal range is wide and workable. The only thing the flat file lacks is the contrast, color, and warmth of the intended aesthetic — which is precisely what the editing workflow adds.
In contrast, a camera-processed JPEG or a RAW file with heavy in-camera Picture Profile applied has already made decisions about contrast and color that the editing workflow then has to work around or undo. Flat starting material gives the editor full control.
Step 1: Assess the Flat Starting File
Before any adjustments, identify what the flat file has. A well-exposed flat RAW should have:
A histogram centered in the middle-to-right area with no clipping on either end. Detail visible in shadows — they should be dark but not black. Highlights that are present and detailed rather than blown. Flat, desaturated color that reads as grey-beige rather than vivid.
If the flat file has black shadows (crushed) or white highlights (blown), the exposure was not correct for the intended flat capture. This is fundamentally different from a correctly flat file.
Step 2: Cinematic Contrast Build
The flat starting file has no contrast. The editing adds all of it deliberately. This is the most important stage because the contrast structure defines whether the result reads as cinematic or as flat-with-some-warmth-added.
Contrast: -5. The global contrast is not needed because the Tone Curve will provide all the separation. Keeping global contrast near zero prevents digital punch being added alongside the curve.
Tone Curve — the cinematic shape: Shadow point lifted to output 18. Control point at input 55, output 50 (gentle lower-midtone compression). Control point at input 188, output 208 (upper-midtone lift for the subjects and skin range). Control point at input 220, output 225 (gentle continued lift into the highlights). Highlight point pulled to output 232 (protected roll-off).
This curve does significant work on a flat starting file — it provides all the separation that the flat original lacked. The shape is the cinematic film Tone Curve: dimensional and layered rather than globally punchy.
Step 3: Color — Building From Neutral
A flat starting file has neutral, desaturated color. The editing builds the color from this neutral base in a controlled way.
White balance: assess and set correctly first. A flat file often looks grey-beige because of both the flat profile and a neutrally-rendered white balance. Determine the ambient light temperature and set Temperature and Tint to match. For warm cinematic aesthetics, 5,200-5,500K, Tint +6-10.
HSL adjustments for the cinematic direction: Green Saturation: -20 to -25. The flat starting point means there is relatively less vivid green to correct, but the adjustment still creates the organic outdoor quality. Orange Saturation: -12 to -18, Orange Luminance +10. Blue Saturation: -12 to -18.
Step 4: Color Grading for Cinematic Character
Color Grading does more visible work on a flat starting file than on a correctly exposed in-camera processed file, because the neutral base allows the Color Grading to be the primary color character rather than a correction on top of existing color.
Highlight Hue 45, Saturation 10. The golden warm quality in highlights — slightly more Saturation than on a warm-ambient starting file because the flat starting point needs more Color Grading contribution to reach the warm aesthetic.
Shadow Hue 210, Saturation 7. The cool shadow depth — also slightly higher Saturation because the flat file's neutral starting point allows the Color Grading to work cleanly without compounding existing color casts.
Step 5: Grain Integration on Flat Files
Grain on a flat starting file that has been processed through a strong Tone Curve integrates differently from grain on a normally-processed file. The strong curve has created tonal separation that makes the grain more visible in the shadow range and less visible in the highlights.
Grain: Amount 20, Size 28, Roughness 56. These values suit the flat-to-cinematic workflow because the processed result has the dimensional tonal range that makes grain integrate organically.
The Flat Capture Workflow for Consistency
Photographers who deliberately shoot flat for cinematic editing benefit from consistent application. Shoot in Adobe Standard or Camera Standard picture profile (not with in-camera creative styles applied). Expose to the right — slightly brighter than the scene meter suggests, to place the important tonal information in the upper half of the histogram where the sensor's performance is best.
This produces consistently flat starting files that the cinematic film workflow can transform into consistent results.
FAQ
Is shooting flat the same as shooting log?
Log shooting is a specific flat profile designed for video color grading, used in hybrid photo-video cameras. Shooting flat for photo editing means choosing a minimal in-camera picture profile that preserves tonal range without the extreme log compression of video profiles. The editing approach is similar but the specific adjustments differ.
Do I need to shoot flat for a cinematic film look?
No. The cinematic film look is achievable from correctly exposed RAW files with standard in-camera processing. Flat starting material makes the process more controlled but is not a requirement.
Does the flat capture workflow improve results on iPhone?
iPhone ProRAW files, shot with minimal Smart HDR processing, approximate flat capture for mobile photography. Standard JPEG mode on iPhone applies significant in-camera processing that cannot be fully reversed.
Apply the cinematic film workflow to your own photos:
Download the free Analog Film preset and test it on a flat starting file to see the full transformation.
For the cinematic film aesthetic philosophy, Cinematic but Natural Editing Style Guide covers the complete approach. For the Tone Curve fundamentals that drive this workflow, Understanding Color Curves for Film Editing covers the specific curve shapes.