How to Edit Golden Hour Photos in Lightroom (2026)
How to Edit Golden Hour Photos in Lightroom (2026)
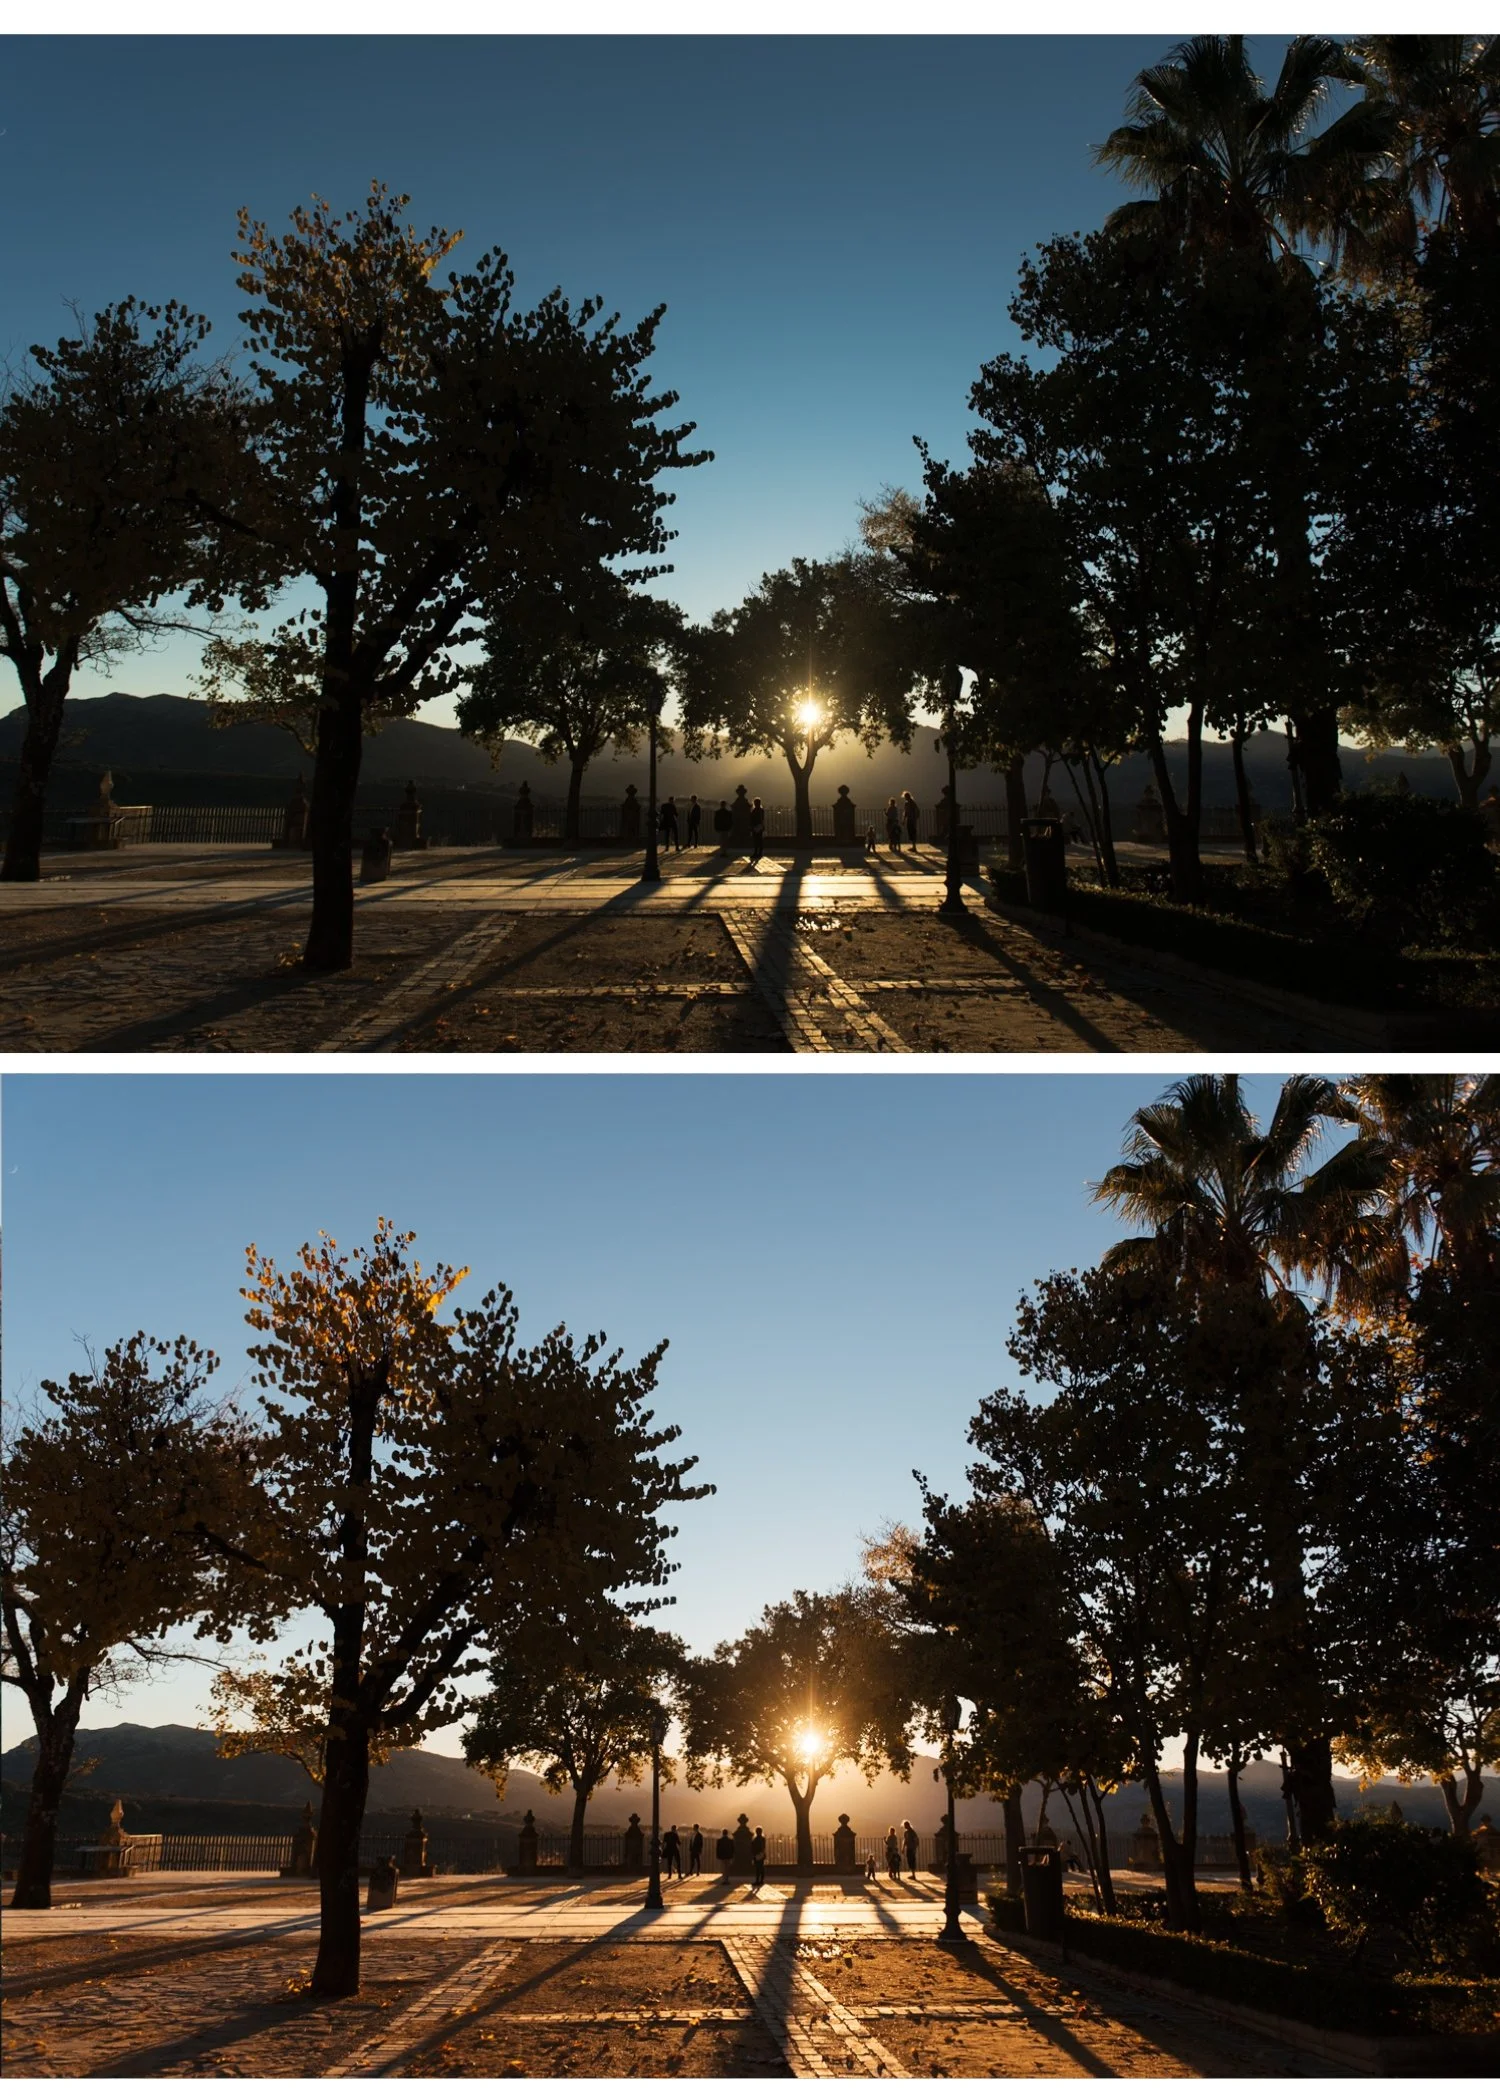
Golden hour photography has one editing mistake that ruins more photos than any other: over-correcting the warmth. Auto white balance neutralizes the golden quality that makes golden hour worth shooting. The entire goal of editing golden hour photos is to preserve and enhance the light — not correct it.
The golden hour editing philosophy
Golden hour light is warm, directional, and flattering. The shadows it creates are soft and warm. The highlights are golden and luminous. The color temperature is 3,000-5,000K depending on how close to sunrise or sunset.
Your edit should do two things: protect the highlights from clipping and preserve the warmth that the camera's auto white balance tried to neutralize.
Everything else is secondary.
Step 1 — Fix white balance first
Auto white balance in golden hour typically sets Temperature too low — 4,500-5,200K when the actual light is 4,000-5,500K. The camera is trying to make it "correct" and removes the golden quality.
Set Temperature manually:
Golden hour (1-2 hours before sunset): 5,500-6,200K
Sunset (final 20-30 minutes): 5,200-5,800K
Blue hour (20-40 minutes after sunset): keep Auto or set 4,800-5,200K — the cool quality of blue hour is part of the aesthetic
Tint: +5 to +8 for golden hour. The warm light often has a slight green contamination from ambient fill.
Step 2 — Protect the highlights
Golden hour light creates luminous, beautiful highlights — but they clip easily. Blown highlights in a golden hour photo look harsh and ruin the soft, luminous quality.
Highlights: -40 to -55.Whites: -20 to -30.
After pulling both: check bright skin areas, the sky, and any reflective surfaces (water, windows). If still clipping, add Tone Curve ceiling compression (top anchor down 6-8 units).
Step 3 — Lift the shadows
Golden hour shadows are naturally warm and soft. They should be open and visible rather than dark and crushed.
Blacks: +18 to +22.Shadows: +15 to +20.
The warm shadow floor of the film look pairs naturally with golden hour light — the ambient warmth and the Color Grading warmth reinforce each other.
Step 4 — Color
Vibrance: -8 to -12. Golden hour is already vivid. Reducing Vibrance prevents the edit from going overly saturated while preserving the natural warmth.
Orange Hue: +5 to +8 toward yellow. Shifts golden tones from vivid-orange toward warm-golden.
Yellow Saturation: +5 to +8. Golden hour has rich yellow tones in warm surfaces, foliage, and skin. A slight lift enhances this without going vivid.
Shadow Color Grading: Hue 38-42, Saturation 14-16. Reinforce the golden ambient warmth in the shadow areas.
Step 5 — Apply preset
A4 Golden Warmth is calibrated for this scenario exactly. Apply at 85%.
V5 Golden Velvet for richer, more cinematic golden quality.
A6 Clean Portrait for portrait-specific golden hour with the most natural skin tones.
Common golden hour editing mistakes
Warming white balance too much. Temperature above 6,500K on golden hour photos starts pushing skin toward orange and highlights toward yellow. The sweet spot is 5,500-6,200K — warm but not excessive.
Not pulling Highlights far enough. Blown highlights in golden hour photos are the most obvious editing error. Pull to -50 or beyond on bright areas.
Adding Color Grading on top of already-warm light. The ambient warmth plus a warm preset plus warm Color Grading creates triple-stacked warmth. Keep Shadow Color Grading at Saturation 12-14 maximum in golden hour.
FAQ
What time exactly is golden hour?
Roughly the hour after sunrise and the hour before sunset. The exact window varies by season and latitude — in northern Europe in winter, golden hour can last 2-3 hours. In summer at the equator, it is 20-30 minutes. Apps like PhotoPills and The Photographer's Ephemeris give precise times.
Should I expose for highlights or shadows in golden hour?
Expose for the highlights in camera. Blown highlights cannot be recovered in JPEG and have limited recovery even in RAW. Underexposed shadows are easier to lift. Expose so the brightest areas are not clipping on the histogram.