Lightroom Film Presets (Complete Overview Guide)
Lightroom Film Presets — Complete Overview Guide (2026)
Lightroom film presets are saved editing configurations that replicate the color science, tonal quality, and grain characteristics of analog film photography. One tap applies the complete film look — lifted blacks, soft highlight roll-off, warm shadow toning, muted organic color, and film grain — to any photo in Lightroom Mobile or Lightroom Classic.
This guide covers everything you need to know before choosing, buying, or using Lightroom film presets.
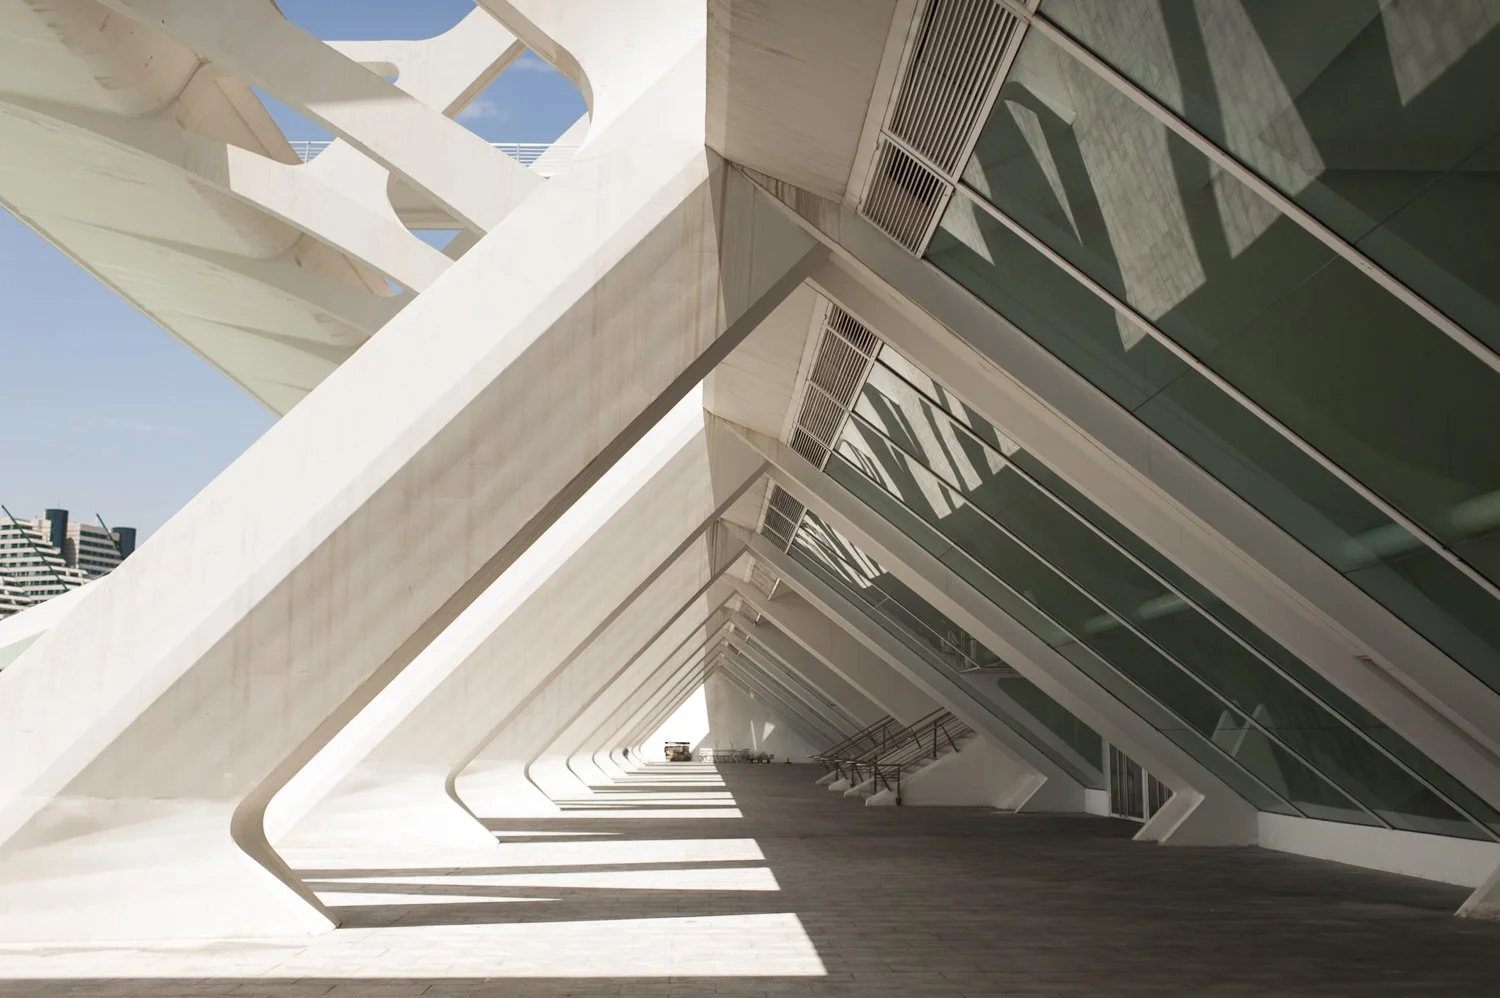
Before
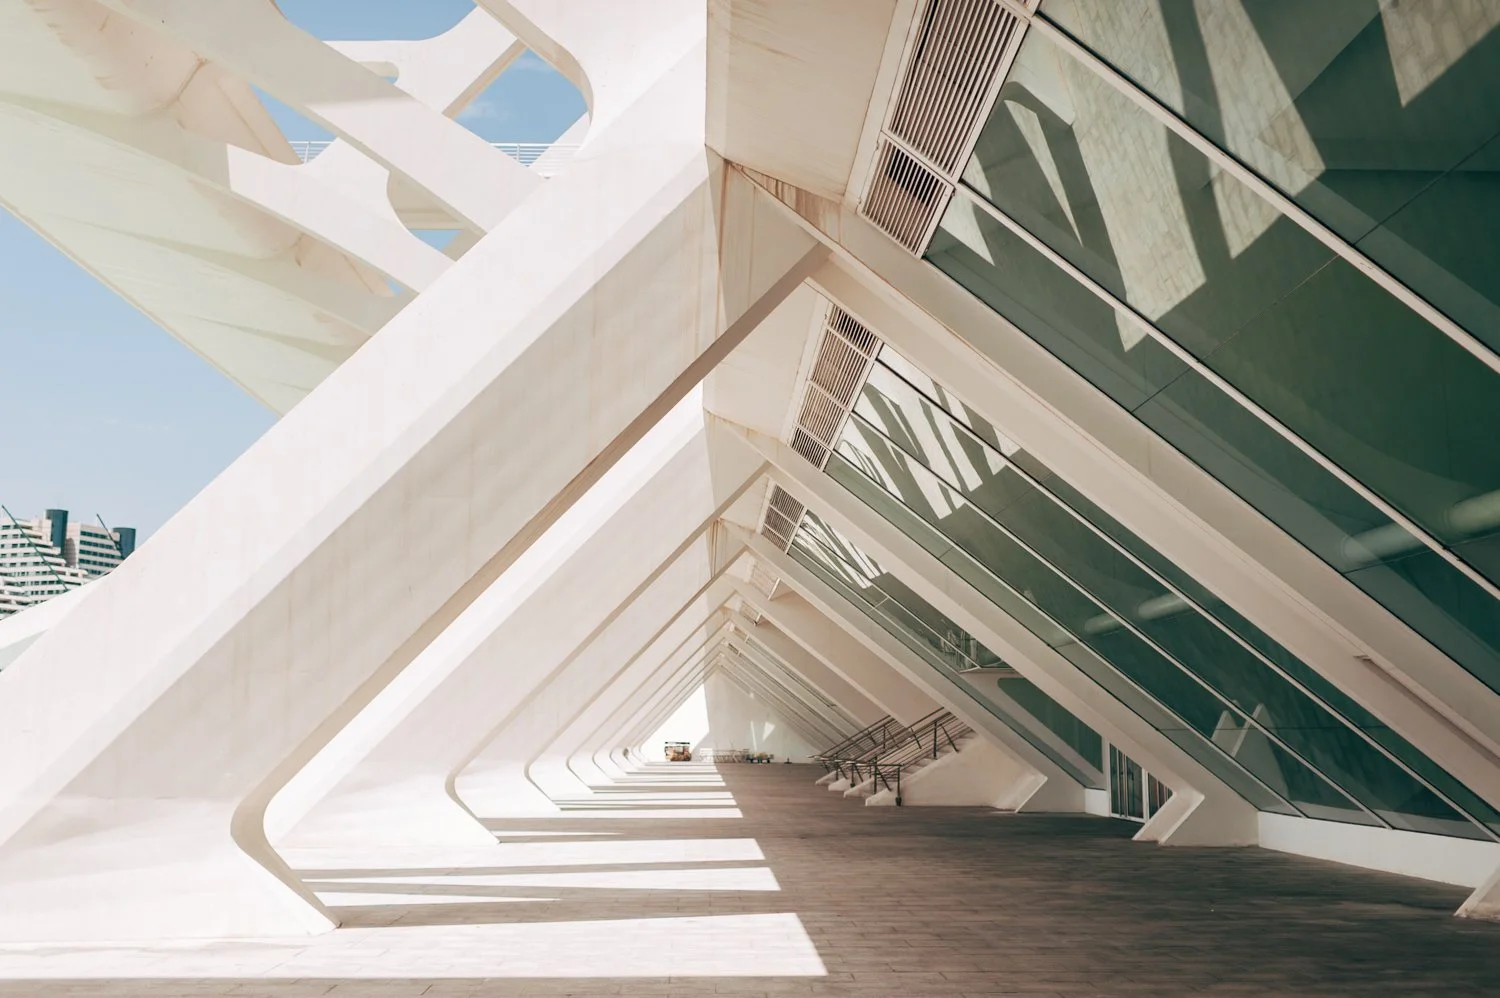
After
What Lightroom film presets actually do
A film preset saves a set of Lightroom adjustments as a reusable configuration. The adjustments that create the film look — tone curve, color grading, HSL color settings, grain, clarity — are all stored in the preset file and applied simultaneously when you tap or click.
The result depends entirely on the quality of the preset's calibration. A well-calibrated film preset produces organic, natural analog color. A poorly calibrated one produces an Instagram filter quality that makes photos look obviously edited.
What presets cannot do: fix exposure errors, change composition, or rescue a photo that did not work in camera. They add color and tonal character to correctly prepared photos.
The four film preset directions
Film photography covered many aesthetics. Modern Lightroom film presets organize into four primary directions.
Clean analog film. References the natural, everyday quality of professional film photography — Kodak Portra, Fuji 400H, everyday color negative film. Warm, natural skin tones, lifted blacks, soft contrast, slightly muted color. The most versatile and universally applicable direction.
Moody cinematic film. References the atmospheric quality of cinema photography and dramatic film stocks. Deeper shadows, stronger color grading, muted desaturated palette, emotional depth. Suits street photography, moody travel, and atmospheric portraiture.
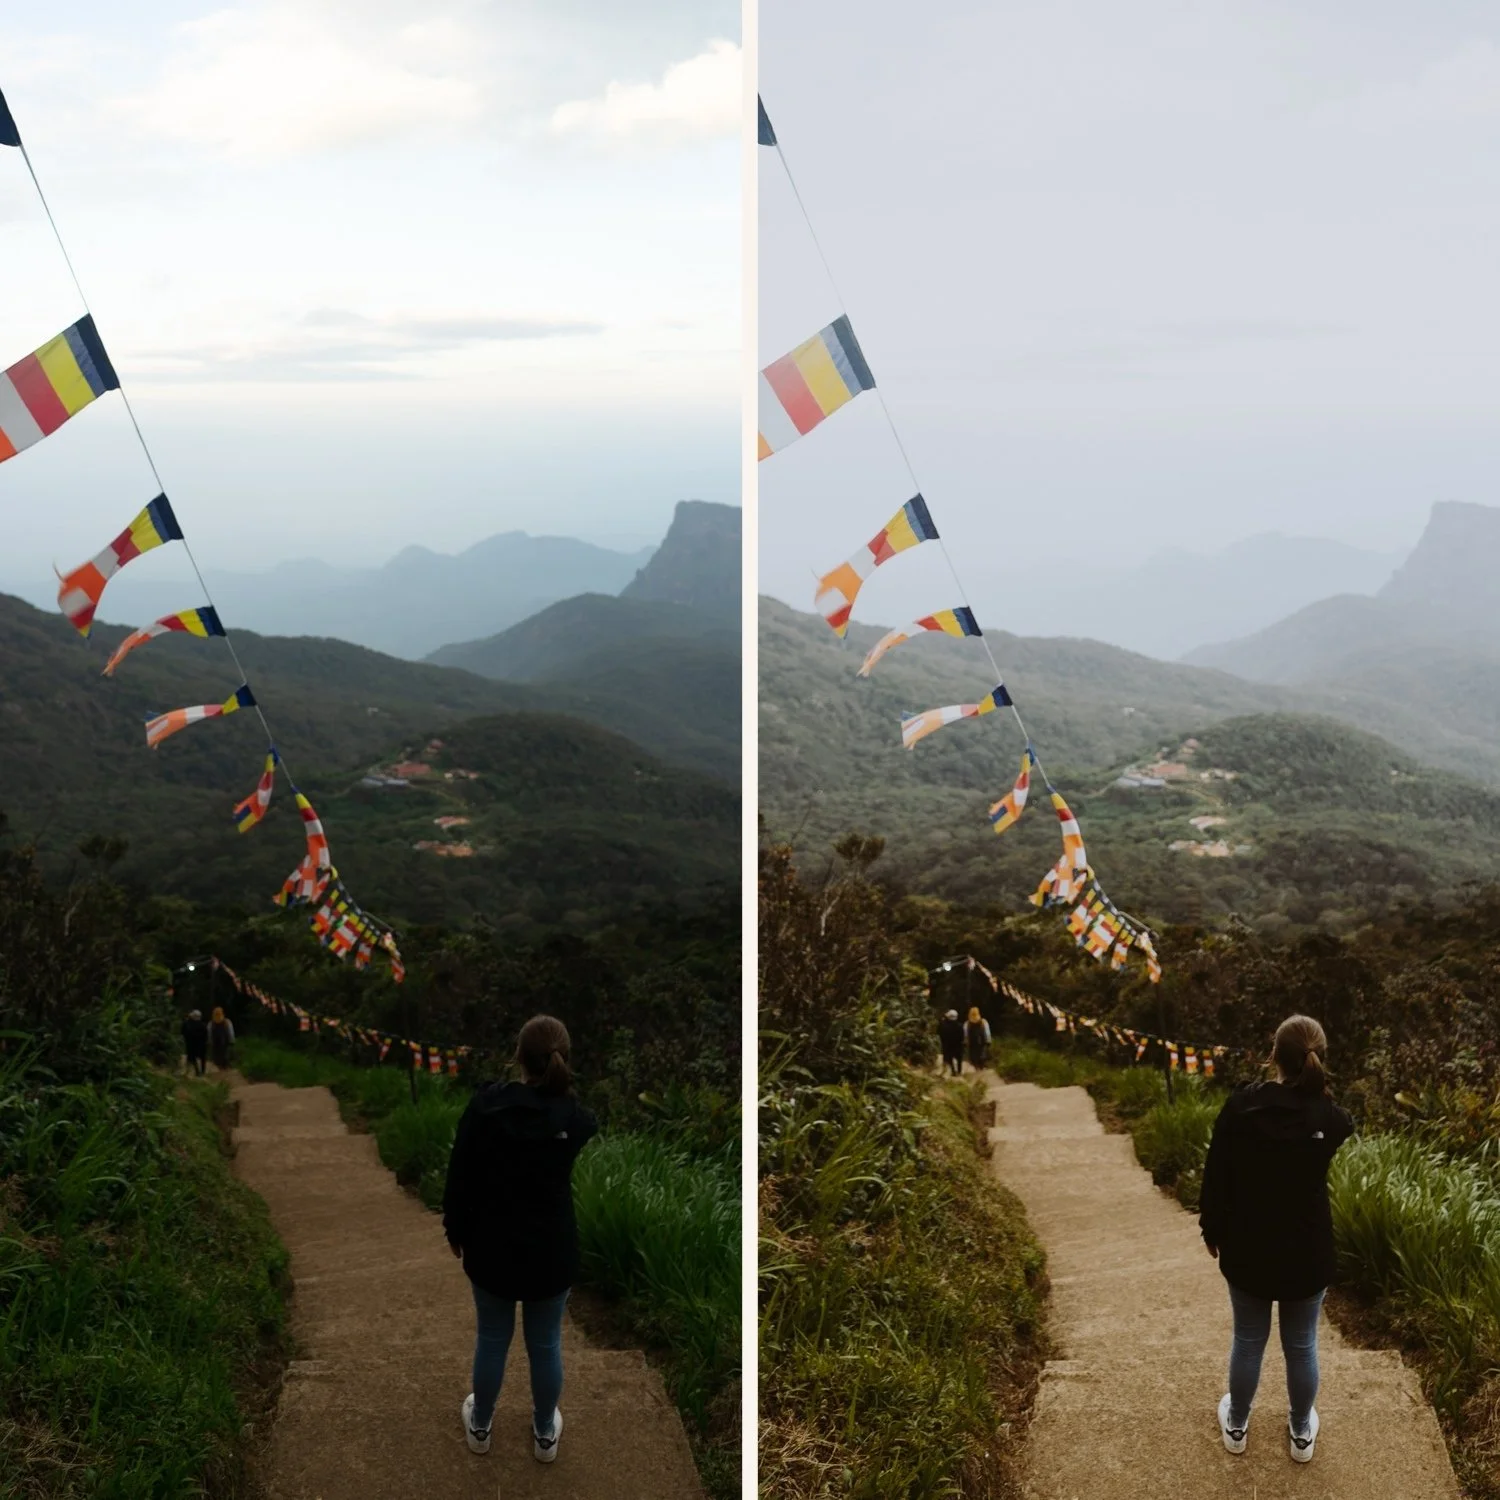
Bright and airy film. References high-key film photography — overexposed film stock, soft pastel quality, luminous brightness. Lifted highlights, minimal shadows, clean pastel color. Suits lifestyle content and bright portrait photography.
Muted luxury film. References desaturated, sophisticated analog photography. Reduced saturation across all channels, cool quality, editorial restraint. Suits fashion, architecture, and content where sophistication is the priority.
Which direction is right for you
The test is simple. Download the free A6 (clean analog) and M5 (warm moody) presets. Apply both to twenty of your photos. One direction will immediately feel more right for your subject matter and photography style.
✨ DOWNLOAD FREE A6 — CLEAN ANALOG ✨
✨ DOWNLOAD FREE M5 — WARM MOODY ✨
If bright and airy is your direction: try the Bright and Clean Archive.
If muted luxury: the Luxury Archive (LV-Series) or Old Money aesthetic presets.
Lightroom film presets: free vs paid
Free presets are the correct starting point. The free A6 and M5 presets are genuine professional quality. They install in Lightroom Mobile in two minutes and are completely free with no subscription required.
Paid preset collections add two things. First: calibration across multiple lighting conditions. A6 is calibrated for one scenario. The full Analog Film Archive gives you ten calibrated variations of the same clean analog direction — for bright outdoor, golden hour, overcast, indoor, and low light, all on the same color philosophy.
Second: consistency across a gallery. A single preset creates consistent results in consistent light. A calibrated system creates consistent results across varied light. For photographers who shoot across different conditions, the system pays for itself in editing time.
Full comparison: Free Presets vs Paid Presets
DNG presets vs XMP presets
Film presets for Lightroom come in two formats.
DNG presets are used for Lightroom Mobile installation. The DNG file is imported into Lightroom as a photo, then the settings are copied and saved as a preset. Works on iPhone and Android.
XMP presets are used for Lightroom Classic on desktop. Import via the File menu or drag into the Presets panel. Works on Mac and Windows.
Most professional preset packs include both formats. When you purchase from The Editing Studio, you receive both DNG and XMP files.
How to use film presets correctly
A preset produces its best result when applied to a correctly prepared photo. Three things to check before applying:
Exposure is correct. A preset applied to an underexposed photo looks too dark. Fix Exposure first.
White balance is correct. A warm preset on an already-warm indoor photo creates orange results. Fix white balance before applying.
Starting point is appropriate. Phone photos need Sharpening reduced (15-20) and Clarity set to -10 before applying for the most natural results.
The preset adds its film character on top of a correct foundation — not on top of problems.
Film presets for different photography types
Portrait: Glow Portrait Archive (G-Series) for skin-specific calibration. Analog Film Archive (A-Series) for versatile portrait and lifestyle work.
Travel: Vesper Archive (V-Series) or California Archive (C-Series).
Full guide: Best Lightroom Presets for Travel Photography 2026
Wedding: Essence Archive (E-Series). Eight presets calibrated specifically for the varied lighting of a full wedding day.
Street: Moody Film Archive (M-Series) or X Archive for B&W.
Landscape: California Archive (C-Series) or Vesper Archive for outdoor scenes.
The complete film preset collection
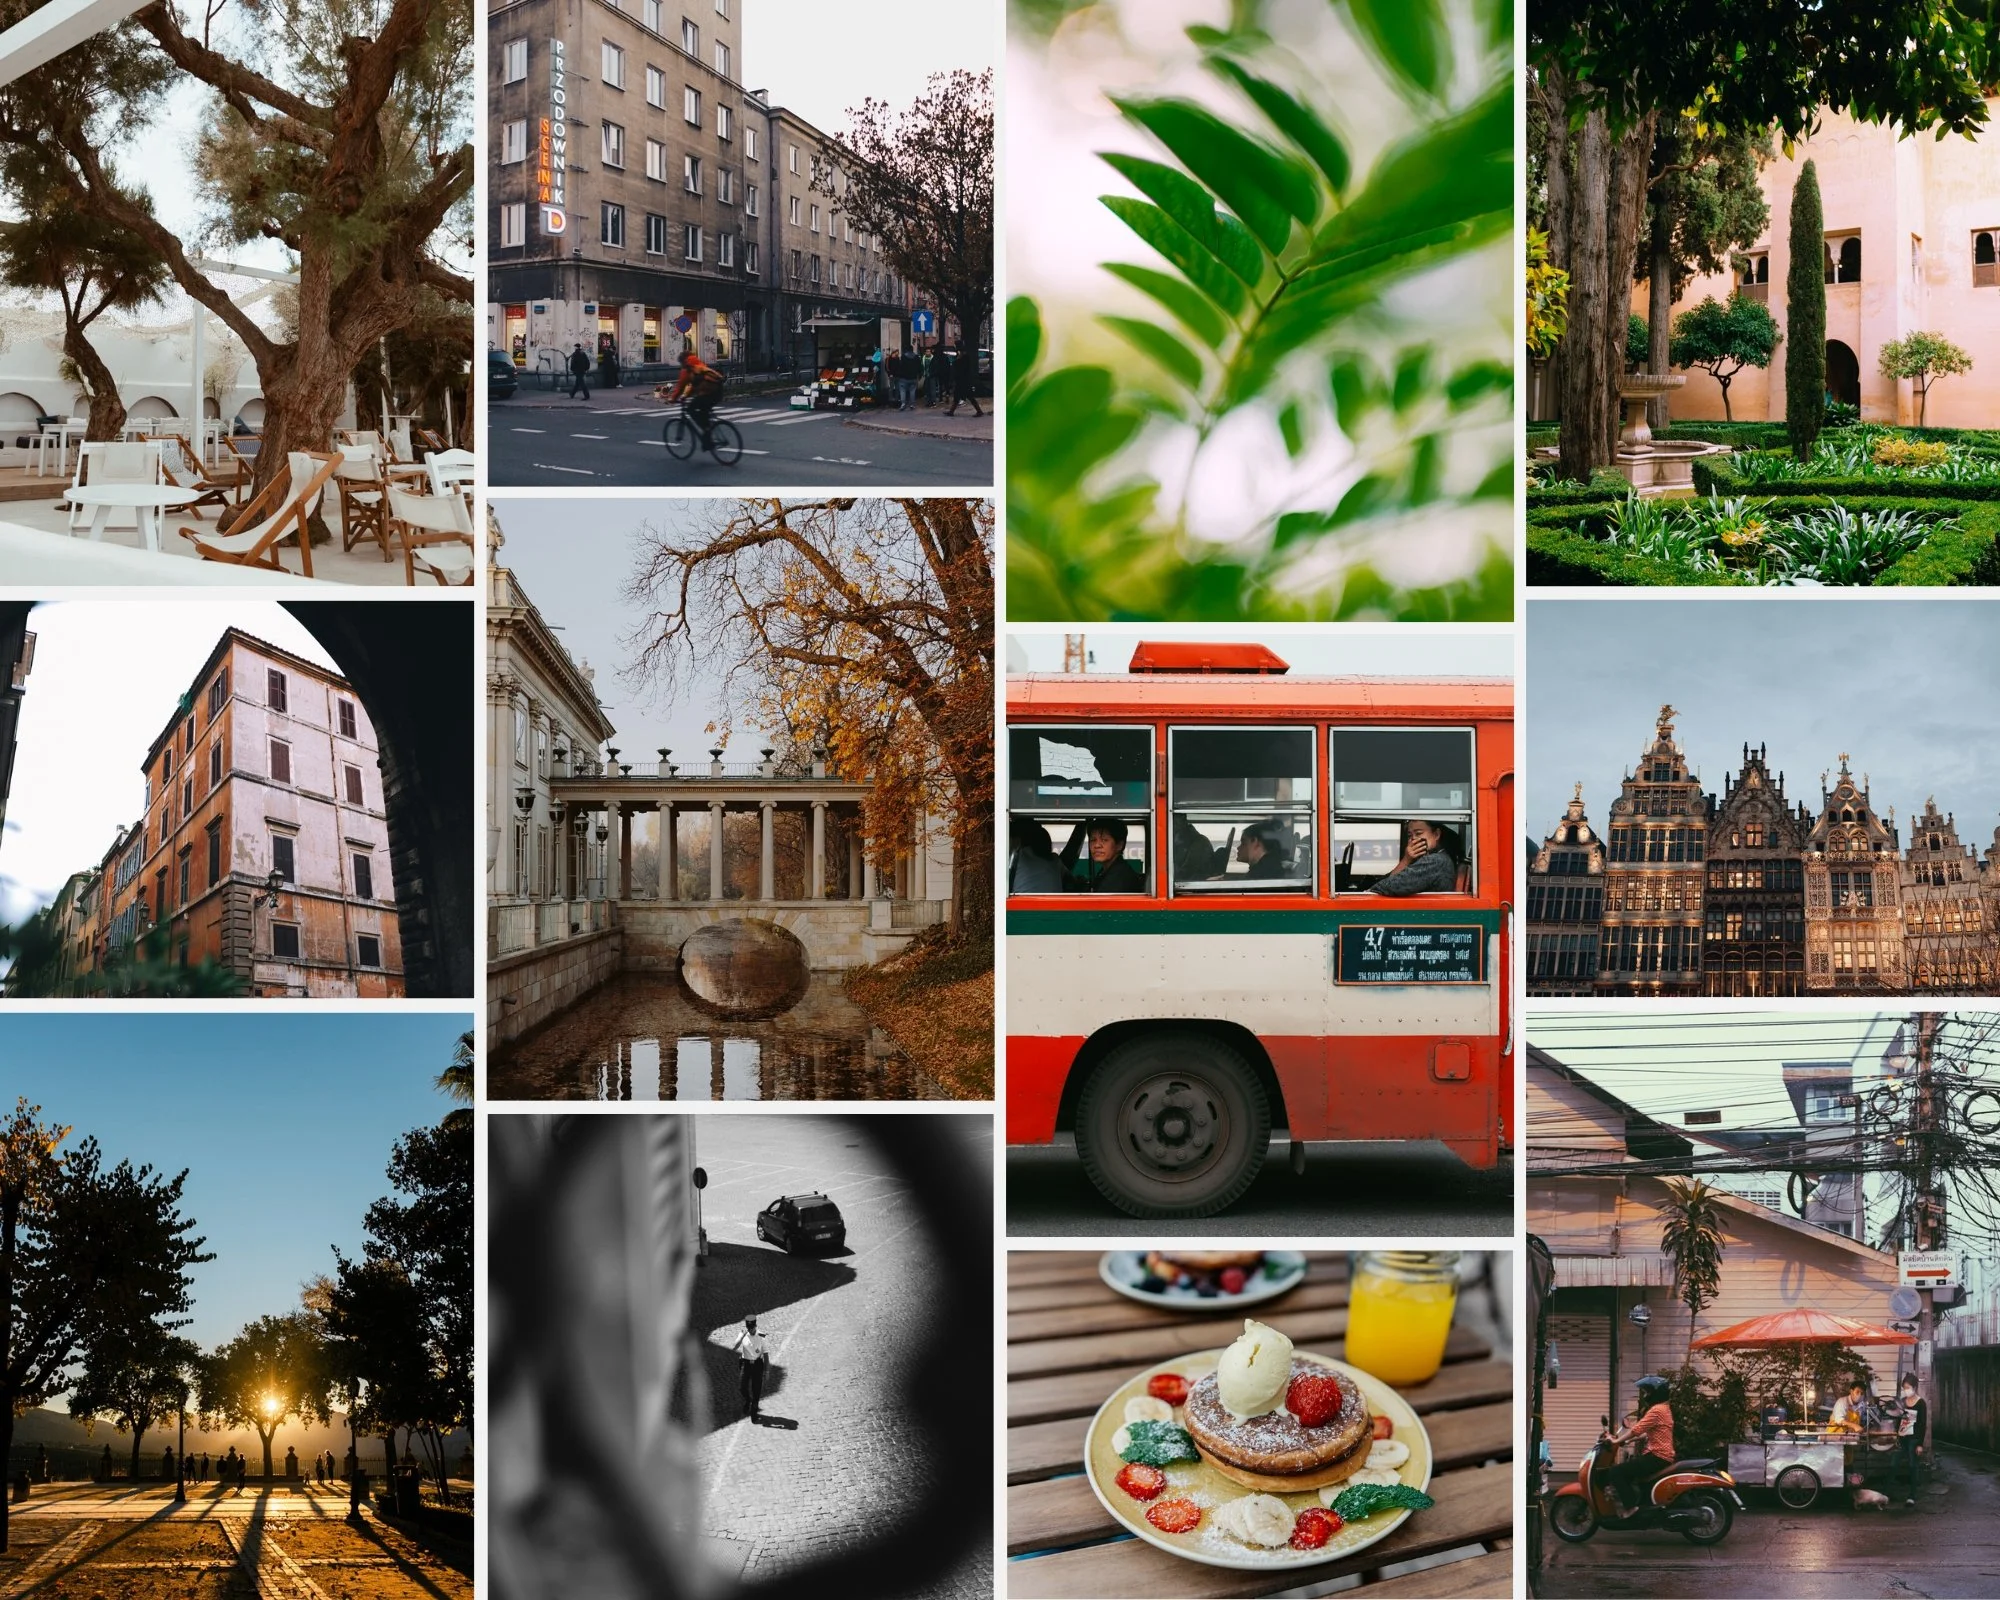
The Studio Archive contains every preset collection we make — 130+ presets for $89. That is $0.68 per preset with lifetime access and every new release included.
FAQ
Do Lightroom film presets work on RAW files?
Yes — RAW files give presets the most latitude because the full sensor data is available. Presets also work on JPEG and phone photos with appropriate preparation.
Do I need Lightroom Creative Cloud to use film presets?
No. Lightroom Mobile is free and supports preset installation without any subscription.
How many presets do I need?
Start with two — the free A6 and M5. Test both. Then expand in the direction that works for your photography. Two to five presets cover most photographers' needs.
