Presets Look Different on Mobile: Why?
Why Presets Look Different on Mobile
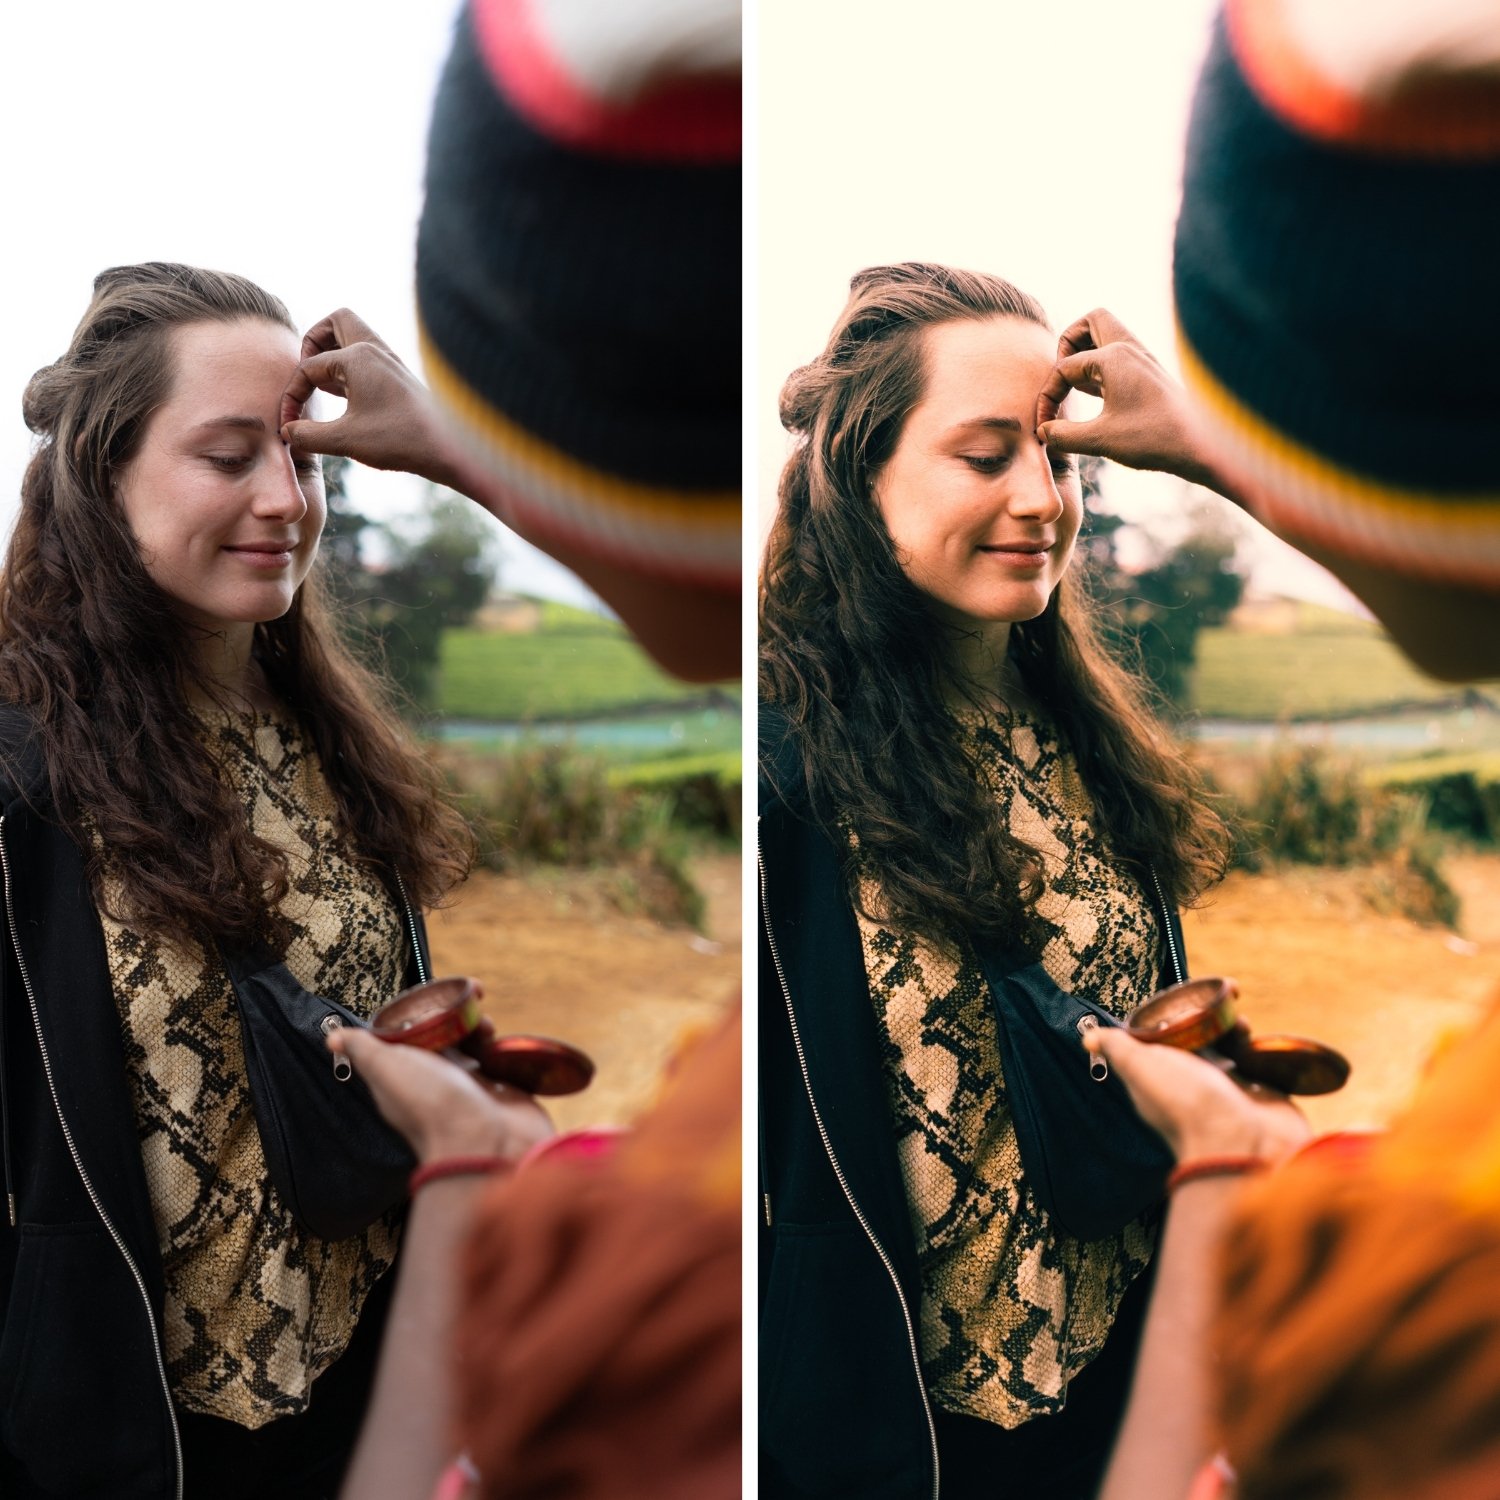
You apply a preset on your desktop and it looks exactly right. You apply the same preset on your phone and something is off. The colours are more saturated, or the shadows are deeper, or the skin reads differently. The preset is the same. The photograph might even be the same file. Yet the result is not.
This is a common and solvable problem with five distinct causes. Working through them in order identifies which one applies to your situation.

Cause One: Screen Calibration
This is the most common cause and the easiest to overlook.
Phone screens, particularly OLED displays on recent iPhone and Samsung devices, are calibrated for vivid, high contrast viewing rather than colour accuracy. Default display settings on many Android devices push saturation noticeably beyond what a calibrated monitor shows. Apple's True Tone adjusts the white balance of the display based on ambient light, which means the same photograph looks warmer or cooler depending on the room you are in.
The practical result is that a photograph which looks correctly saturated on a calibrated desktop monitor can look oversaturated on a phone, or the reverse.
The fix is to decide which screen is your reference. If your work is primarily viewed on phones, editing on a phone is arguably correct. If you deliver for print or professional use, edit on a calibrated monitor and treat the phone view as approximate.
On iPhone, disabling True Tone in Display settings while editing removes one variable. On Android, switching the display mode from Vivid to Natural does the same.
Cause Two: File Format Differences
If the file you are editing on mobile is a JPEG or HEIC and the file you edited on desktop was a RAW, the preset is being applied to fundamentally different starting material.
RAW files have wider tonal latitude and no in camera processing baked in. JPEG and HEIC files have already had contrast, sharpening, and tone mapping applied by the camera. A preset that pulls Highlights to negative 35 has genuine highlight data to work with on a RAW file. On a JPEG where the camera already clipped those highlights, the same adjustment has almost no visible effect.
This is why preset strength recommendations differ by format. HEIC vs JPEG vs ProRAW covers the format differences in detail and why they matter specifically for film preset editing.
The fix is to apply presets at 80 to 85 percent strength on JPEG and HEIC files rather than full strength, which compensates for the processing already present in the file.

Cause Three: Unsupported Settings
Lightroom Mobile does not support every control that Lightroom Classic offers.
Local adjustments including radial and linear gradients, certain lens correction profiles, and some Detail panel settings are either handled differently or unavailable in Lightroom Mobile. A preset built on desktop that includes these will apply only partially on mobile, producing a visibly different result.
Well built preset collections deliberately avoid depending on desktop only controls so the same preset produces the same result on both platforms. If a preset consistently behaves differently across your devices, this is a likely cause, and the format explanation in DNG vs XMP Presets covers which settings transfer cleanly between platforms.
Cause Four: Different Source Files
This sounds obvious but it catches photographers regularly. If you shot in RAW plus JPEG, your desktop catalog may contain the RAW while your phone gallery contains the JPEG. Same moment, same camera, different file.
Similarly, if you imported photographs into Lightroom Mobile from your phone's camera roll rather than syncing from your desktop catalog, you may be editing the phone processed version rather than the original.
The fix is to verify which file you are actually editing. In Lightroom Mobile, file format is visible in the photograph's information panel.
Cause Five: Sync State
If you use Lightroom cloud sync and the photograph has not finished syncing, you may be viewing a lower resolution smart preview rather than the full file. Edits apply correctly but the preview rendering can differ from the final result.
Allow sync to complete before evaluating a preset's appearance. The sync status indicator shows progress. Syncing Presets Between Lightroom Mobile and Desktop covers the full sync behaviour including why presets themselves sometimes fail to appear across devices.
The Practical Diagnostic Sequence
Work through the causes in this order. Check that the file format is the same on both devices. Check that preset strength is adjusted appropriately for the format. Check the display settings on the phone, disabling True Tone or Vivid mode. Check whether the preset relies on any local adjustments. Check that sync has completed.
In most cases one of the first two accounts for the difference. Screen calibration accounts for most of the remainder.
Editing for a Known Viewing Environment
A useful reframe is that there is no single correct rendering. A photograph destined for Instagram will be viewed almost entirely on phone screens. Editing it on a phone and accepting the phone rendering as the reference is a defensible choice.
A photograph destined for print or for a client gallery viewed on desktop should be edited on a calibrated screen. The mobile view is then a preview rather than the reference.
For photographers who work primarily on mobile, Best Film Presets for Lightroom Mobile covers the full mobile workflow including the strength adjustments that make mobile results predictable.
FAQ
Should I edit on my phone or my computer?
Whichever matches your primary viewing environment. Mobile for social content, desktop for print and client delivery.
Why does my preset look more saturated on my phone?
Almost always display calibration. Phone screens are tuned for vivid viewing. Switch to Natural display mode to compare more accurately.
Do presets apply identically on iOS and Android?
Yes, the preset applies the same adjustment values. Differences come from the source file processing, which varies by device manufacturer, and from screen calibration.
Test a preset across both platforms:
Download the free Analog Film preset which includes both DNG and XMP so you can install and compare on mobile and desktop directly.
For collections tested across mobile and desktop, the Analog Film Archive covers ten calibrated looks. The Studio Archive at $89 includes every collection in both formats.
