How to Reduce HDR on iPhone Photos in Lightroom (2026)
How to Reduce HDR on iPhone Photos in Lightroom (2026)
Smart HDR makes iPhone photos look flat, evenly exposed, and plasticky in Lightroom editing. The HDR processing compresses the tonal range before you touch a single slider — lifted shadows, pulled highlights, reduced contrast. Film presets applied on top of this HDR foundation often look overdone or unnatural because the preset's tonal adjustments are working against the HDR compression.
Here is how to reverse the HDR look and restore natural contrast in Lightroom.
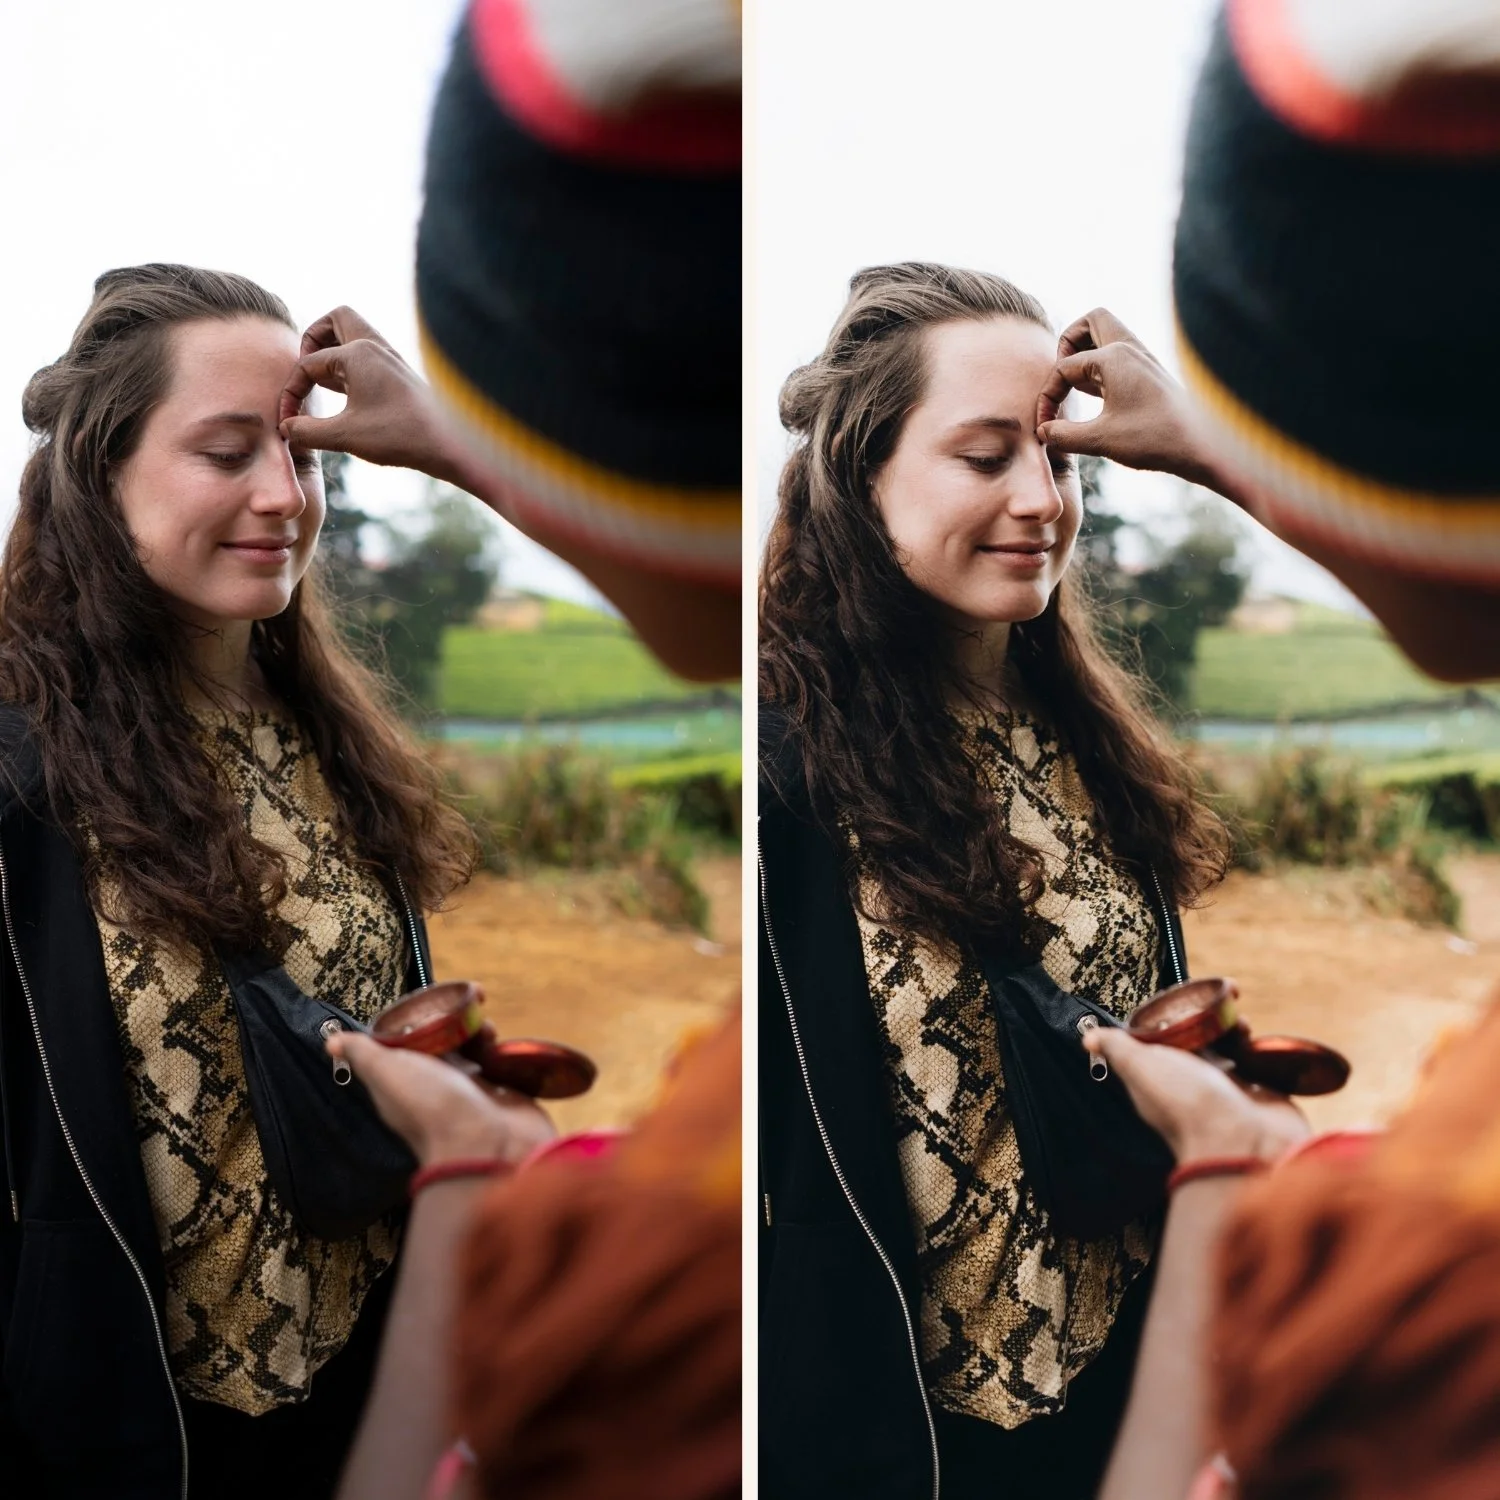
What Smart HDR does to your photo
Smart HDR combines multiple exposures automatically:
Shadows are lifted 1-2 stops
Highlights are pulled back 1-2 stops
Overall contrast is reduced
Sharpening is applied
The result is a photo where all tonal areas are visible and the exposure looks balanced. For sharing directly, this is useful. For film editing in Lightroom, it removes the natural tonal depth that film presets need to work correctly.
Option 1 — Prevent it: shoot ProRAW
The cleanest solution. ProRAW bypasses Smart HDR entirely. The file Lightroom receives has the full tonal range of the sensor with minimal processing.
Enable: Settings, Camera, Formats, Apple ProRAW.
Available on iPhone 12 Pro and later.
Option 2 — Reverse it in Lightroom (for existing JPEG photos)
You cannot fully remove HDR processing from a JPEG — it is baked in. But you can partially restore natural tonal depth with these adjustments.
Step 1 — Push shadows back down. The HDR has already lifted your shadows. To restore depth: reduce Shadows -15 to -25 from the HDR starting point. Then add slight warmth back with Color Grading in shadows (hue 35, saturation 10) to avoid the shadows going grey.
Step 2 — Restore highlight roll-off. HDR has already pulled back highlights. In Lightroom, the highlight data is already reduced — you now need to work with what remains. Add slight Contrast +10 to +15 to restore the tonal separation that HDR compressed.
Step 3 — Reduce Clarity. Set Clarity to -10 to -15. Smart HDR adds sharpening that creates a synthetic edge quality. Negative Clarity counteracts this.
Step 4 — Apply preset. After the HDR reversal adjustments, apply your film preset at 75-80% strength.
The prevention workflow
The most effective long-term fix:
Enable ProRAW for photography you plan to edit
Shoot in standard JPEG only for quick casual shots
Import ProRAW to Lightroom — the HDR reversal steps above are not needed
Full guide: Best iPhone Camera Settings for a Film Look
FAQ
Can I turn off Smart HDR permanently on iPhone?
Yes — Settings, Camera, Smart HDR, toggle off. This applies to JPEG photos. ProRAW bypasses Smart HDR regardless of this setting.
Does turning off Smart HDR make photos worse?
For casual photos shared directly, sometimes. Without HDR, highlights clip more easily and shadows go darker. For photos you plan to edit in Lightroom, turning HDR off gives you more natural tonal latitude to work with.
Does this fix work on videos?
Lightroom does not edit video. For video, the equivalent is shooting Apple Log (iPhone 15 Pro and later) instead of standard video for more tonal latitude in color grading.
