The Role of Grain in Film Emulation
The Role of Grain in Film Emulation
Film grain is the element of film photography that photographers either over-apply or completely ignore. The over-appliers add heavy, obvious grain that dominates the image and reads as a texture effect placed on top rather than inherent to the photography. The ignorers get the warmth, contrast, and color adjustments right, but the result still reads as digital — clean, smooth, and processed.
The role of grain in film emulation is specific and functional. It is not decorative. It is the finishing layer that binds the other adjustments together, removes the clinical smoothness of digital sensors, and creates the organic texture that makes a film edit feel authentic rather than simulated.

Why Film Grain Exists and What It Does Visually
Film grain is the physical byproduct of silver halide crystals in film emulsion reacting to light during exposure. The size, density, and character of these crystals varies between film stocks and exposure conditions. Slower films (low ISO) have finer, denser crystals and finer grain. Faster films (high ISO) have larger, more randomly distributed crystals and more pronounced grain. Pushed film — developed longer than standard to increase sensitivity — has even larger, more irregular grain.
Visually, grain does three things that matter for film emulation. First, it adds textural organic variation to smooth areas that digital cameras render as flat — sky gradients, skin, solid-colored surfaces. This variation is what prevents digital photographs from looking like CGI. Second, it creates micro-contrast — very small tonal differences across the image surface — that adds a sense of three-dimensional texture that smooth digital rendering lacks. Third, it unifies the image tonally. When every area of the photograph — highlights, midtones, shadows — has the same grain structure applied to it, the edit reads as a cohesive photographic object rather than a collection of adjusted values.
The Three Grain Controls in Lightroom
Amount controls the strength of the grain effect. Lower values produce subtle, barely-visible grain. Higher values produce strong, immediately-visible grain. For film emulation, the correct range is 15-30 for most applications. Below 10, grain rarely registers at normal viewing sizes. Above 35, grain becomes the dominant visual element of the image.
Size controls the physical size of the grain particles. Lower values produce fine grain like a slow-speed film. Higher values produce larger, more visible grain like a fast film pushed in low light. For most film emulation, Size at 20-35 produces the medium grain character of the most widely used film stocks (ISO 100-400 range). For a deliberately grainy pushed-film look, Size at 40-50 and Amount at 25-35.
Roughness controls the regularity of the grain. Lower values produce very regular, almost uniform grain. Higher values produce irregular, organic-feeling grain. Film grain is not perfectly regular, so Roughness at 40-65 produces the organic character that makes the grain feel like film rather than digital noise. Roughness below 30 makes grain look like sensor noise. Roughness above 70 can create an excessively rough quality that draws attention.
Calibrating Grain for Different Film Aesthetics
Different film aesthetics call for different grain calibrations.
Clean modern film (A-series, C-series aesthetics): Amount 12-18, Size 20-28, Roughness 45-55. The grain supports the film quality without being obvious at normal viewing sizes.
Warm portrait film (Portra-style): Amount 14-20, Size 22-30, Roughness 45-60. Slightly more organic than the clean modern direction, referencing the character of ISO 400 portrait film.
Vintage and fade aesthetics (J-series, E-series): Amount 18-25, Size 25-35, Roughness 50-65. More pronounced grain that reinforces the aged, organic quality of vintage film aesthetics.
Dramatic B&W: Amount 22-32, Size 28-40, Roughness 55-70. The most pronounced grain, referencing the character of pushed B&W film photography.
Moody cinematic: Amount 16-22, Size 24-32, Roughness 50-60. Moderate grain that adds texture and depth without the heavy grain of pushed film stocks.
How to Check That Grain Is Working Correctly
The most reliable test for grain calibration is the zoom test. View the photograph at 50% zoom (which approximates how most photographs are viewed on screen) and assess whether you register the grain as a quality of the photograph or as an added effect. At the correct calibration, you should notice the organic texture rather than identifying it as grain.
View at 25% zoom (thumbnail size). The grain should be invisible or barely perceptible at this size. If grain is clearly visible at thumbnail size, Amount or Size is too high for the intended use.
View at 100% zoom. The grain should look organic — irregular in size and distribution, with variation between the highlighted and shadowed areas. If it looks perfectly uniform and regular, increase Roughness. If it looks like sensor noise, reduce Size.
Grain on Mobile vs Desktop
Grain behavior in Lightroom Mobile is slightly different from Lightroom Classic because of how mobile screens render the preview. On high-density Retina and OLED mobile screens, grain can appear more prominent than on a standard desktop monitor at the same percentage zoom. Reduce Amount by 2-5 for edits that will primarily be viewed on mobile screens.
For printing, grain that looks correct on screen at 100% will be less visible in print because print resolution is higher than screen resolution. Increase Amount by 5-8 for photographs intended for print output.
FAQ
Should I add grain before or after other adjustments?
In Lightroom, grain is the final processing step regardless of where it appears in the panel order. Apply it last in your workflow to evaluate the final result accurately.
Why does my grain look like digital noise rather than film grain?
Usually caused by Roughness too low (uniform) or Size too small (fine and regular). Increase Roughness to 50-65 and Size to 25-35 for the organic, variable character of film grain.
Does grain affect sharpness?
Yes — grain reduces apparent sharpness slightly because it adds variation to edge detail. For maximum sharpness in technical photography, grain should be minimal. For film aesthetics, this slight sharpness reduction is part of the organic quality of the look.
Is Lightroom grain the same as adding a grain texture overlay?
No. Lightroom grain is a procedurally generated noise pattern that responds to the luminosity values of the image — fine in bright areas, coarser in shadow areas — similar to how real film grain behaves. Texture overlay grain is static and does not respond to the image. Lightroom grain produces more authentic film results.
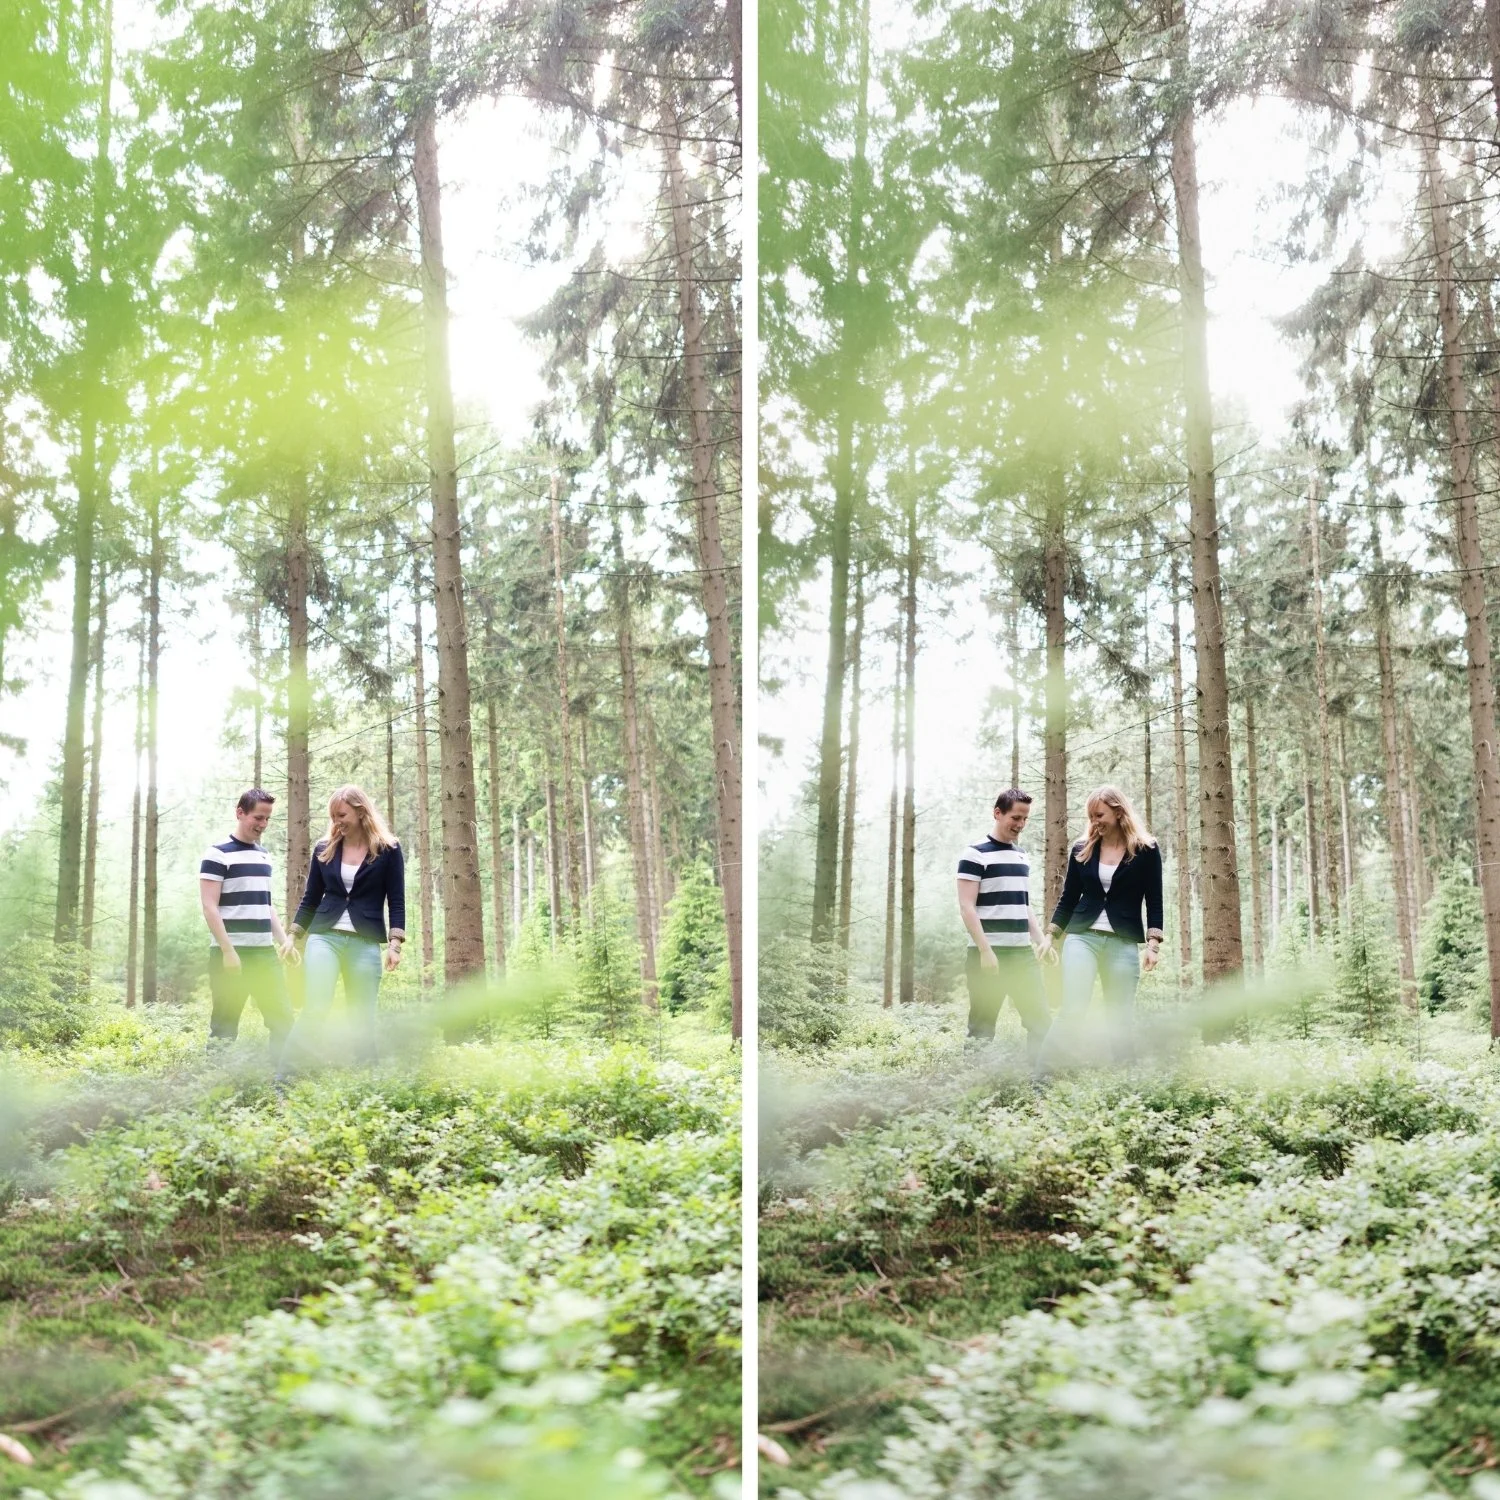
See calibrated grain applied in a film preset:
Download the free Analog Film preset and examine the Effects panel to see how Amount, Size, and Roughness are set in a calibrated film context.
For a collection with grain calibrated specifically for each film aesthetic across varied ISO-equivalent looks, explore the Analog Film Archive and the Moody Film Archive.