Travel Photo Film Edit Breakdown
Travel Photo Film Edit Breakdown
Travel photography presents a specific set of editing challenges. Light changes constantly — harsh midday, soft afternoon, warm golden hour, overcast grey. Locations have their own dominant colors — Mediterranean blue and white, tropical green and warm, urban grey and steel, desert ochre and amber. And the goal is usually a body of work that feels cohesive rather than a collection of individually optimized photographs.
This is a complete breakdown of a travel photograph edited from RAW to finished film look, with the reasoning behind every adjustment explained.
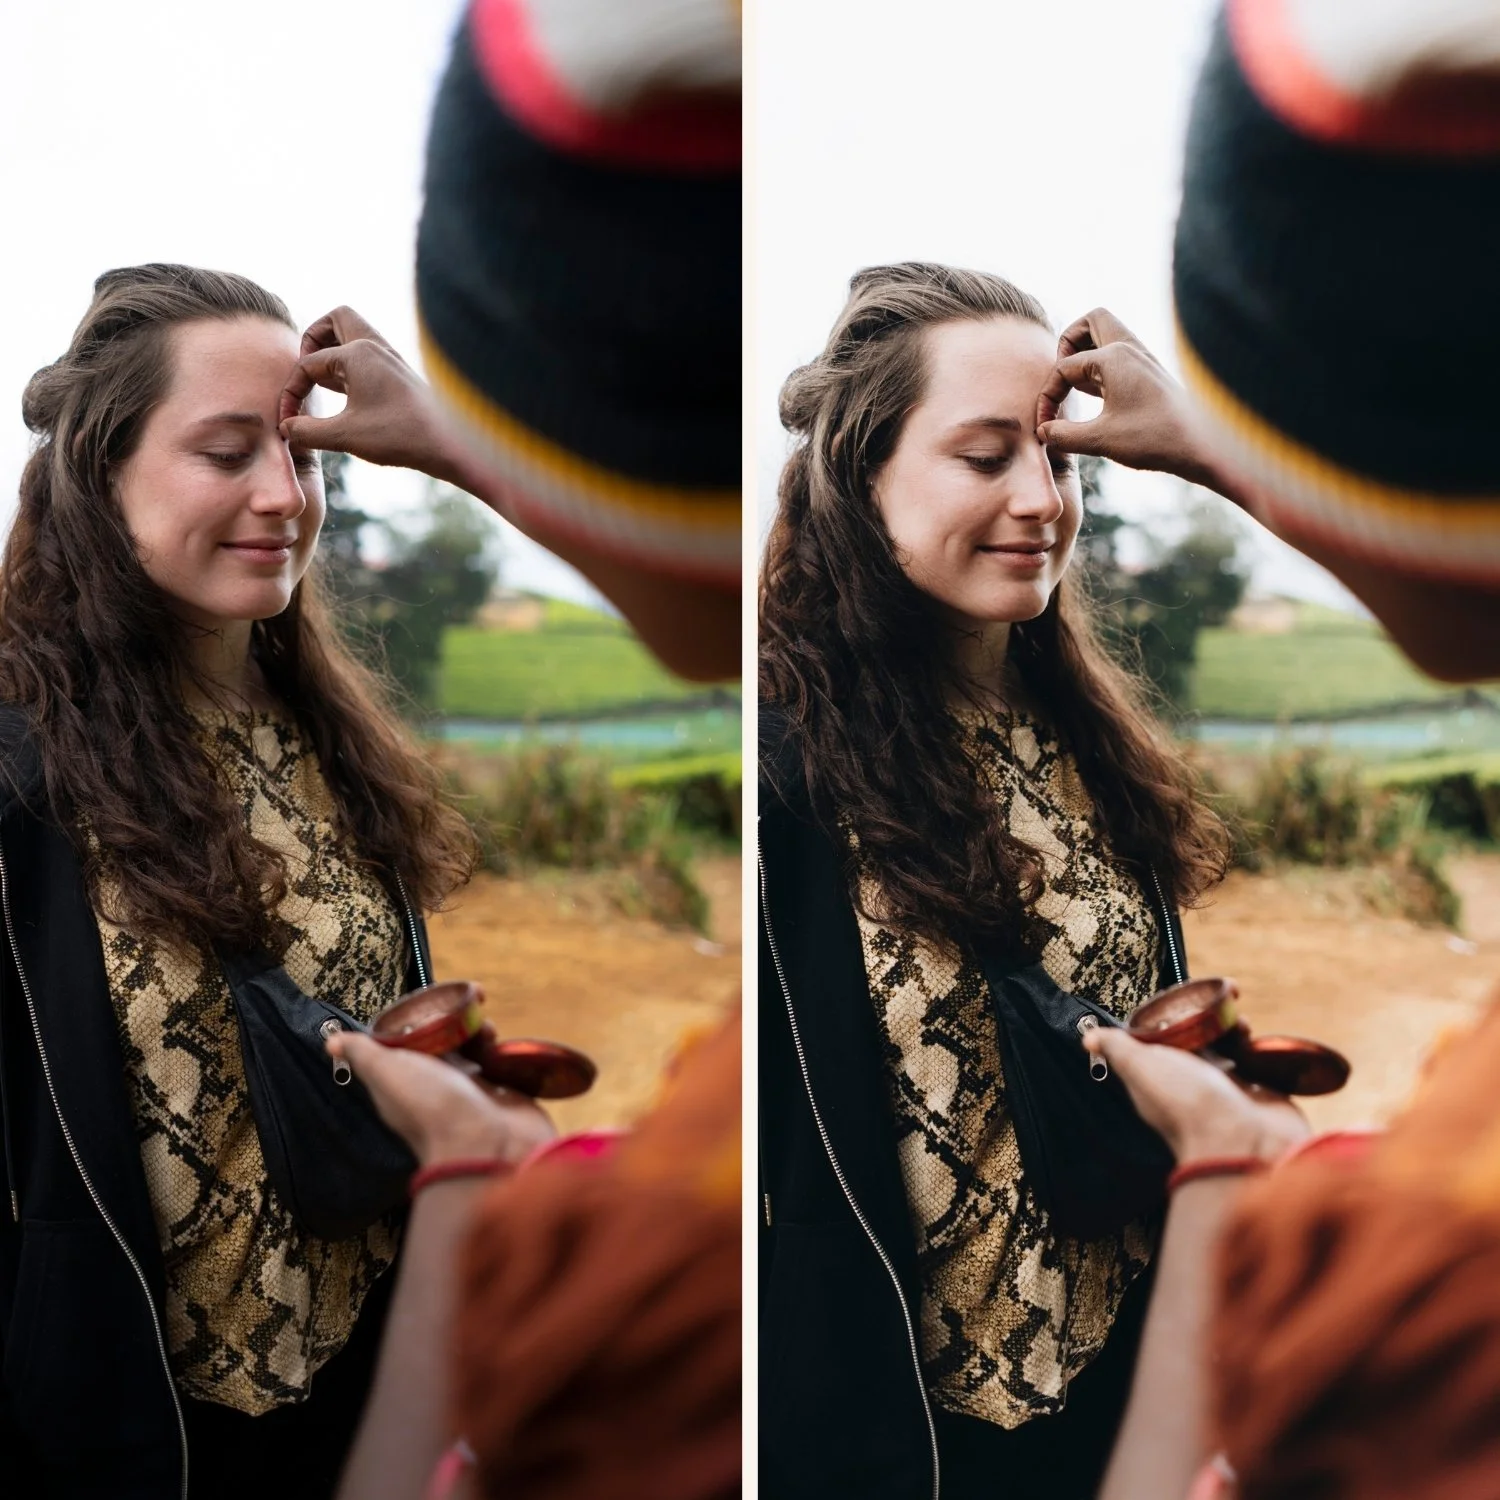
The Starting Photograph
The scenario: an outdoor travel photograph from a Mediterranean coastal town. Shot in late afternoon light — warm but not golden hour, approximately 3:30 PM. The location has warm stone architecture, a blue sky, and some coastal vegetation. The camera is a Sony mirrorless, shooting RAW.
The starting file: correctly exposed with good tonal range. The Sony color science has produced a slightly cool rendering of the warm stone (Sony's characteristic neutral-cool bias), vivid greens in the coastal vegetation, and an electric-bright blue sky. The image looks technically correct and utterly digital.
The goal: warm, considered travel photograph with a timeless quality. Warm stone, calm sky, organic greens, the dimensional warmth of afternoon coastal light.
Step 1: White Balance Foundation
Sony files in warm outdoor light consistently need a slight Tint correction alongside Temperature adjustment. Raw Sony outdoor files often have a slightly cool-green cast compared to what the scene actually looked like.
Temperature: 5,400K. This adds warmth without pushing whites into yellow. The warm stone in the location should read as warm but not orange.
Tint: +10. The green correction here is important — Sony's slightly green bias in outdoor light needs a small magenta push to read as neutral rather than slightly sickly.
After this adjustment, the starting file reads as warm-neutral. The stone is correctly warm. The sky is no longer shifted green. Skin (if present) would read naturally. This is the baseline on which all other adjustments build.
Step 2: Tonal Foundation
The well-exposed Sony RAW file has good tonal range to work with. The goal is to create the breathing room for film adjustments rather than to fix exposure problems.
Highlights: -35. Afternoon coastal photography has a moderately bright sky and reflective surfaces. Protecting the highlight range prevents clipping when the warm Color Grading is applied later.
Whites: -18. Similar reasoning — protection before adding warmth.
Shadows: -8. The afternoon light produces relatively natural shadow depth. Over-lifting shadows before applying a film preset produces flat, muddy results.
Blacks: +7. The shadow floor lift that creates the film base quality.
Exposure: 0. The starting exposure is correct and does not need adjustment.
Step 3: Contrast Restructure
Contrast: -12. Removing the global digital contrast creates the flat base on which the Tone Curve will build film contrast.
Tone Curve: Shadow point lifted to output 16 (the lifted shadow floor). A control point at input 75, output 65 (slight lower-midtone compression). A control point at input 185, output 200 (gentle upper-midtone lift). Highlight point pulled to output 228 (highlight compression and soft roll-off).
The result after this step: dimensional tonal separation without digital punch. The image has film-like contrast structure — depth in the shadows, gentle separation in the midtones, and protected highlights with soft roll-off.
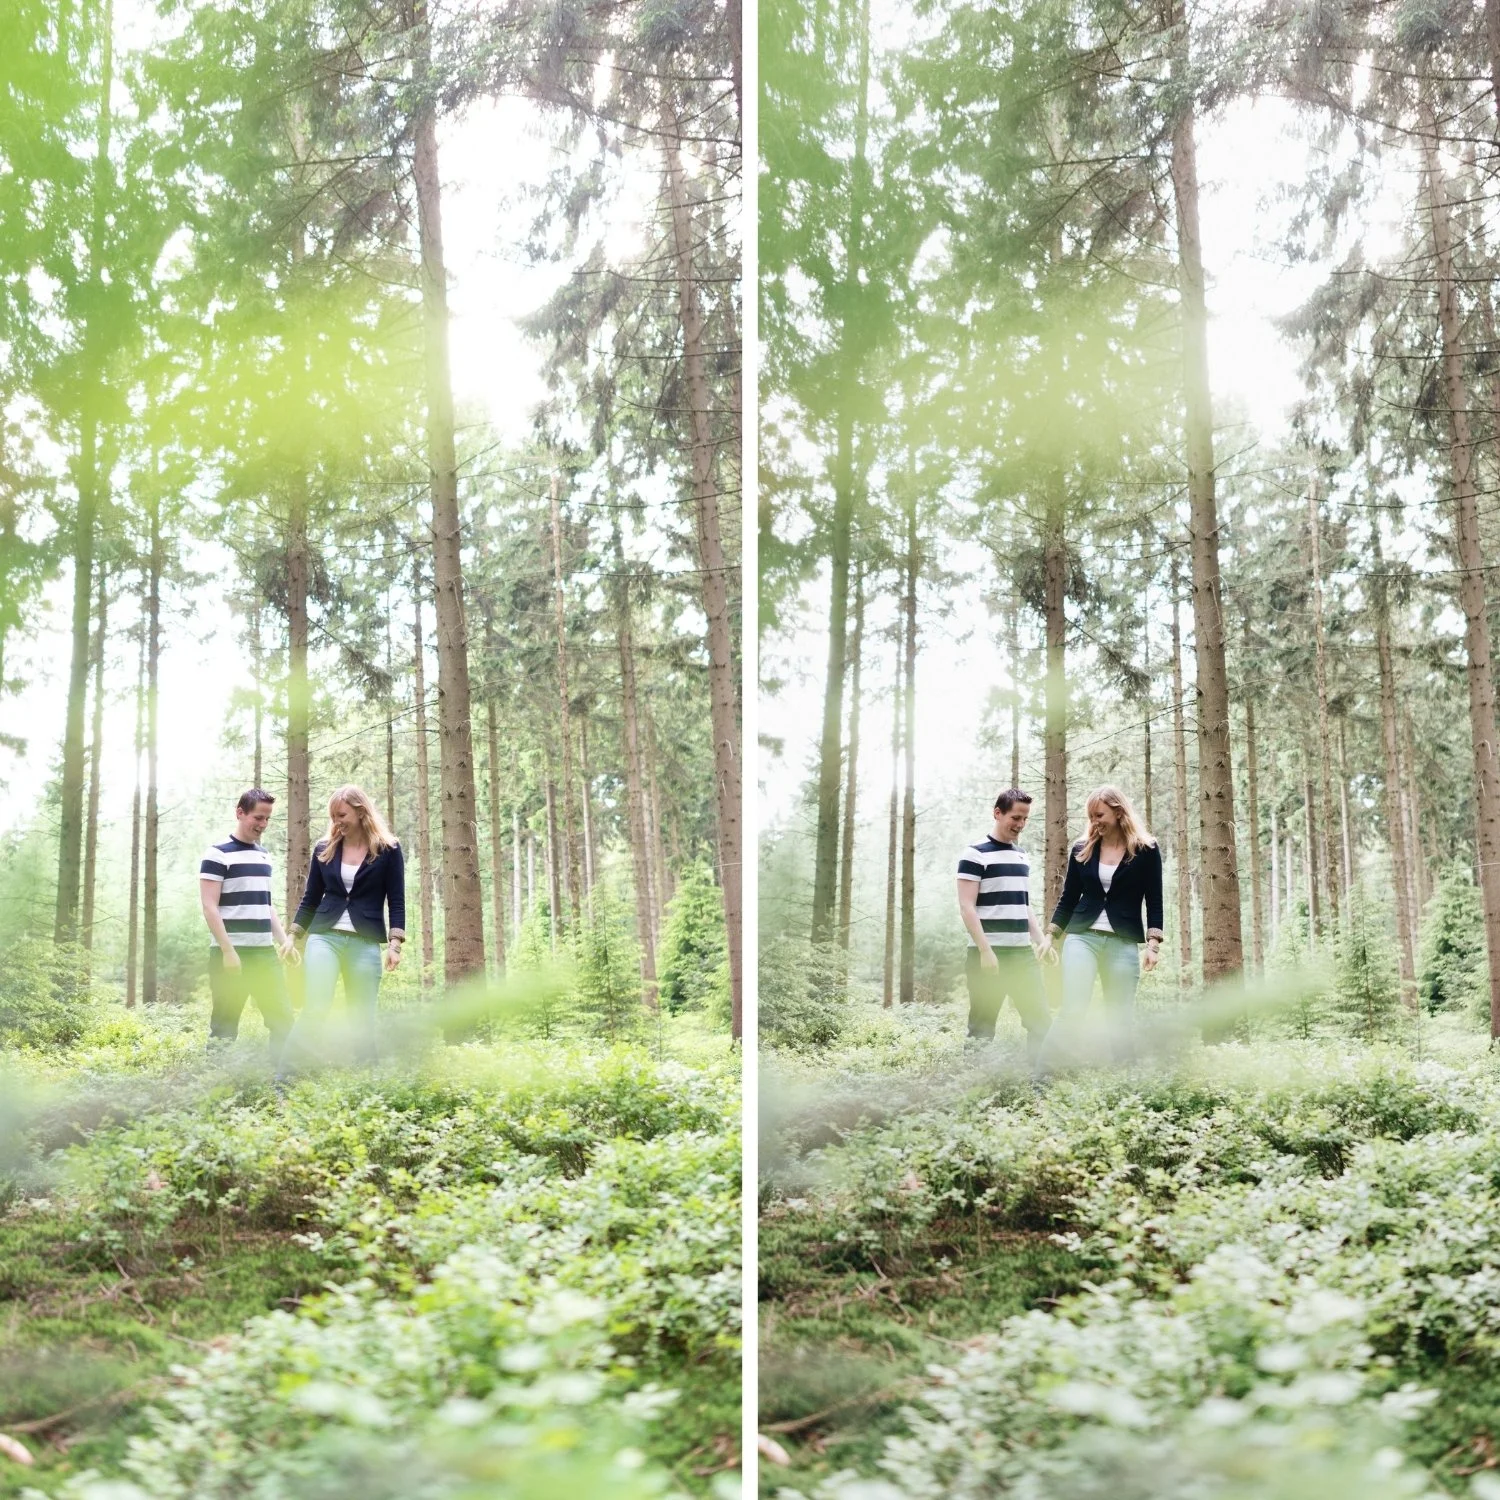
Step 4: Color — The Core Film Adjustments
The HSL adjustments here are doing several jobs simultaneously: removing digital vividness, correcting Sony's specific color rendering, and building the warm travel aesthetic.
Green Saturation: -22. Mediterranean coastal vegetation is one of the most obvious digital giveaways. Sony amplifies this further. Aggressive green reduction is needed.
Green Hue: +7 toward yellow. This is the correction that moves coastal vegetation from neon-digital to warm-organic. The warm stone and green vegetation should complement each other rather than fight.
Orange Saturation: -14. Warm stone architecture becomes vivid orange on digital cameras in warm light. This correction keeps it stone-warm rather than orange.
Orange Luminance: +10. Keeps the warm stone present and luminous within the muted saturation.
Blue Saturation: -15. The electric sky reduction. Mediterranean sky should read as deep, atmospheric blue — not the saturated digital blue of an unprocessed RAW.
Blue Hue: 0. No shift. Sony's blue rendering does not need hue correction for this scenario.
Yellow Saturation: -10. The afternoon warm tones have a yellow component that needs light management.
Step 5: Color Grading
Highlight Hue 45, Saturation 9. The golden afternoon warmth placed specifically in the highlights — warm stone surfaces, sky highlights, any warm reflective surfaces. This adds the film-quality warmth that the Temperature adjustment alone cannot achieve.
Shadow Hue 210, Saturation 5. Subtle cool depth in the shadow range. Coastal shadows in afternoon light have a blue-cool quality from diffuse skylight. This is restrained — felt rather than visible.
Balance: -15. Extends the Highlight warmth slightly into the upper midtones to suit the warm stone architecture that sits in that tonal range.
Step 6: Clarity and Grain
Clarity: -5. A slight negative Clarity removes the digital crispness without softening the image significantly. Travel photography can tolerate slightly less Clarity reduction than portrait work — architectural and environmental subjects benefit from some midtone structure.
Grain: Amount 20, Size 28, Roughness 54. The travel-specific grain calibration — present and organic, visible when you look for it, not obvious at thumbnail size.
Final Result and Consistency
The finished photograph reads as a considered, warm travel image with the timeless quality of coastal Mediterranean photography on film. Stone is warm without being orange. Sky is deep without being electric. Vegetation is organic without being neon. The light has the warmth of afternoon without the exaggeration of a warm filter.
For an entire day's travel shoot, applying this same structure as a starting preset — and adjusting only Exposure and White Balance per photo — produces a cohesive gallery that feels like a deliberate body of work rather than a collection of individually processed photographs.
FAQ
Do these steps work on iPhone travel photos?
Yes with adjustments: reduce preset application to 82-85% strength, less aggressive Highlights reduction (phone Smart HDR has already protected some highlights), and slightly less Grain Amount (15-18 versus 20).
Why do Sony files specifically need the Tint correction?
Sony's color science renders outdoor light with a slightly green bias compared to Canon and Nikon. The Tint correction toward magenta counteracts this. Without it, Sony files in warm outdoor light can have a slightly sickly quality to skin tones and warm surfaces.
How do I handle a travel shoot with mixed lighting conditions?
Apply the core structure as a base preset, then use white balance adjustment as the per-photo variable for each lighting condition. The Green Saturation reduction, Tone Curve structure, and Color Grading stay constant. White balance adapts to each condition.
Apply the travel film approach to your own photos:
Download the free Analog Film preset and compare the structure to the breakdown above.
For a complete travel preset collection calibrated specifically for Mediterranean and outdoor travel photography, the California Archive covers warm outdoor travel and the Summer Archive covers the polychrome coastal aesthetic. For the full approach to timeless travel editing, How to Create a Timeless Travel Aesthetic covers the philosophy alongside the technique.
