Editing a Full Shoot on Mobile — Complete Workflow (2026)
Editing a Full Shoot on Mobile — Complete Workflow (2026)
Editing a full shoot on Lightroom Mobile — 100, 200, or 400 photos — is entirely practical with the right workflow. The mistake most photographers make is editing each photo individually from scratch. The correct approach is editing one photo well and applying it to the rest.
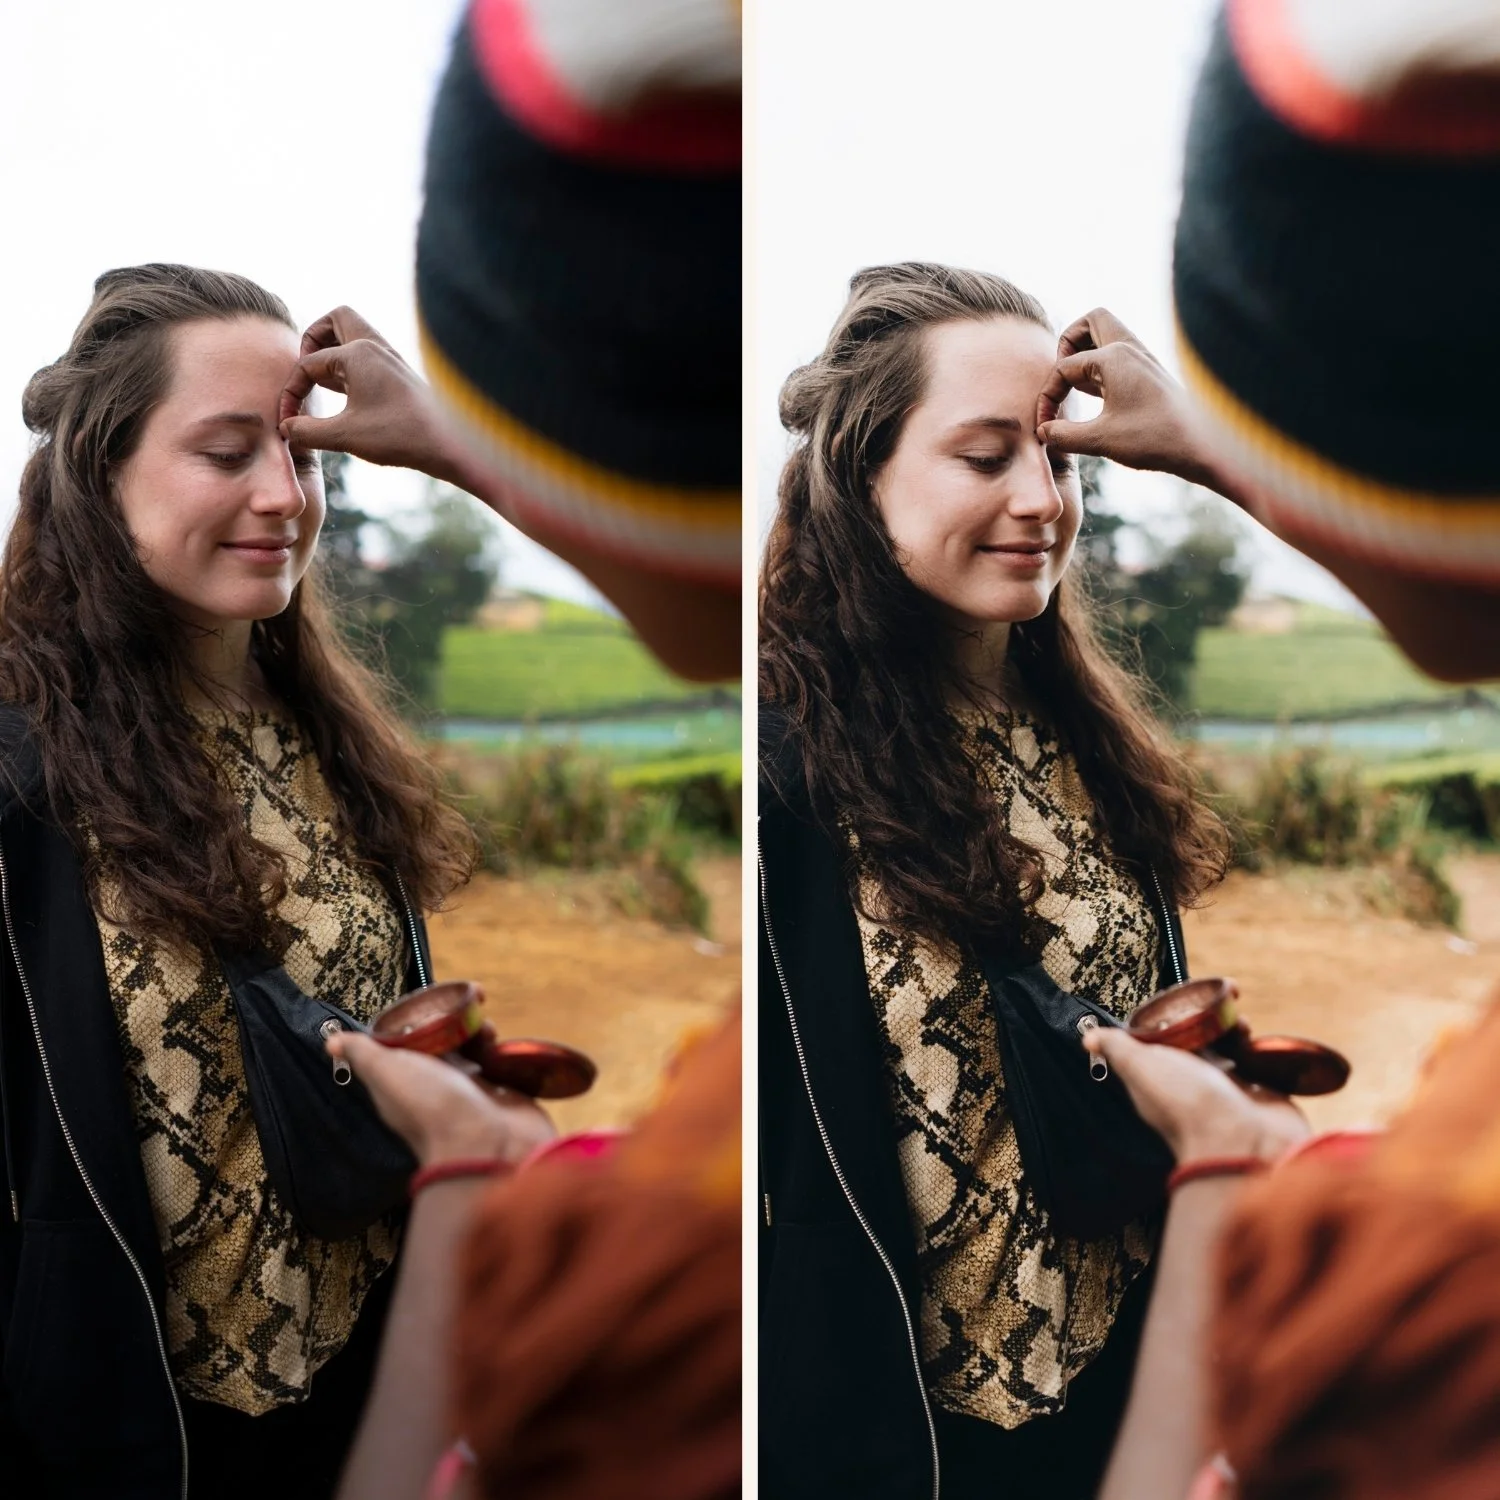
The full shoot mobile editing workflow
Phase 1 — Import and cull (15-20 minutes per 100 photos)
Import your photos into Lightroom Mobile. Then cull before editing.
Use star ratings to mark your selects. Tap the star icon on each keeper. Aim to reduce the total by 40-60% — a 200-photo portrait session should cull to 80-100 selects.
Filter to show only your starred photos before moving to editing.
Phase 2 — Sort by lighting condition (5 minutes)
Scroll through your selects and mentally group by lighting. You do not need separate albums — just make a mental note of where the light changed significantly during the shoot.
For a standard outdoor portrait session: bright sun, open shade, golden hour. For a wedding: getting ready (window light), ceremony (outdoor sun), portraits (golden hour), reception (indoor low light).
Phase 3 — Edit one reference photo per group (5-10 minutes per group)
Choose the strongest, most representative photo from the first group. Edit it completely:
Fix exposure — Exposure and Highlights
Fix white balance — Temperature and Tint
Apply preset
Fine-tune skin tones — Orange Luminance and Saturation
Check shadows — Blacks and Shadows
This photo becomes the template for the entire group.
Phase 4 — Batch paste to the group (2 minutes per group)
Copy all settings from the reference photo. Select all other photos in the same group. Paste settings.
Each photo now has the same preset, white balance, and skin tone foundation as the reference.
Phase 5 — Individual fine-tuning (10-15 seconds per photo)
Open each photo and make only one or two adjustments:
Exposure: ±0.2 to ±0.5 if needed
White Balance: small Temperature adjustment if the light shifted slightly
Nothing else. The preset and skin tone foundation carry across consistently.
Phase 6 — Consistency review (10 minutes for 100 photos)
View all edited photos in grid view. Look for photos that are obviously brighter, darker, warmer, or cooler than their neighbors. Open each outlier and fix.
Phase 7 — Export
Select all final photos. Share, Export As, JPEG, maximum resolution, quality 90%, sRGB.
Time estimates
| Session size | With batch workflow | Without batch workflow |
|---|---|---|
| 50 photos | 30-45 minutes | 2-3 hours |
| 100 photos | 60-90 minutes | 4-6 hours |
| 200 photos | 2-3 hours | 8-12 hours |
The batch workflow is not a quality shortcut. It is a time shortcut. The individual fine-tuning step ensures every photo looks right — the batch just handles the foundation.
FAQ
Is it faster to edit on mobile or desktop?
With the same batch workflow, mobile and desktop take similar time for the editing itself. Desktop is faster for culling large volumes and has better export control. For shoots under 200 photos, mobile is comparable.
How do I keep photos organized during mobile editing?
Use Lightroom Mobile albums to group photos by shoot. Star ratings to mark selects. Flags to mark photos needing individual attention.
