How to Edit Portrait Photos in Lightroom Mobile (2026)
How to Edit Portrait Photos in Lightroom Mobile (2026)
Portrait editing on Lightroom Mobile has one priority above all others: skin must look natural. Not orange. Not grey. Not textured or harsh. Warm, healthy, and smooth in a way that looks like good light rather than heavy editing.
This guide covers the complete workflow for editing portrait photos in Lightroom Mobile, with specific attention to skin tone rendering on iPhone and Android photos.
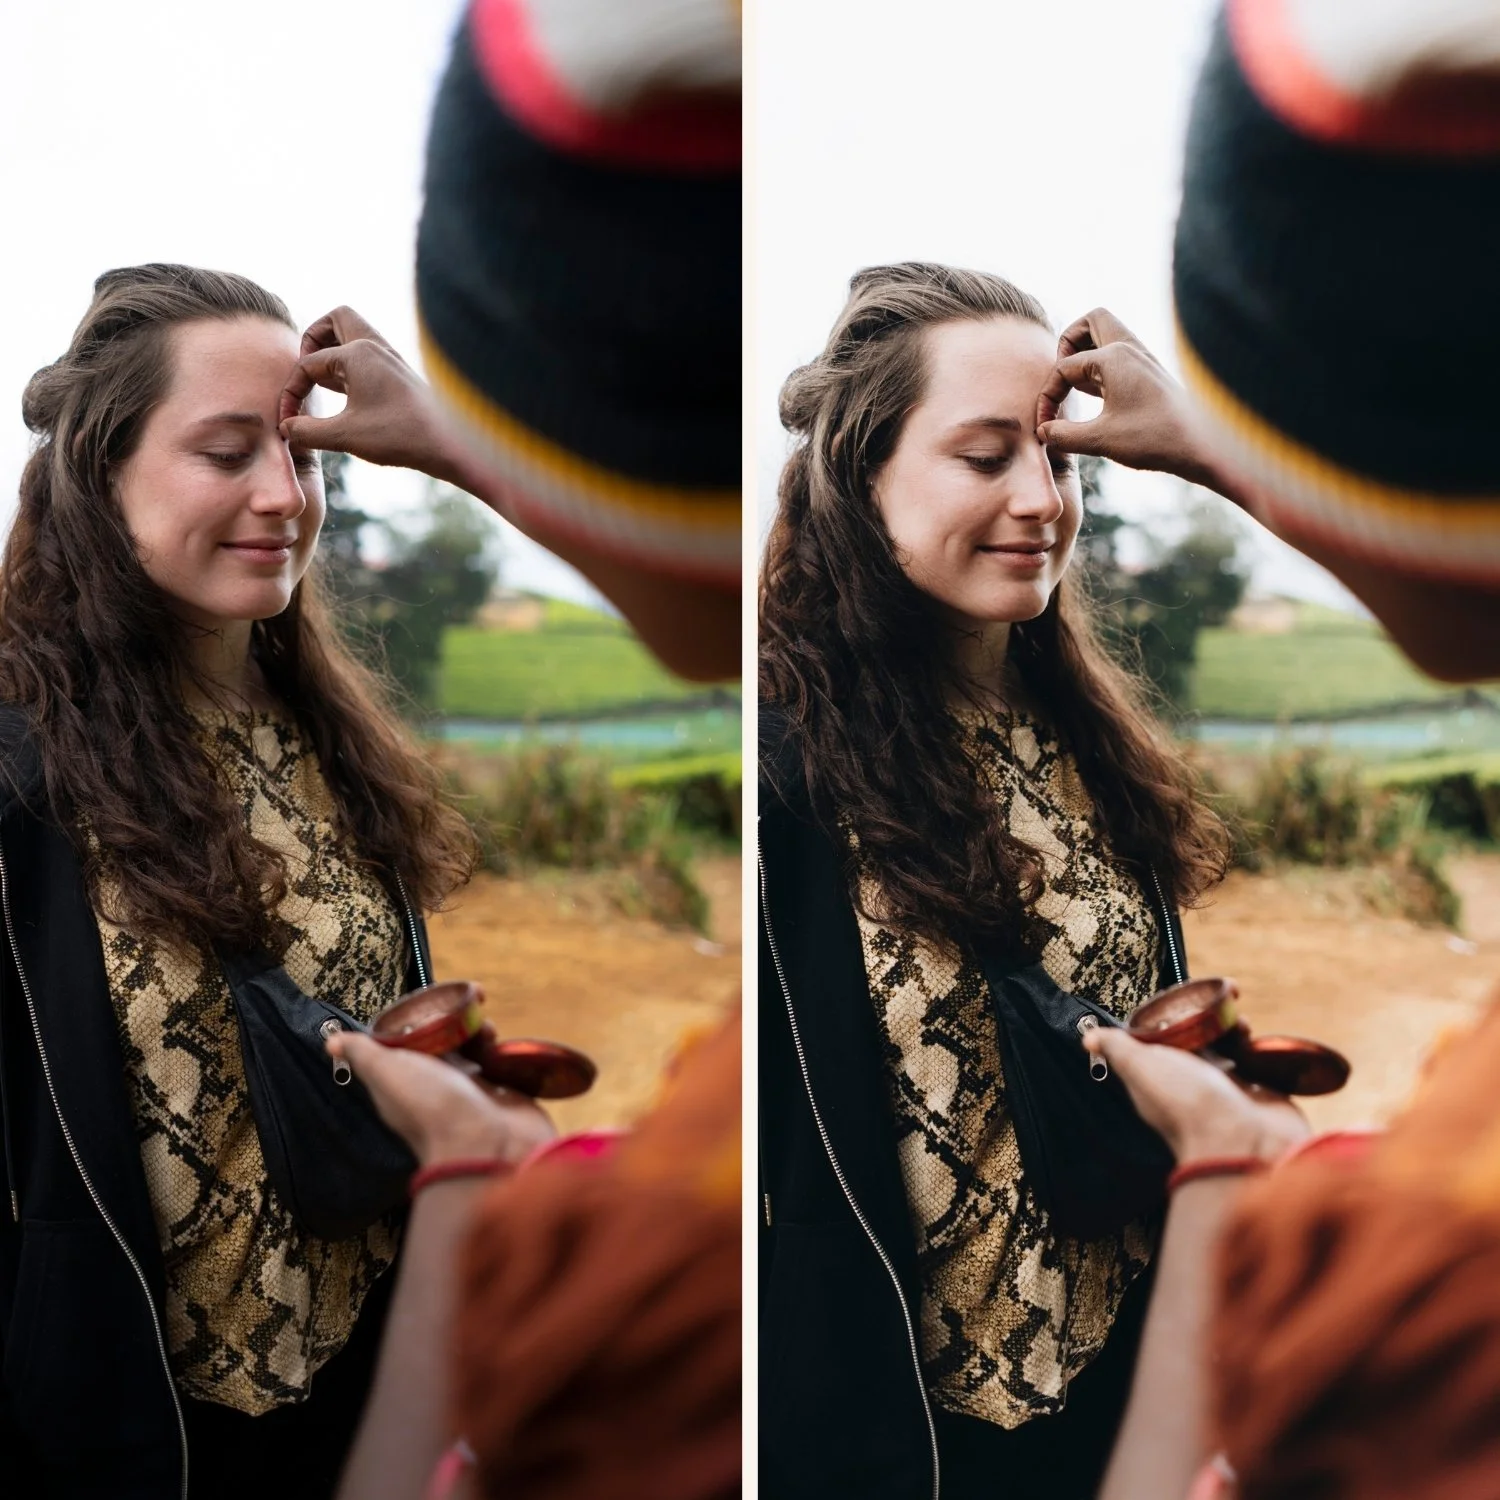
The specific challenges of mobile portrait editing
Phone cameras create two problems for portrait editing that desktop RAW editing largely avoids.
Aggressive sharpening. iPhone and Android cameras apply sharpening at the hardware processing level. For portraits, this makes skin texture appear harsh and pore-heavy. The fix is reducing Sharpening in the Detail panel to 15-20 and setting Clarity to -10 to -15 before applying anything else.
Warm color processing. Phone cameras process skin tones toward warm orange to make people look healthy in casual viewing. For editing purposes, this warm base plus a warm preset equals orange skin. The fix is setting white balance to neutral before applying any preset.
These two fixes take 30 seconds and solve the most common portrait editing problems on mobile.
Step 1 — Preparation for mobile portrait editing
Before any color work:
Reduce Sharpening to 15-20. Detail panel, Sharpening Amount.
Set Clarity to -10 to -15. Light or Effects panel. Negative clarity removes the micro-contrast that makes skin look textured and digital.
Set white balance correctly. Tap Color, then White Balance. Tap the eyedropper and tap on a neutral area near your subject. Or set Temperature manually: 5,200-5,500K for outdoor, 4,800-5,000K for window light.
Step 2 — Fix exposure for portraits
Portraits need slightly different exposure treatment from other photography.
Expose for skin, not the background. If your subject is slightly darker than the background, the camera may expose for the background and leave skin underexposed. Lift Exposure to bring skin to a natural brightness.
Protect facial highlights. Foreheads, cheekbones, and noses in direct light clip easily. Pull Highlights to -25 to -35 to protect skin detail in brighter areas.
Open shadow areas on the face. Dark shadows under the chin, around the eyes, and under the nose can make portraits look harsh. Lift Shadows: +15 to +25.
Step 3 — Apply your preset
Apply a portrait-friendly preset after fixing the foundation. For portrait work, presets calibrated for natural skin rendering work best.
Reduce the preset amount to 75-85% on mobile photos. Full-strength presets often push mobile portrait editing too far because phone camera processing is already warmer and more contrasty than the film stocks the presets reference.
For preset recommendations: Best Lightroom Presets for Portrait Photography 2026
Step 4 — The skin tone adjustments
After applying the preset, these five adjustments in the Color Mix panel create natural skin rendering.
Orange Luminance: +12 to +20. The most important skin tone adjustment. Lifts skin brightness independently of everything else. Creates a natural glow rather than overall overexposure.
Orange Saturation: 0 to +5. Keeps warmth without vivid orange. If skin looks orange after the preset, reduce to -5 or -10.
Orange Hue: toward yellow (+5 to +8). Shifts skin tones toward golden rather than vivid orange.
Red Saturation: -5 to 0. Reduces flushed cheek quality if present.
Clarity: -10 to -15 (confirm it is set). Check that the Clarity adjustment from step 1 is still applied. Some presets override Clarity settings.
Step 5 — Use masking for precise skin adjustment
Lightroom Mobile's AI masking lets you apply adjustments to skin specifically without affecting the background or clothing.
Tap the masking icon in the editing panel. Select "Select Subject" or "Select Person." Lightroom AI selects your subject automatically.
With the subject selected, you can then adjust:
Exposure independently of the background
Orange Luminance without affecting the entire frame
Clarity specifically on skin
Texture reduction on skin only
This is the fastest way to make skin look significantly better without global adjustments that affect the whole image.
Step 6 — Check at 100% zoom
Zoom to 100% on your subject's face and check three specific areas.
Forehead and cheeks in direct light. Check for highlight clipping. If the brightest skin areas have no texture and are pure white, pull Highlights further.
Shadow areas under eyes and chin. These should be darker than the lit areas but have visible texture. If they are pure black, lift Shadows slightly.
Skin texture overall. At 100% zoom, skin should look smooth with natural texture. If it looks overly smooth (over-edited) or overly textured (under-smoothed), adjust Clarity accordingly.
Portrait editing for different skin tones
Fair skin. Most sensitive to warmth. Keep Orange Saturation at 0 to +5. Pull Highlights aggressively (-30 to -40) because fair skin clips faster in bright light.
Medium skin. Most versatile. Standard adjustments work well. Orange Luminance +12 to +15.
Olive skin. Warm presets can push toward muddy yellow-brown. Orange Hue toward yellow (+5 to +8) rather than red keeps olive skin clean. Yellow Luminance +5 to +8.
Dark skin. Needs the most Orange Luminance lift (+20 to +28). Lift Blacks +10 to +15 to preserve shadow detail. Clarity -15 to -20 because digital harshness reads more harshly on dark skin.
Full guide: Best Lightroom Presets for Dark Skin Tones
The Glow Portrait Archive
The Glow Portrait Archive (G-Series) is specifically calibrated for natural skin rendering on mobile and desktop.
G1 Clean Glow for versatile portrait work. G2 Warm Glow for golden hour. G3 Vibrant Glow for dark and olive skin tones.
EXPLORE THE GLOW PORTRAIT ARCHIVE — $19.99
FAQ
Why does my portrait look orange in Lightroom Mobile?
Usually caused by warm white balance plus a warm preset stacking together. Cool the Temperature before applying any preset. Then reduce Orange Saturation in Color Mix if needed.
How do I smooth skin in Lightroom Mobile without making it look fake?
Negative Clarity (-10 to -15) removes the digital micro-contrast that makes skin look textured without creating the plastic over-smoothed quality of heavy skin retouching.
Can I use the same portrait preset for all skin tones?
The preset applies the same adjustments to everyone, but you need to fine-tune Orange Luminance per skin tone. +12 for fair skin, +20 to +25 for dark skin. The foundation is the same, the amount differs.
