Fujifilm Look Lightroom Preset — Complete Guide (2026)
Fujifilm Look Lightroom Preset — Complete Guide (2026)
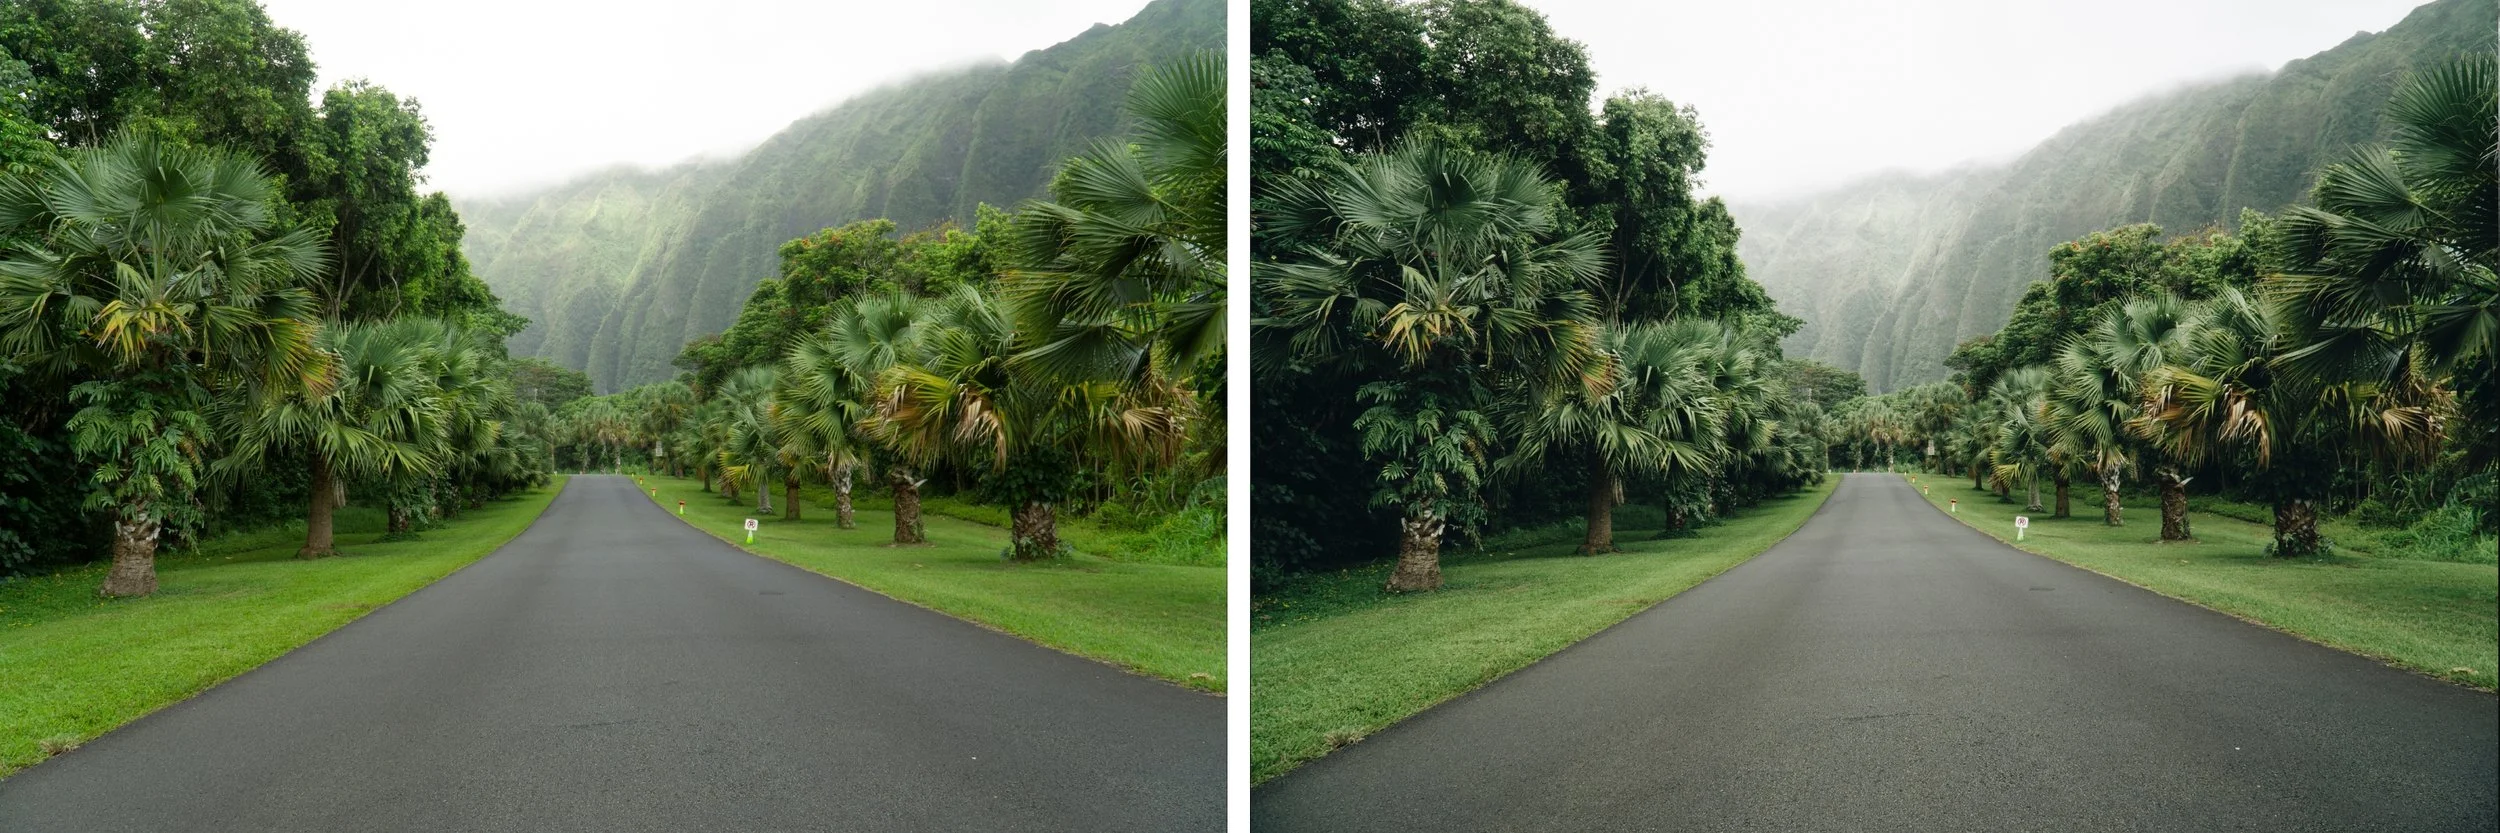
Fujifilm cameras are famous for one thing above all else: their film simulations. Classic Chrome, Provia, Velvia, Eterna — each one is a carefully engineered colour profile that references a specific film stock. Photographers buy Fujifilm cameras specifically for these colour renderings.
But what if you shoot on a Sony, Canon, or iPhone? Or what if you shoot on Fujifilm but want to push the film simulation look further in Lightroom?
This guide covers how to recreate the most popular Fujifilm film simulation looks in Lightroom — with exact settings and preset recommendations for each one.
The most popular Fujifilm film simulations — and their Lightroom equivalents
Classic Chrome
Classic Chrome is Fujifilm's most popular film simulation — a desaturated, slightly cool look inspired by documentary slide film. Muted colour, restrained shadows, a sophisticated quality that works across every subject.
Lightroom equivalent settings:
Exposure: 0 to +0.2
Contrast: -10 to -20
Highlights: -20 to -30
Shadows: +10 to +20
Blacks: +10 to +20
Vibrance: -15 to -20
Saturation: -10
HSL Saturation:
Green: -20 to -25
Blue: -15 to -20
Red: -5 to -10
Color Grading:
Shadows: very slight cool grey
Highlights: neutral
Grain: Amount 15-20, Size 20-25, Roughness 40-50
Closest preset: LV1 Muted Clean (Luxury Archive) or A7 Soft Matte (Analog Film Archive)
Provia/Standard
Provia is Fujifilm's standard film simulation — balanced, natural, slightly warm. The baseline for most Fujifilm shooters. Clean colour with gentle contrast.
Lightroom equivalent settings:
Exposure: +0.1 to +0.3
Contrast: -10 to -15
Highlights: -15 to -25
Shadows: +15 to +20
Blacks: +10 to +15
Vibrance: -5 to 0
Saturation: -5 to 0
HSL Saturation:
Green: -10 to -15
Blue: -10 to -15
Color Grading: neutral to very slight warm
Grain: Amount 10-15, Size 20-25, Roughness 40-45
Closest preset: A1 Analog Original or A6 Clean Portrait (Analog Film Archive)
Velvia
Velvia is Fujifilm's most vivid simulation — bold, saturated colour inspired by Fuji Velvia slide film. Blues are very blue. Greens are rich. Reds are deep. High contrast.
Lightroom equivalent settings:
Exposure: 0 to +0.2
Contrast: +10 to +20
Highlights: -15 to -25
Shadows: +5 to +10
Vibrance: +15 to +25
Saturation: +5 to +10
HSL Saturation:
Blue: +20 to +30
Green: +10 to +15
Red: +10 to +15
HSL Hue:
Green: toward yellow (-5 to -10) — Velvia's characteristic green
Grain: Amount 10-15, Size 20-25, Roughness 35-40
Closest preset: K3 High Contrast Slide (Chromatic Archive) or C8 Sun-Drenched (California Archive)
Eterna Cinema
Eterna is Fujifilm's most cinematic simulation — flat, low contrast, designed for video but increasingly used for still photography. Lifted shadows, protected highlights, muted colour.
Lightroom equivalent settings:
Exposure: 0 to +0.2
Contrast: -25 to -35
Highlights: -30 to -40
Shadows: +20 to +30
Blacks: +20 to +30
Vibrance: -20 to -25
Saturation: -10 to -15
Tone Curve:
Significantly lifted black point
Pulled down highlights
Very flat curve overall
Color Grading:
Shadows: neutral to slight cool
Highlights: neutral to slight warm
Closest preset: M3 Earthy Fade (Moody Film Archive) or LV2 Quiet Cool (Luxury Archive)
Acros
Acros is Fujifilm's dedicated black and white simulation — deep blacks, clean highlights, fine grain, and exceptional tonal separation.
Lightroom equivalent settings: Convert to B&W in HSL panel, then:
Contrast: +10 to +20
Highlights: -20 to -30
Shadows: +5 to +15
Blacks: -5 to +5
B&W Mix:
Orange: +20 to +25 (skin luminance)
Blue: -25 to -35 (deep sky)
Green: -15 to -20
Grain: Amount 20-25, Size 25-30, Roughness 50-55
Closest preset: B3 High Contrast (Monochromatic Archive)
Fujifilm users — getting more from your RAW files
If you shoot Fujifilm RAW files and edit in Lightroom, there's a specific challenge: Lightroom ignores the in-camera film simulation and renders the RAW file with its own default colour profile.
The fix: In the Camera Calibration panel, change the Profile from Adobe Standard to Camera Provia, Camera Velvia, Camera Classic Chrome etc. This applies Fujifilm's colour science as the starting point before any preset.
Once you've applied the camera profile, your preset only needs to add the additional film character on top — less work and more authentic results.
If you shoot Fujifilm JPEG rather than RAW, the film simulation is already baked in and you don't need to recreate it from scratch.
Why Fujifilm colour is different from other cameras
Fujifilm uses a different colour filter array (X-Trans) and a different colour processing philosophy from Sony, Canon, and Nikon. The result is a specific quality that other cameras don't naturally produce:
Greens that are slightly more yellow-olive rather than vivid digital green
Blues that are slightly cooler and more saturated
Skin tones that are slightly cooler and more natural than the orange-warm rendering of other cameras
Highlight roll-off that is gentler than most other camera manufacturers
These characteristics are why Fujifilm shooters often say their JPEGs look better straight out of camera than Sony or Canon JPEGs — the colour science is more film-inspired by default.
The Analog Film Archive — Fujifilm look for any camera
The Analog Film Archive is built on film color science that aligns closely with Fujifilm's Provia and Classic Chrome simulations — clean, natural, organic tones with soft contrast and controlled colour.
If you shoot Sony, Canon, or iPhone and want the Fujifilm color quality, the Analog Film Archive is the closest dedicated preset system.
EXPLORE THE ANALOG FILM ARCHIVE — $27
Free Fujifilm-inspired preset
The free A6 preset is closest to Fujifilm's Provia/Standard simulation — clean, natural, balanced. Download and compare it to your Fujifilm JPEG output. The colour rendering is closely aligned.
FAQ
How do I get the Fujifilm look in Lightroom?
The Camera Calibration panel is your starting point for Fujifilm RAW files — select Camera Classic Chrome, Camera Provia etc. to apply Fujifilm's colour science. Then add a film preset on top for additional character. For non-Fujifilm cameras, use the HSL and Color Grading settings above to manually recreate each simulation.
Why does my Fujifilm RAW look different from my JPEG in Lightroom?
Lightroom ignores in-camera film simulations when processing RAW files. Change the Profile in the Camera Calibration panel to Camera Classic Chrome (or whichever simulation you used) to restore the film simulation look.
Can I use Lightroom presets on Fujifilm JPEG files?
Yes — presets work on JPEG as well as RAW. The film simulation is already baked into the JPEG so you're adding further character on top. Be aware that JPEGs have less latitude than RAW — be more conservative with adjustments.
Which Fujifilm simulation is best for portraits?
Provia/Standard is the most flattering for portraits — balanced colour with natural skin tones. Classic Chrome works for editorial portrait work. Avoid Velvia for portraits — the vivid saturation doesn't flatter skin.
Does the Fujifilm look work on Sony RAW files?
Yes — the settings above recreate the Fujifilm colour aesthetic regardless of camera. Sony files need slightly more adjustment because they start with more vivid colour rendering, but the end result is achievable.