How to Avoid Digital Color Clipping in Lightroom
How to Avoid Digital Color Clipping in Lightroom
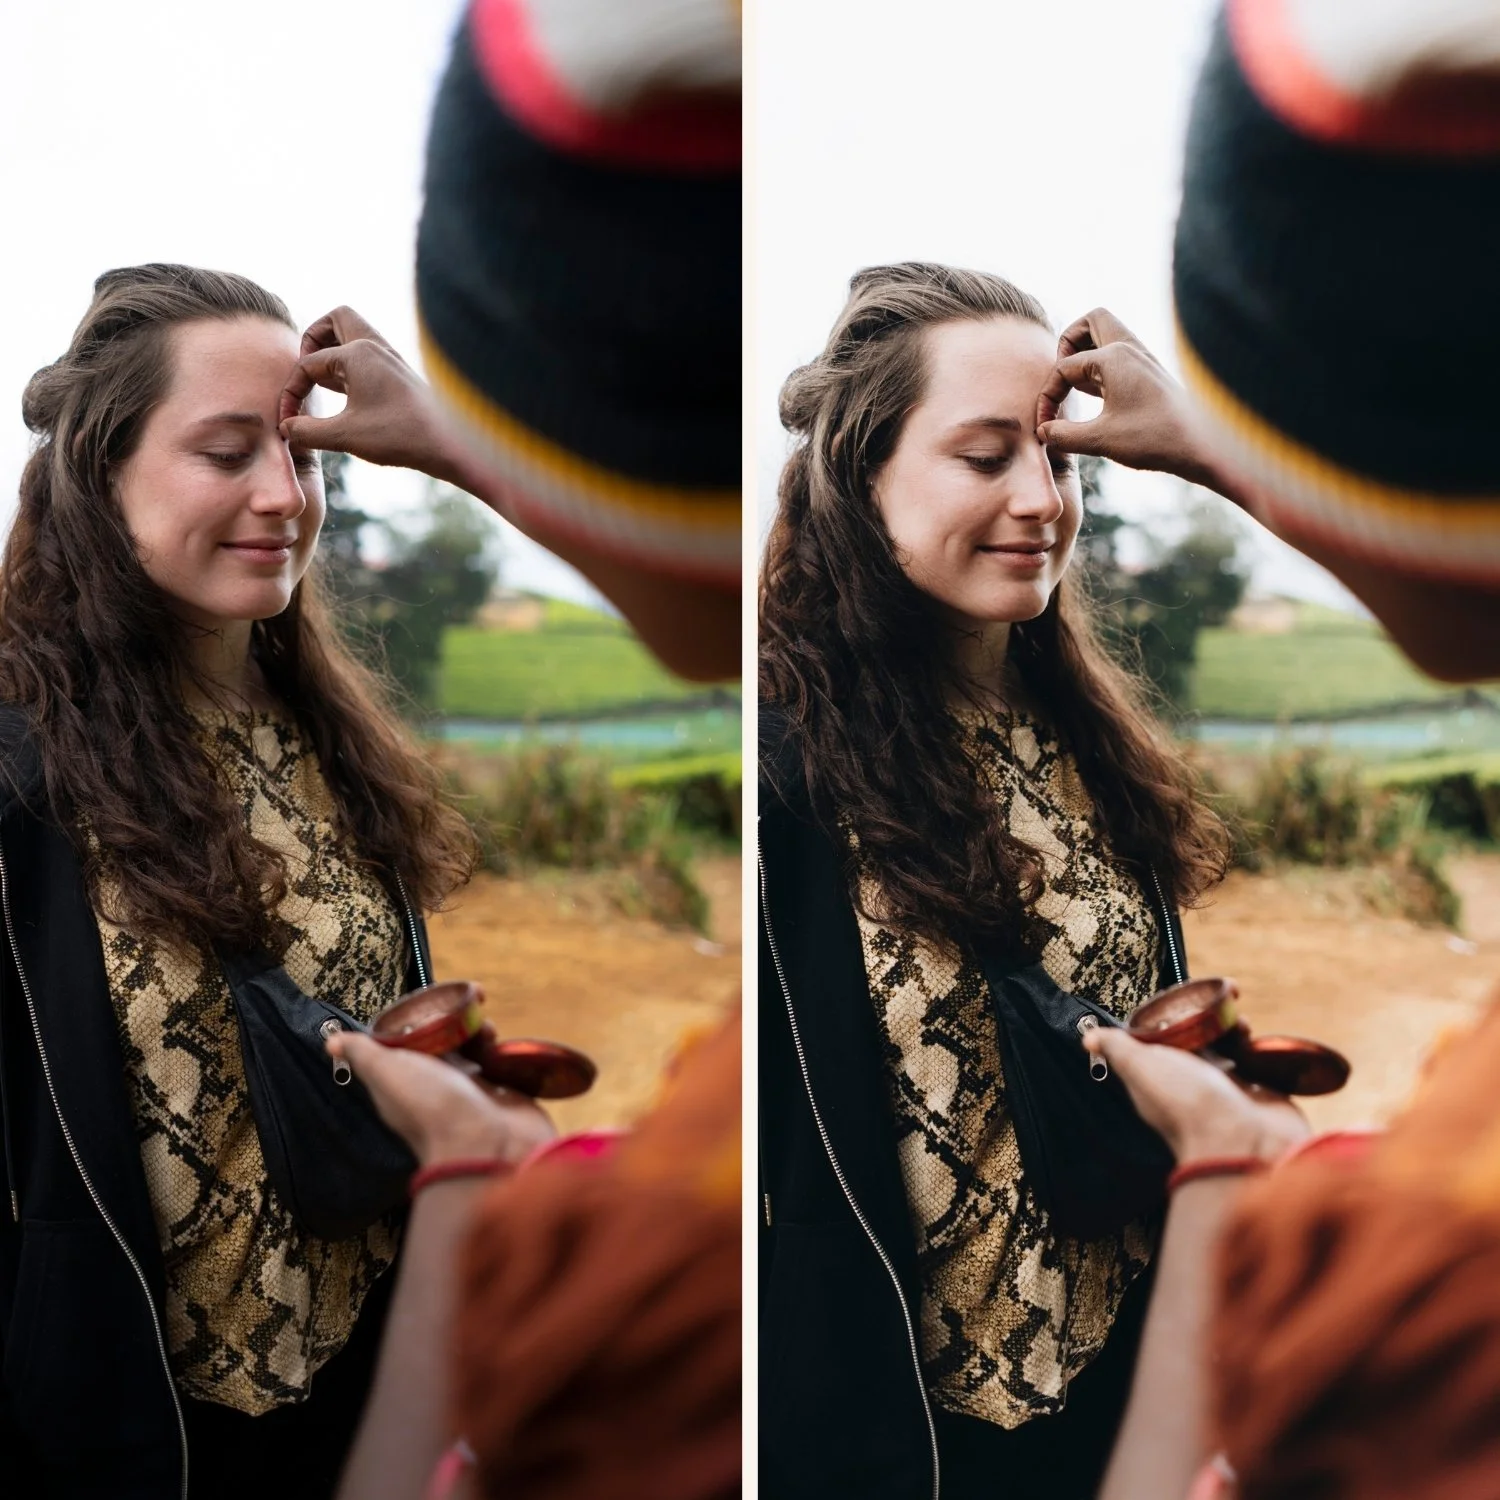
Color clipping is different from tonal clipping, and most photographers only watch for tonal clipping — the moment when highlights blow out to pure white or shadows crush to pure black. Color clipping is less visible in the histogram but equally damaging to the final result. It occurs when a single color channel pushes to its maximum value (255) while the other channels are still within range, producing unnaturally vivid, saturated color that cannot be corrected downstream.
Understanding color clipping and how to prevent it is particularly important for film-look editing because the warm, saturated direction of film aesthetics is specifically prone to pushing certain color channels toward clipping.
What Color Clipping Is
Every pixel in a digital photograph is defined by values in three channels: Red, Green, and Blue. Each channel has a range from 0 to 255. Pure white requires all three channels at maximum (255, 255, 255). Pure black requires all three at zero (0, 0, 0).
Color clipping occurs when one or two channels reach 255 while the others have not. A pixel with values (255, 120, 50) is pushing the Red channel to maximum while Green and Blue are still within range. This produces a vivid, orange-red color. If you try to reduce warmth or orange saturation in the HSL panel, you are only adjusting the Green and Blue channels — the clipped Red channel is already at maximum and cannot be pulled back further. The adjustment has limited effect because the primary color data is already at the ceiling.
The specific situations where color clipping most commonly occurs in film editing are: saturated green foliage in outdoor photography, vivid blue skies at low saturation but high luminance, warm orange skin in direct sunlight combined with a warm preset, and red or orange elements in travel photography.
Why Film Editing Is Particularly Prone to Color Clipping
Film-look presets typically work in the warm direction — adding Color Grading warmth to highlights, calibrating HSL channels toward warmer values, sometimes adding warmth through white balance. This warm direction pushes the Red and Green channels (which together produce the orange-yellow warmth range) upward. If these channels are already elevated from the in-camera rendering, the preset's warmth can push them to clipping.
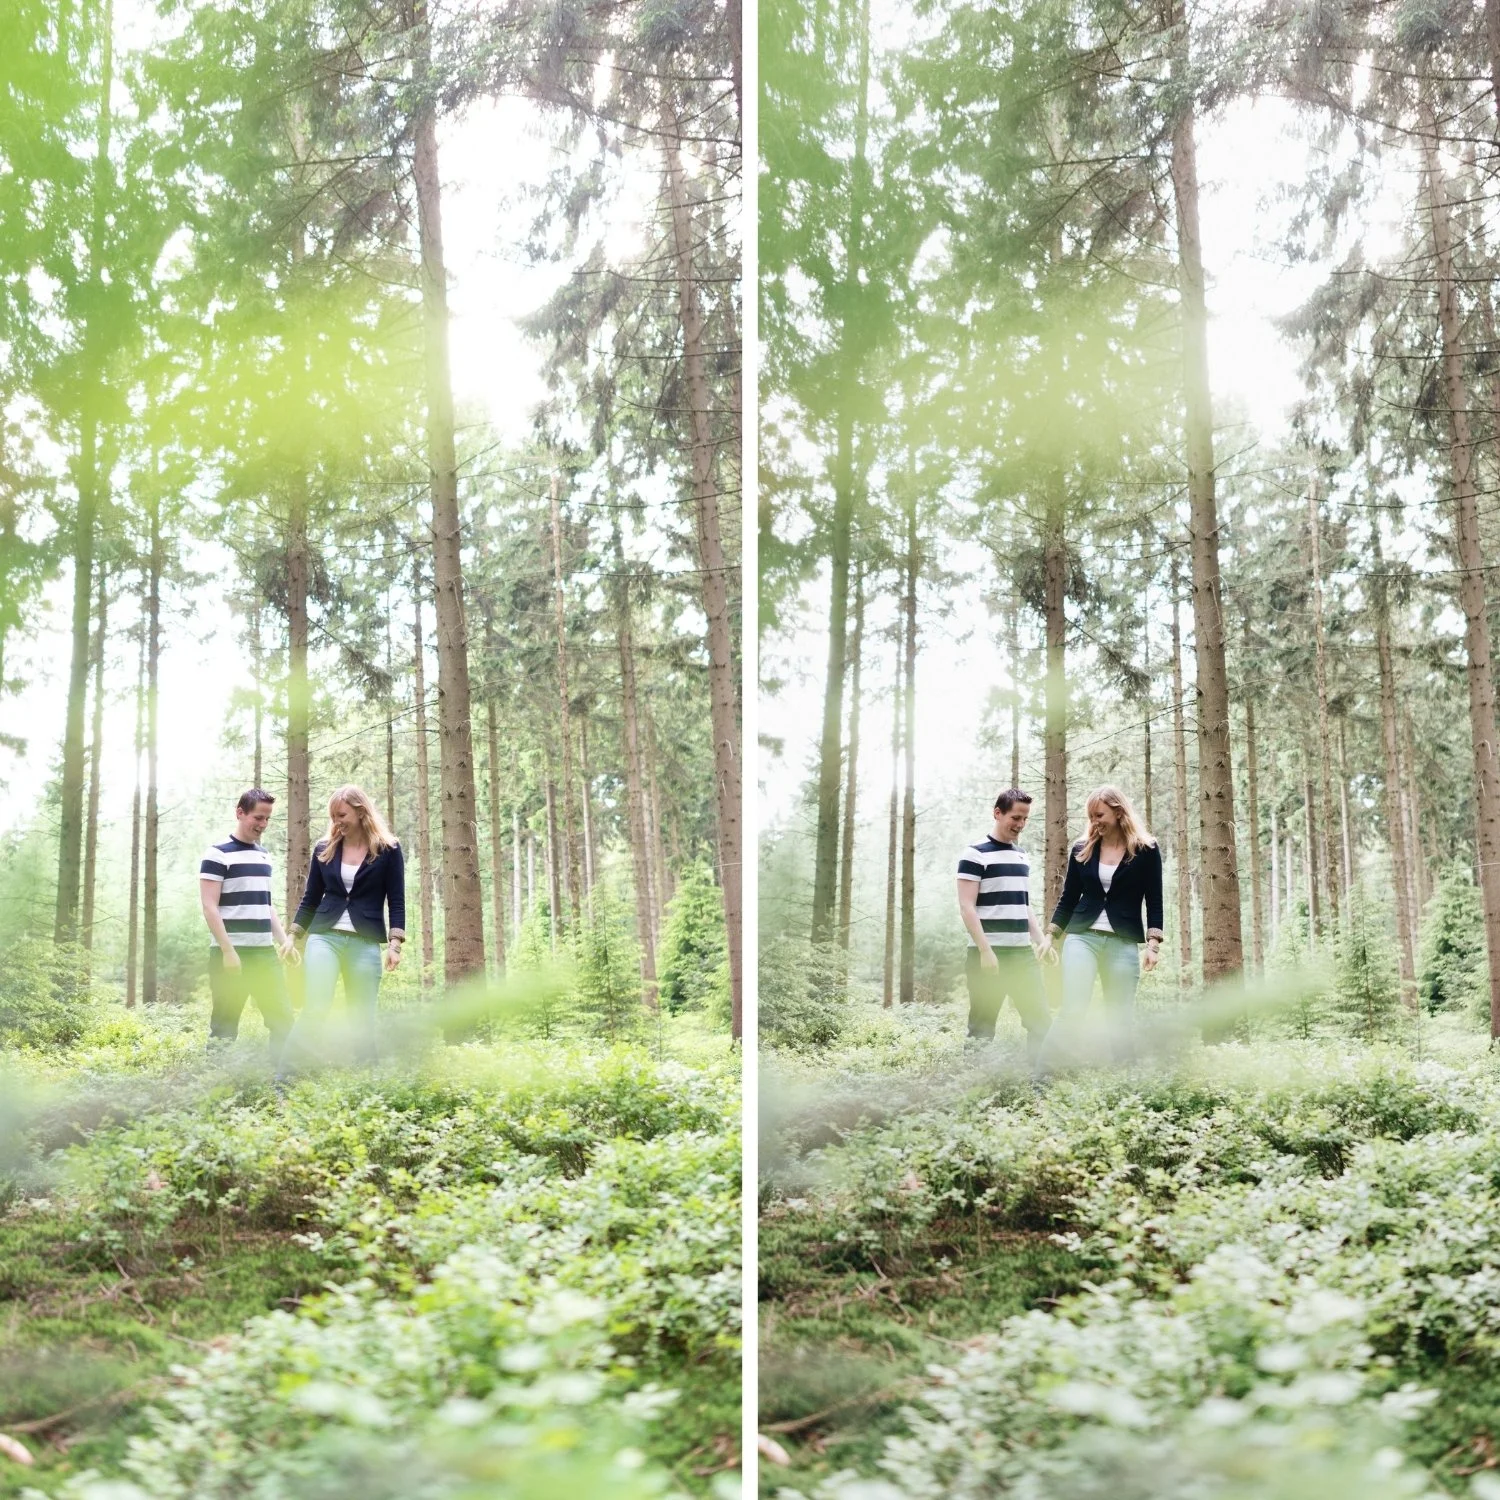
Additionally, the Green channel is particularly sensitive. Digital cameras render green foliage and outdoor environments with high Green channel values. A film preset that reduces Green Saturation in HSL only addresses the relative color balance — it does not prevent clipping in the Green channel if the underlying Green value is already high. And Color Grading highlight warmth that uses Hue in the 40-60 range (yellow-orange) affects the Yellow component of the image, which involves both Red and Green channels.
How to Detect Color Clipping
Lightroom does not have a dedicated color clipping indicator in the way it shows tonal clipping with the triangle highlights warning. However, there are three practical methods for detecting it.
The channel histogram. In the Histogram panel in the Develop module, the histogram shows the combined RGB histogram by default. Click on it to view individual channels. A channel that is spiked against the right wall with significant content cut off is showing clipping in that channel.
HSL response check. Apply a large negative adjustment to Orange Saturation (to -40 or -50) and evaluate whether saturated orange areas in the image respond fully or show a residual orange quality. If strongly saturated orange areas barely change with a large HSL adjustment, the Red channel is likely clipped in those areas.
Export and inspect. Export the image as a JPEG and open it in a photo viewer. Color-clipped areas often appear more obviously oversaturated in the exported JPEG than in the Lightroom preview, because the rendering engine's preview can mask some of the clipping appearance.
How to Prevent Color Clipping
Start with correct exposure. Overexposure is the primary cause of channel clipping. Correct exposure before applying presets. If highlights are at the ceiling before applying the preset's warmth, the warm preset will push them over.
Reduce Orange and Red Saturation preventively. For warm film editing on outdoor photography with vivid subjects, reduce Orange Saturation by -10 to -20 and Red Saturation by -5 to -15 in HSL before checking the result. These reductions create headroom before applying warm Color Grading.
Manage Green Saturation proactively. For outdoor photography with green vegetation, reduce Green Saturation by -15 to -25 before applying the preset. This prevents the Green channel from being pushed to clipping by the preset's color rendering.
Use Vibrance instead of Saturation. Vibrance increases saturation of less-saturated colors while protecting already-saturated colors from clipping. If you need more color presence, a small Vibrance increase (+5 to +10) is less likely to cause clipping than a Saturation increase.
Watch warm presets on direct sunlight photos. Direct sunlight photos with orange or red subjects (warm architecture, people in golden hour, autumn foliage) are the highest-risk scenarios. Apply the preset, check the Orange channel in the histogram, and reduce Orange Saturation if clipping is present.
Recovering From Color Clipping
If color clipping has already occurred in a file, recovery options are limited but not zero. Reducing Exposure pulls everything down, which may un-clip the channel at the expense of overall brightness. The HSL channel Luminance slider reduces the brightness of specific color ranges — reducing Orange Luminance brings orange tones down and may un-clip the Red channel in warm orange areas. Reducing Vibrance is sometimes effective because Vibrance specifically targets already-saturated colors.
None of these methods fully recover clipped channel detail — they can only reduce the severity of the effect. Prevention through correct exposure and managed saturation levels is more reliable.
FAQ
Is color clipping visible in the standard tonal clipping warning in Lightroom?
The standard clipping warning (J key) shows tonal clipping — areas where all channels are at 255 (white) or 0 (black). Color clipping where one channel is at maximum but the others are not is not shown by the standard warning. It requires individual channel inspection in the histogram.
Does ProRAW prevent color clipping?
ProRAW captures more tonal range, which gives more headroom before clipping. But color clipping is still possible on ProRAW files if saturation is pushed high enough. It is less common and more easily corrected than on JPEG.
Can I fix color clipping in a JPEG that has already been exported?
No. Once a JPEG with clipped channels is exported, the clipped channel data is permanently gone. Corrections must be made in the RAW or DNG source file before export.
Check your film edits for color clipping:
Download the free Analog Film preset and inspect the channel histogram after applying to outdoor photos to see how the preset manages channel values.
For the relationship between color clipping and skin tones, How to Edit Natural Skin Tones covers Orange channel management in detail. For the broader warm outdoor editing approach that prevents clipping, Warm Summer Film Look in Lightroom covers the full warm color workflow.
