Best Film Presets for Travel Photography (2026)
Best Film Presets for Travel Photography (2026)
Travel photography editing has one specific challenge: the light changes completely across a trip. Bright midday sun in Lisbon. Overcast grey in Amsterdam. Golden hour in Santorini. Candlelit dinner in Tokyo. The best film presets for travel are not one look — they are a system of related looks that stay visually consistent across all of these conditions.
What makes a film preset good for travel
Versatility across lighting conditions. Travel light changes constantly. A preset that only looks good in golden hour leaves you manually adjusting everything else.
Consistent color philosophy. All presets in a travel system should share the same warm film foundation so a gallery from a multi-day trip looks like one coherent visual identity.
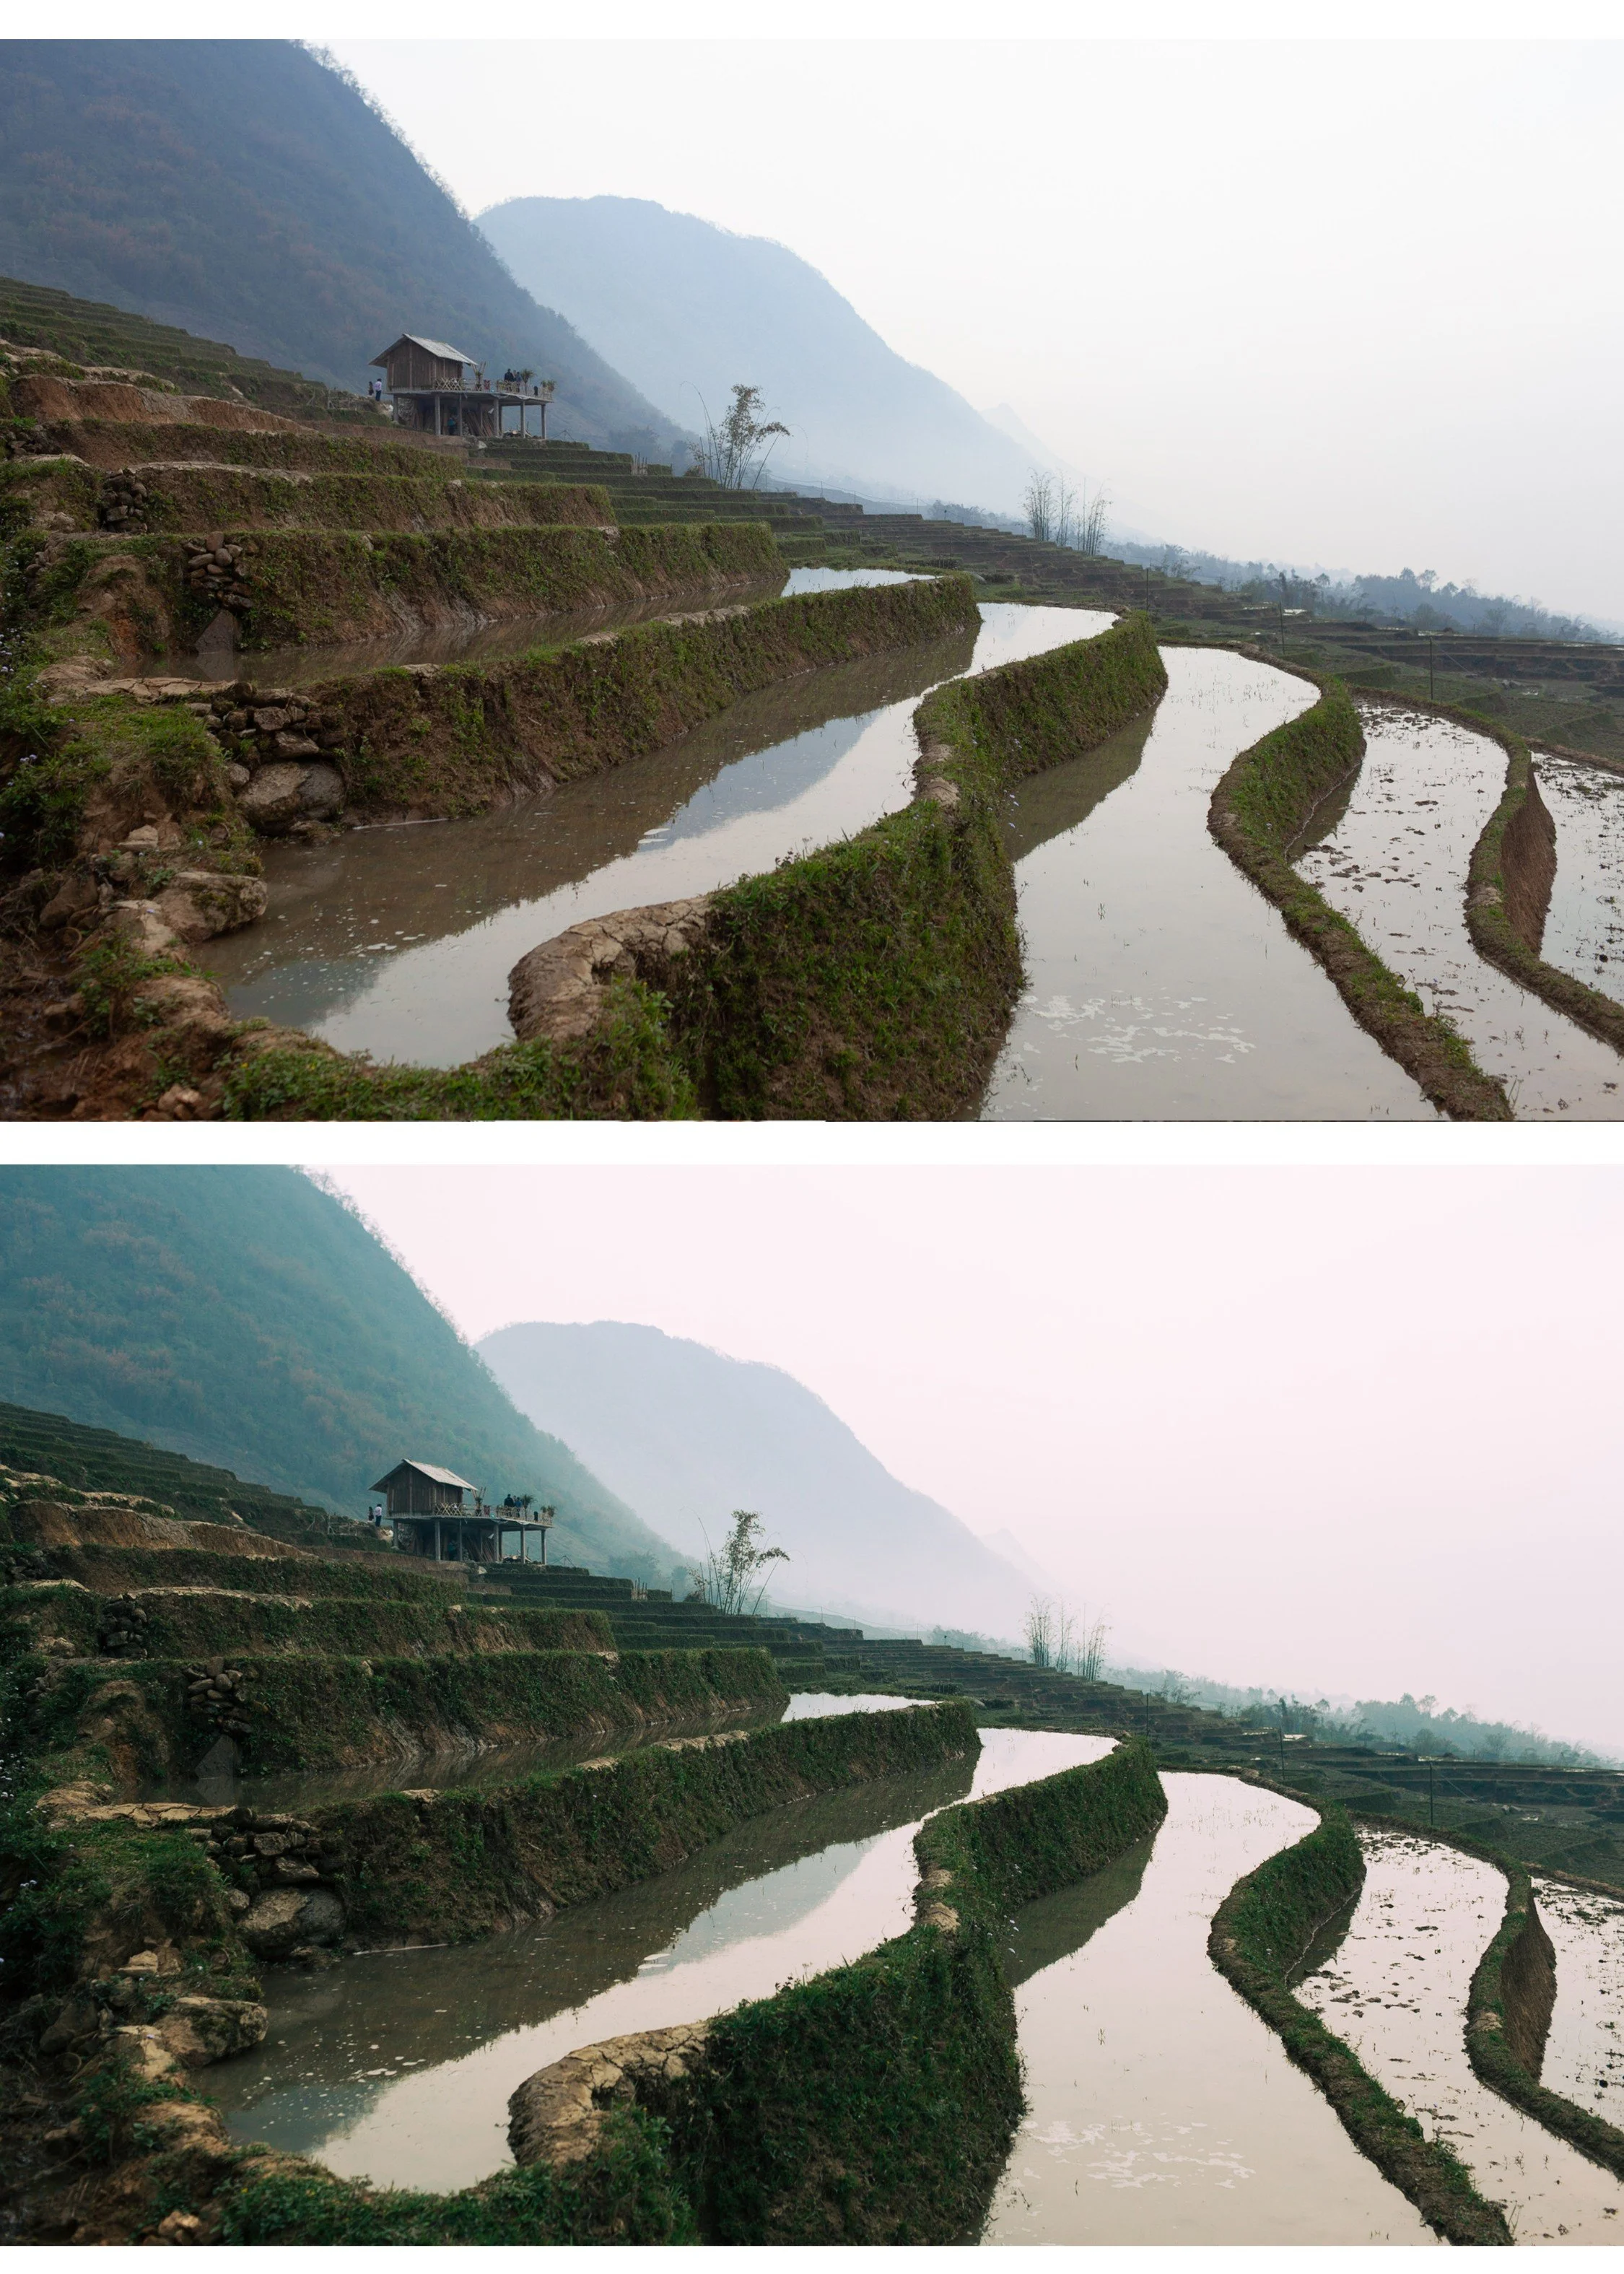
Natural greens. Travel photography has forests, parks, markets, and outdoor scenes. Digital cameras and phone cameras render greens as vivid and neon. Good travel film presets shift greens toward organic, warm yellow-olive.
Highlight protection. Outdoor travel photography clips highlights fast — blue sky, white architecture, beach sand. Good travel presets have highlight protection calibrated for bright outdoor conditions.
Best film presets for travel by scenario
Bright outdoor daylight (Mediterranean, coastal, sunny cities)
California Archive C1 Warm Outdoor or A6 Clean Portrait. Clean, warm, vibrant. Best for travel in warm climates where the natural light is strong and bright. Pull Highlights -35 to -45 after applying for outdoor scenes.
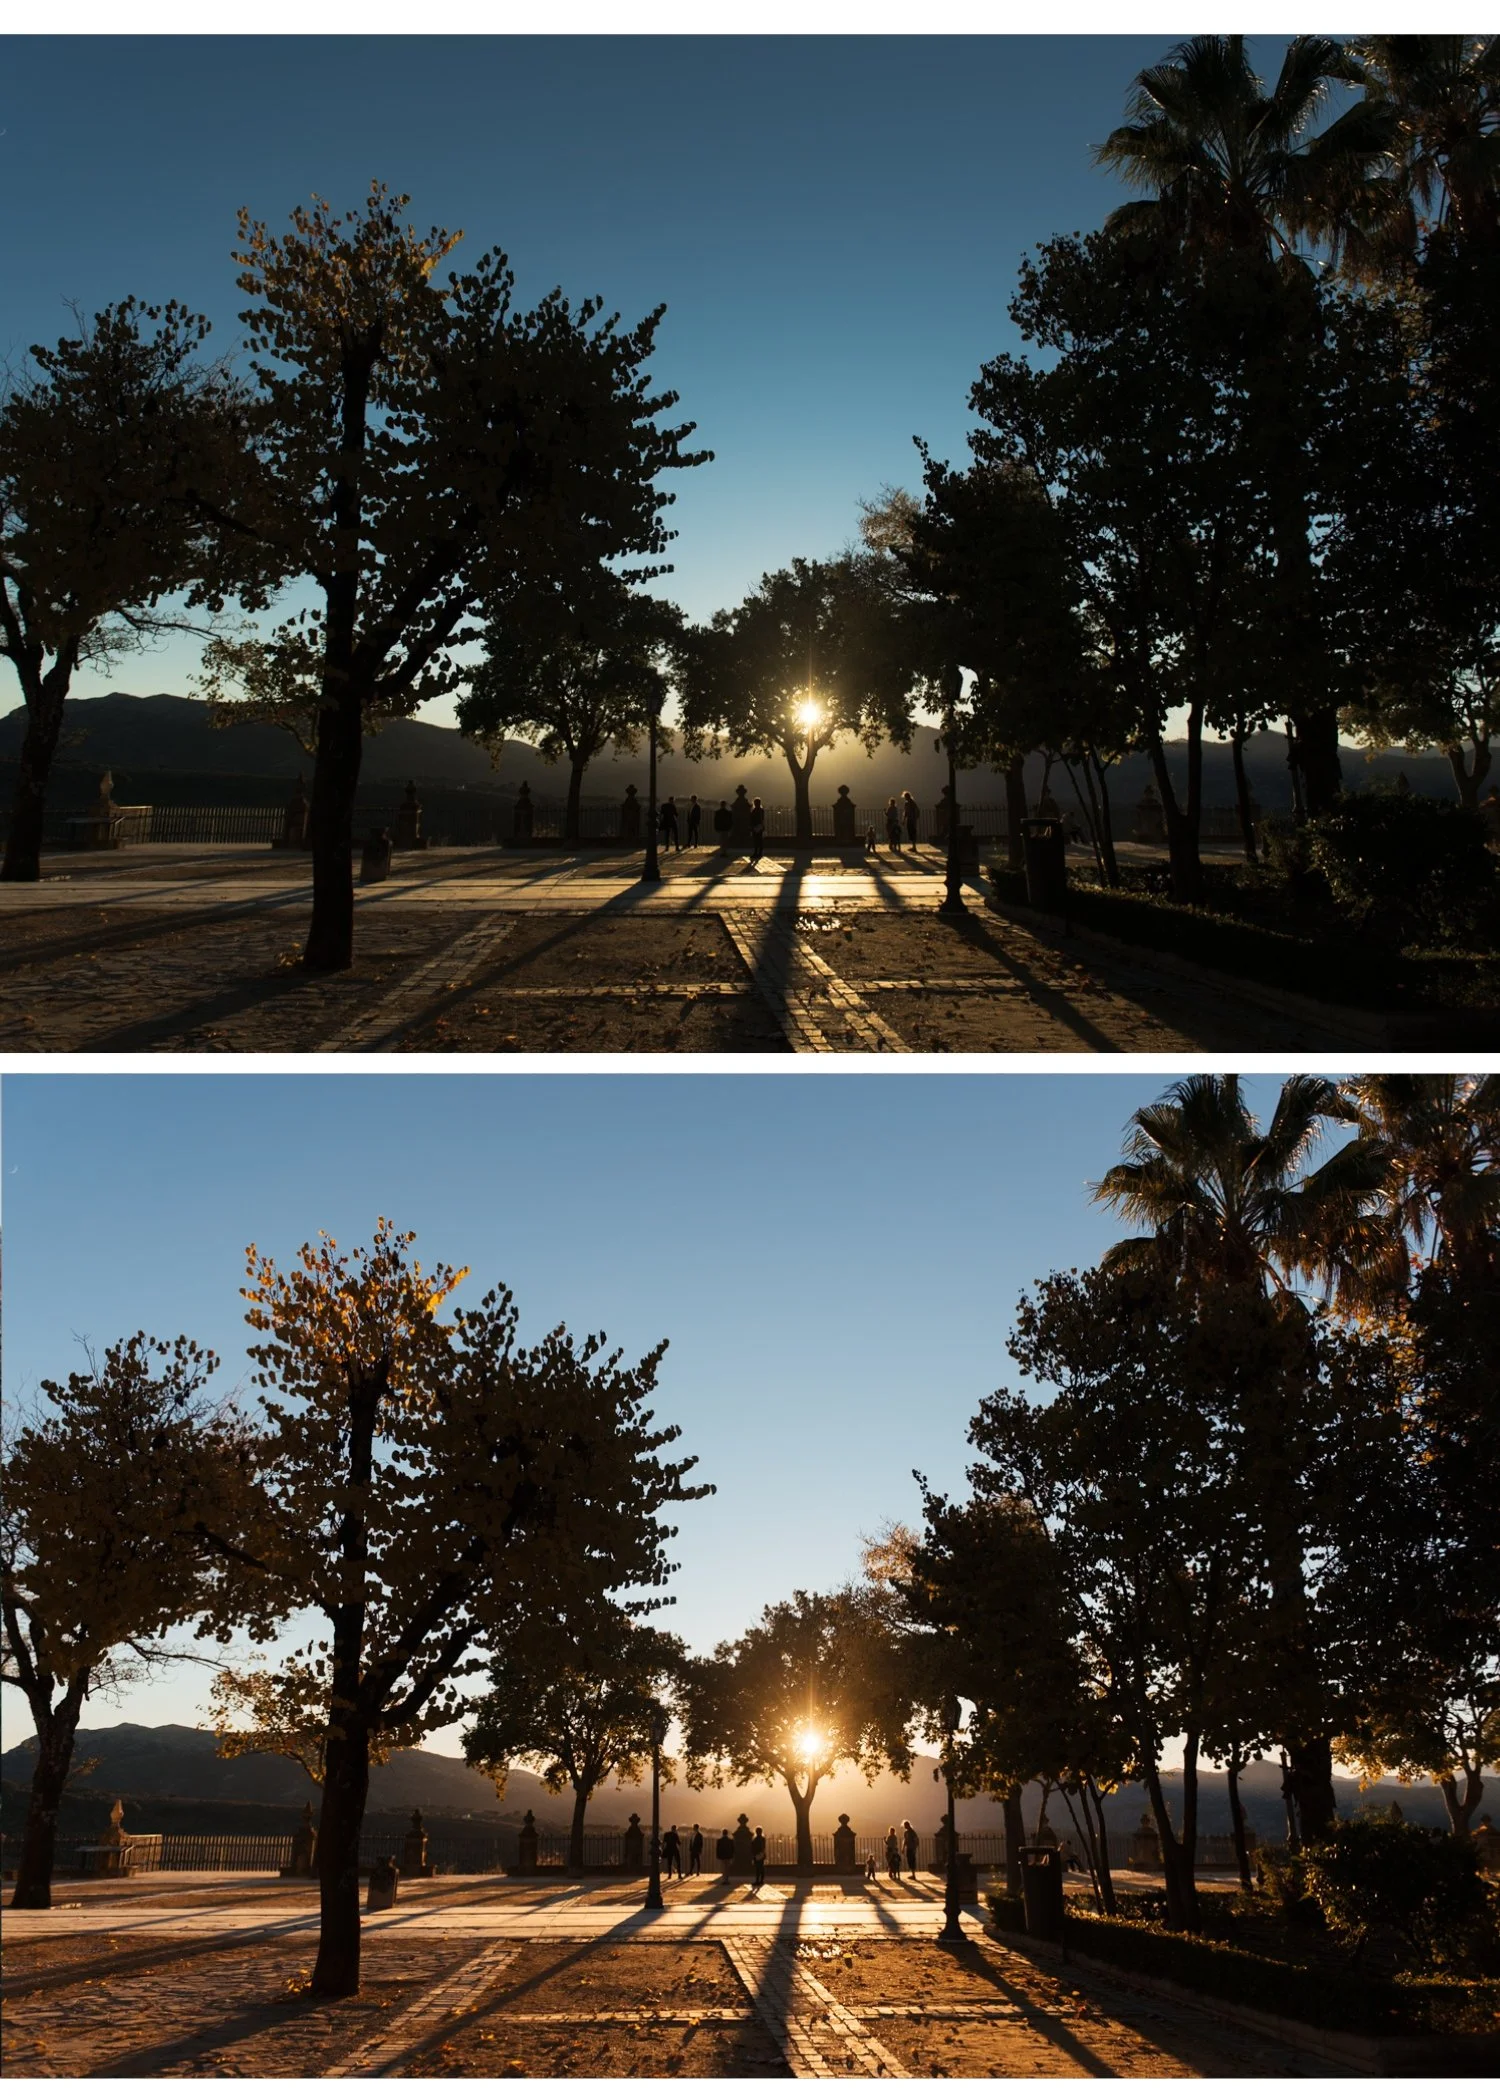
Golden hour (late afternoon, sunset, warm evening light)
California Archive C7 Rich Warm or Vesper Archive V5 Golden Velvet. Both calibrated for warm late-day light with highlight protection built in. The most film-like golden hour quality in the shop.
Overcast and grey (Northern Europe, cloudy days, soft diffused light)
Analog Film Archive A6 or Essence Archive E4 Balanced Classic. Add Temperature +150 to +200 from Auto after applying to compensate for flat cool ambient light.
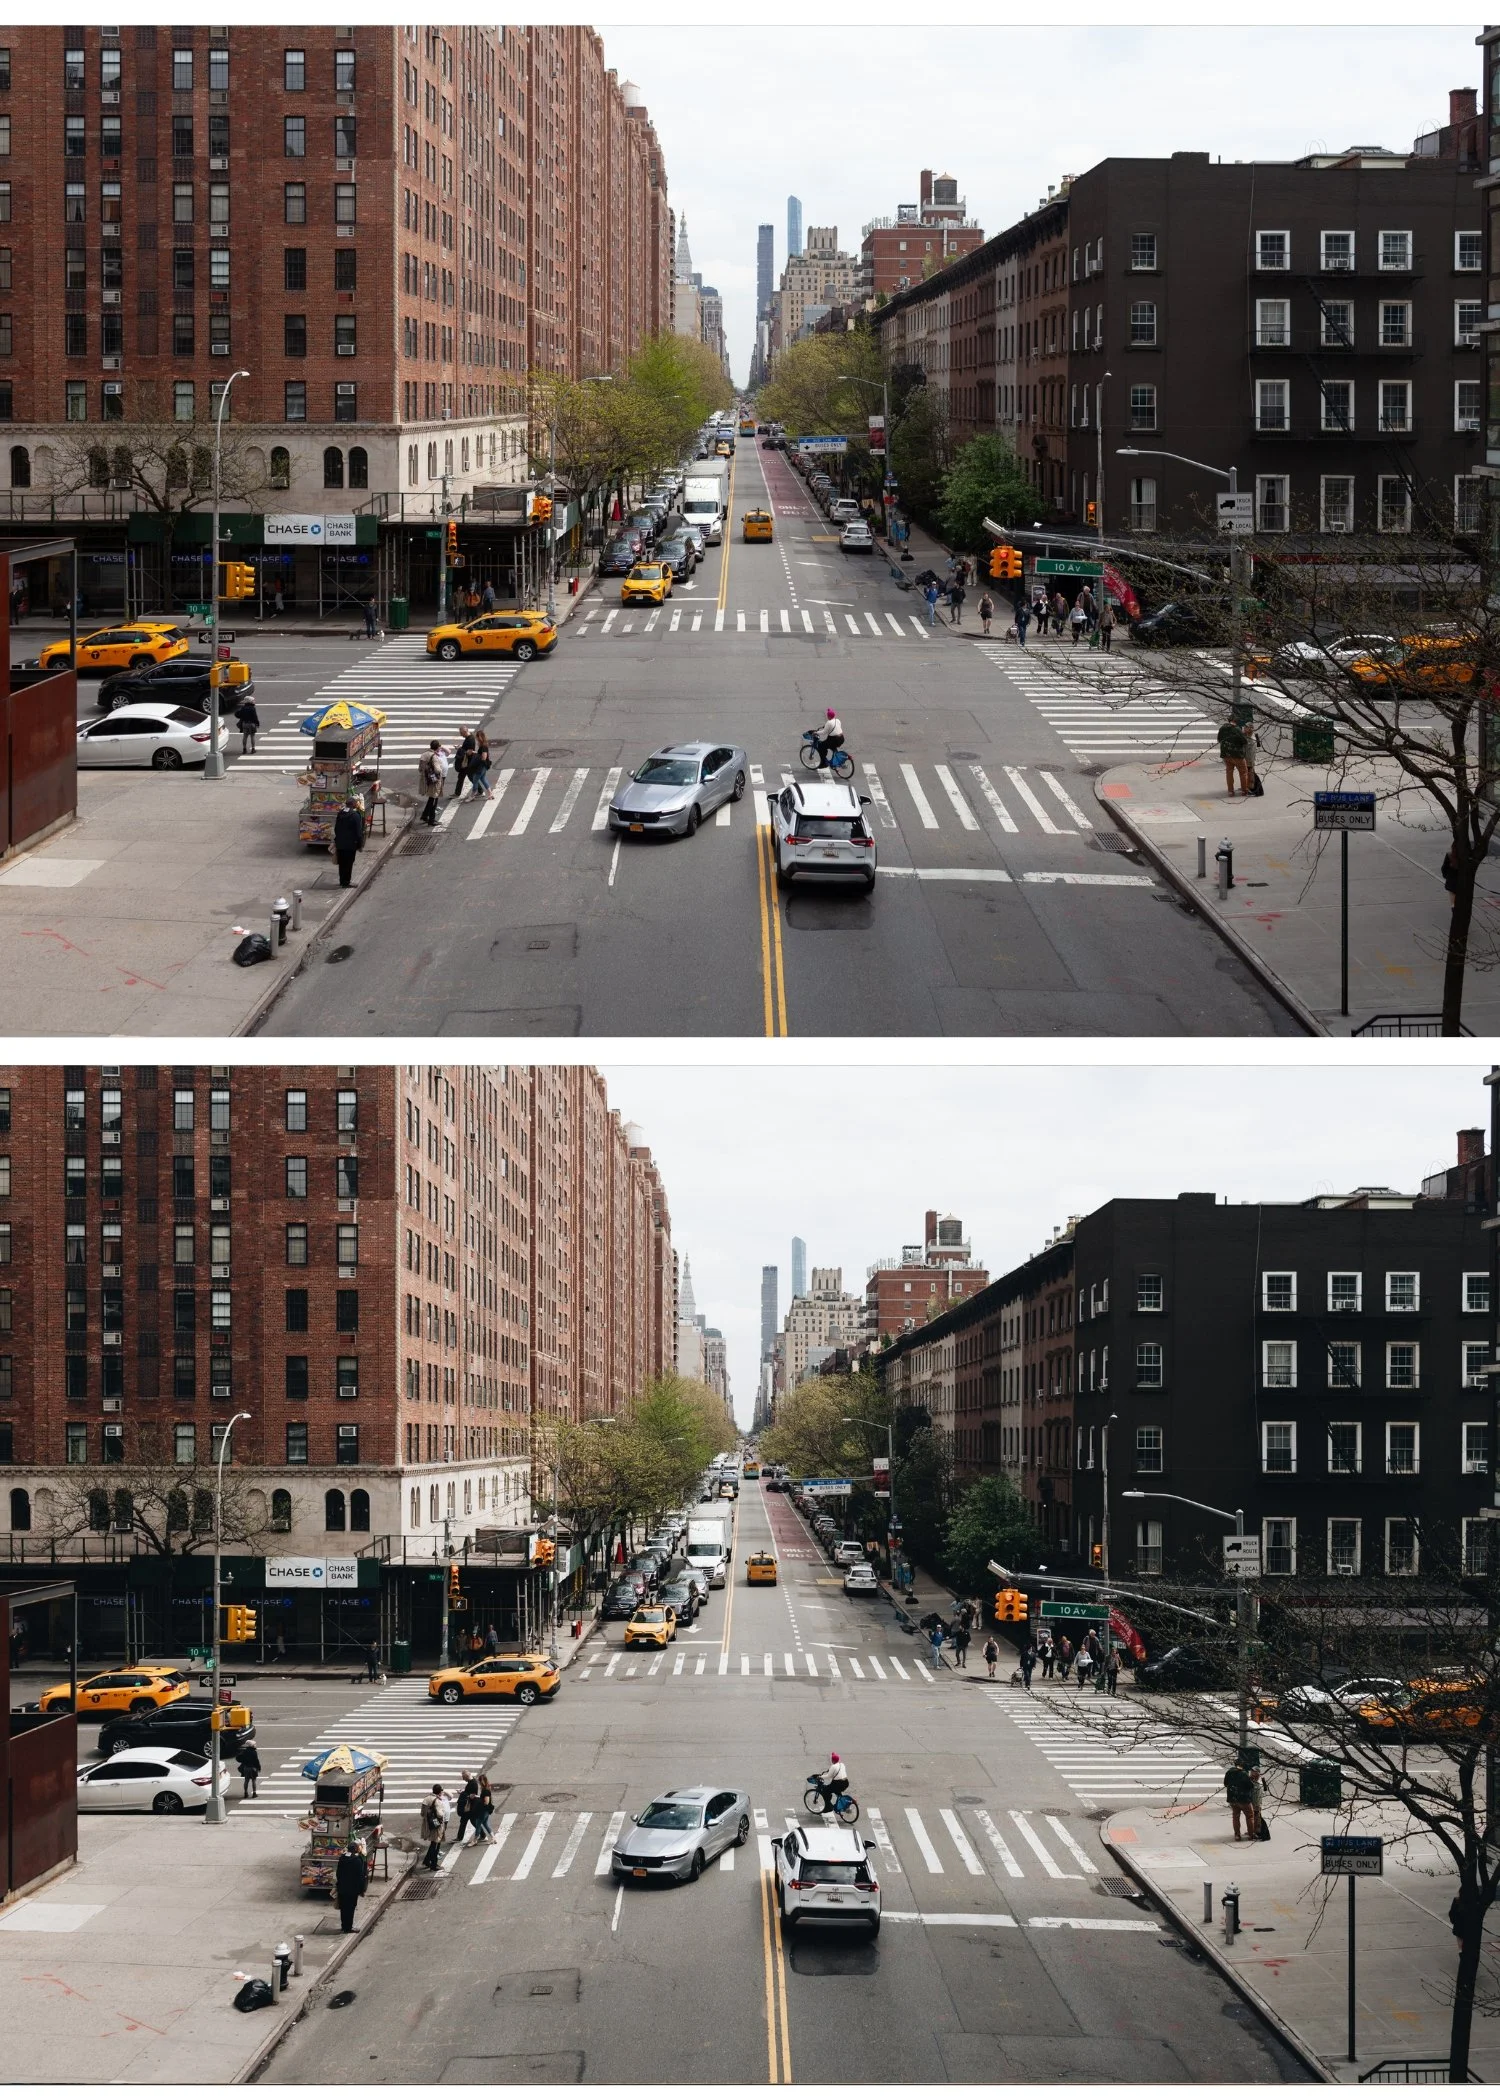
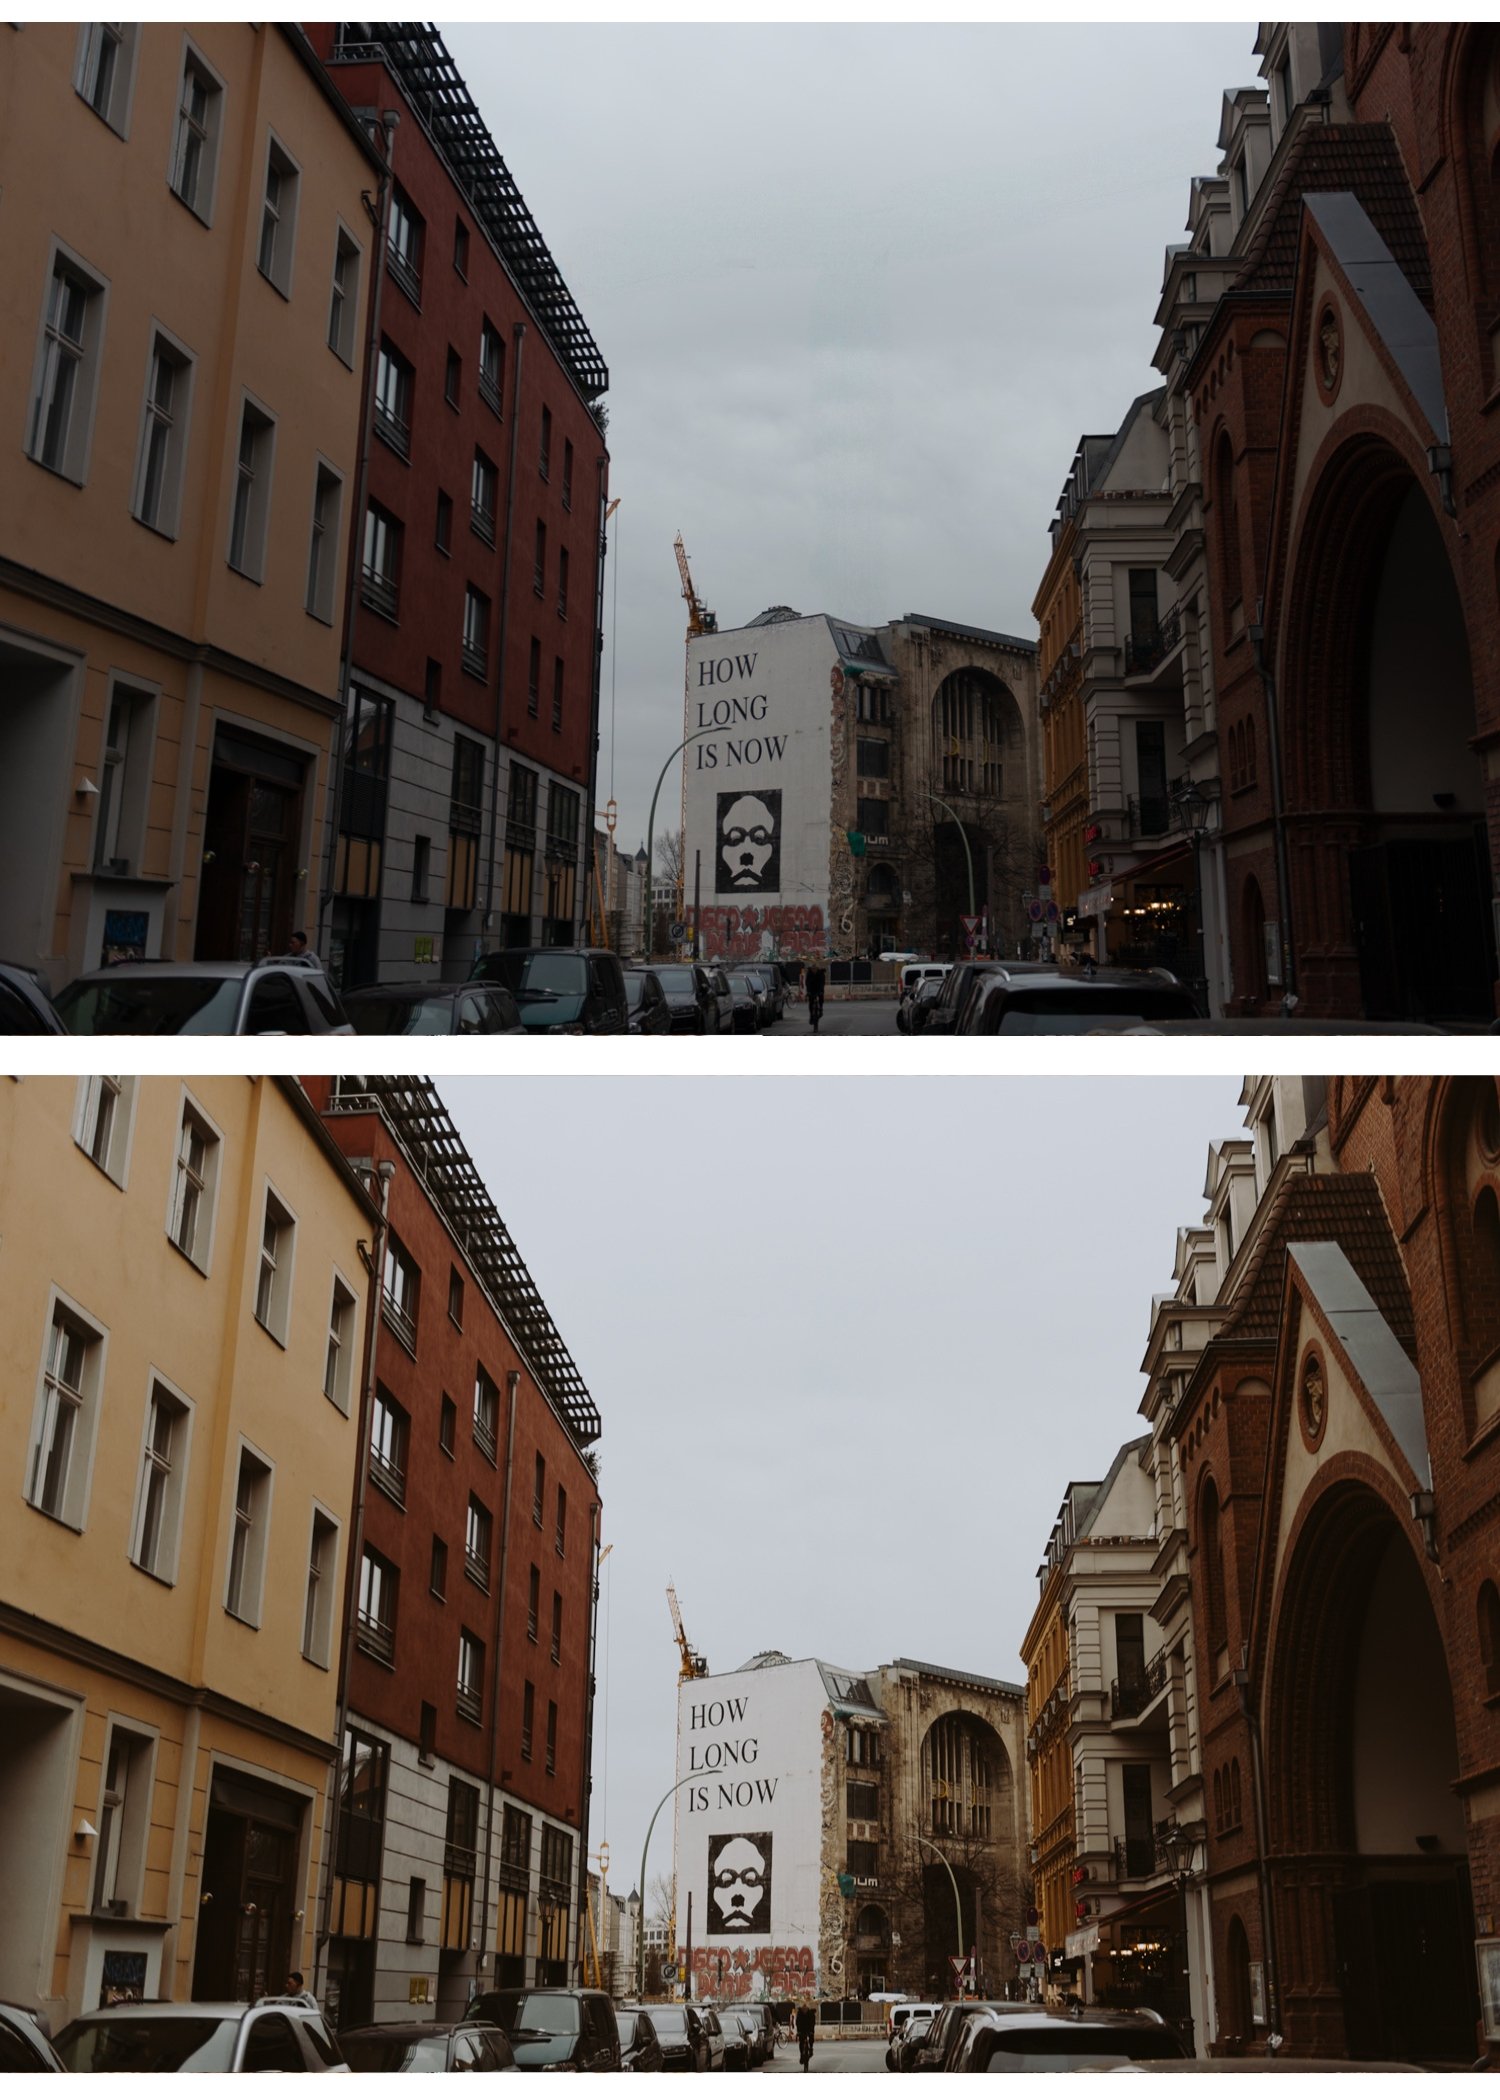
Moody cities and atmospheric travel
Moody Film Archive M4 or Vesper Archive V4 Moody Classic. Atmospheric depth, muted color, cinematic quality. Suits grey urban environments, rainy days, and travel where the atmosphere is the subject.
Mediterranean and coastal summer
Mediterranean Summer Archive — C8, J1, H1, M1. Four warm coastal presets calibrated for the specific quality of European summer light — vivid blues, warm skin, sun-soaked architecture.
Low light and night photography
Moody Film Archive M5 or Vesper Archive V6 Dark Atmospheric. Lift Blacks +10 after applying to preserve shadow detail in urban night scenes.
The travel preset system approach
Most consistent travel photographers use a system of four to five presets from the same collection rather than one preset for everything. The key is that all presets share the same color philosophy — switch between them as the light changes and the gallery stays visually consistent.
Core travel system:
Bright daylight: A6 or C1
Warm and golden: V5 or C7
Overcast: A6 with Temperature +150
Moody atmospheric: M4 or V4
Night and low light: M5
All from collections built on compatible color foundations.
The batch editing workflow for travel
Travel photography produces large volumes of photos from varied lighting conditions. The batch workflow keeps editing time manageable.
Sort by lighting condition after importing
Edit one reference photo per lighting group
Batch paste settings to the group
Individual fine-tune: Exposure and White Balance only per photo
A 200-photo trip gallery edited this way takes 2-3 hours. Without the batch workflow, the same gallery takes 8-12 hours.
Full workflow: How to Edit Travel Photos in Lightroom
The Vesper Archive for travel
Eight presets from clean everyday film to golden atmospheric to moody cinematic. All on the same warm film philosophy — the most versatile travel preset collection for varied lighting conditions.
EXPLORE THE VESPER ARCHIVE — $27
FAQ
What is the best single preset for travel photography?
A6 Clean Portrait for versatile all-round travel. V5 Golden Velvet for golden hour travel. Neither alone covers the full travel lighting range — a system of both plus an overcast and moody variant covers everything.
Do travel presets work on phone photos?
Yes. Reduce preset amount to 75-80% on Samsung and iPhone. Change Camera Calibration to Camera Standard on Android. Full mobile guide: Best Mobile Presets for Travel Photography