How to Get the Golden Hour Look Without Golden Hour (2026)
How to Get the Golden Hour Look Without Golden Hour (2026)
Golden hour photography is stunning because the light does something specific: it adds warm, directional, low-angle light that wraps around subjects and creates long, soft shadows. Most photographers assume you can only get this look during the 30 minutes after sunrise or before sunset.
You can approximate it in Lightroom on any photo taken in reasonable natural light. Not every photo works, and the result will never be identical to real golden hour. But the warmth, the soft shadow quality, and the golden highlight character are all achievable in post-processing.
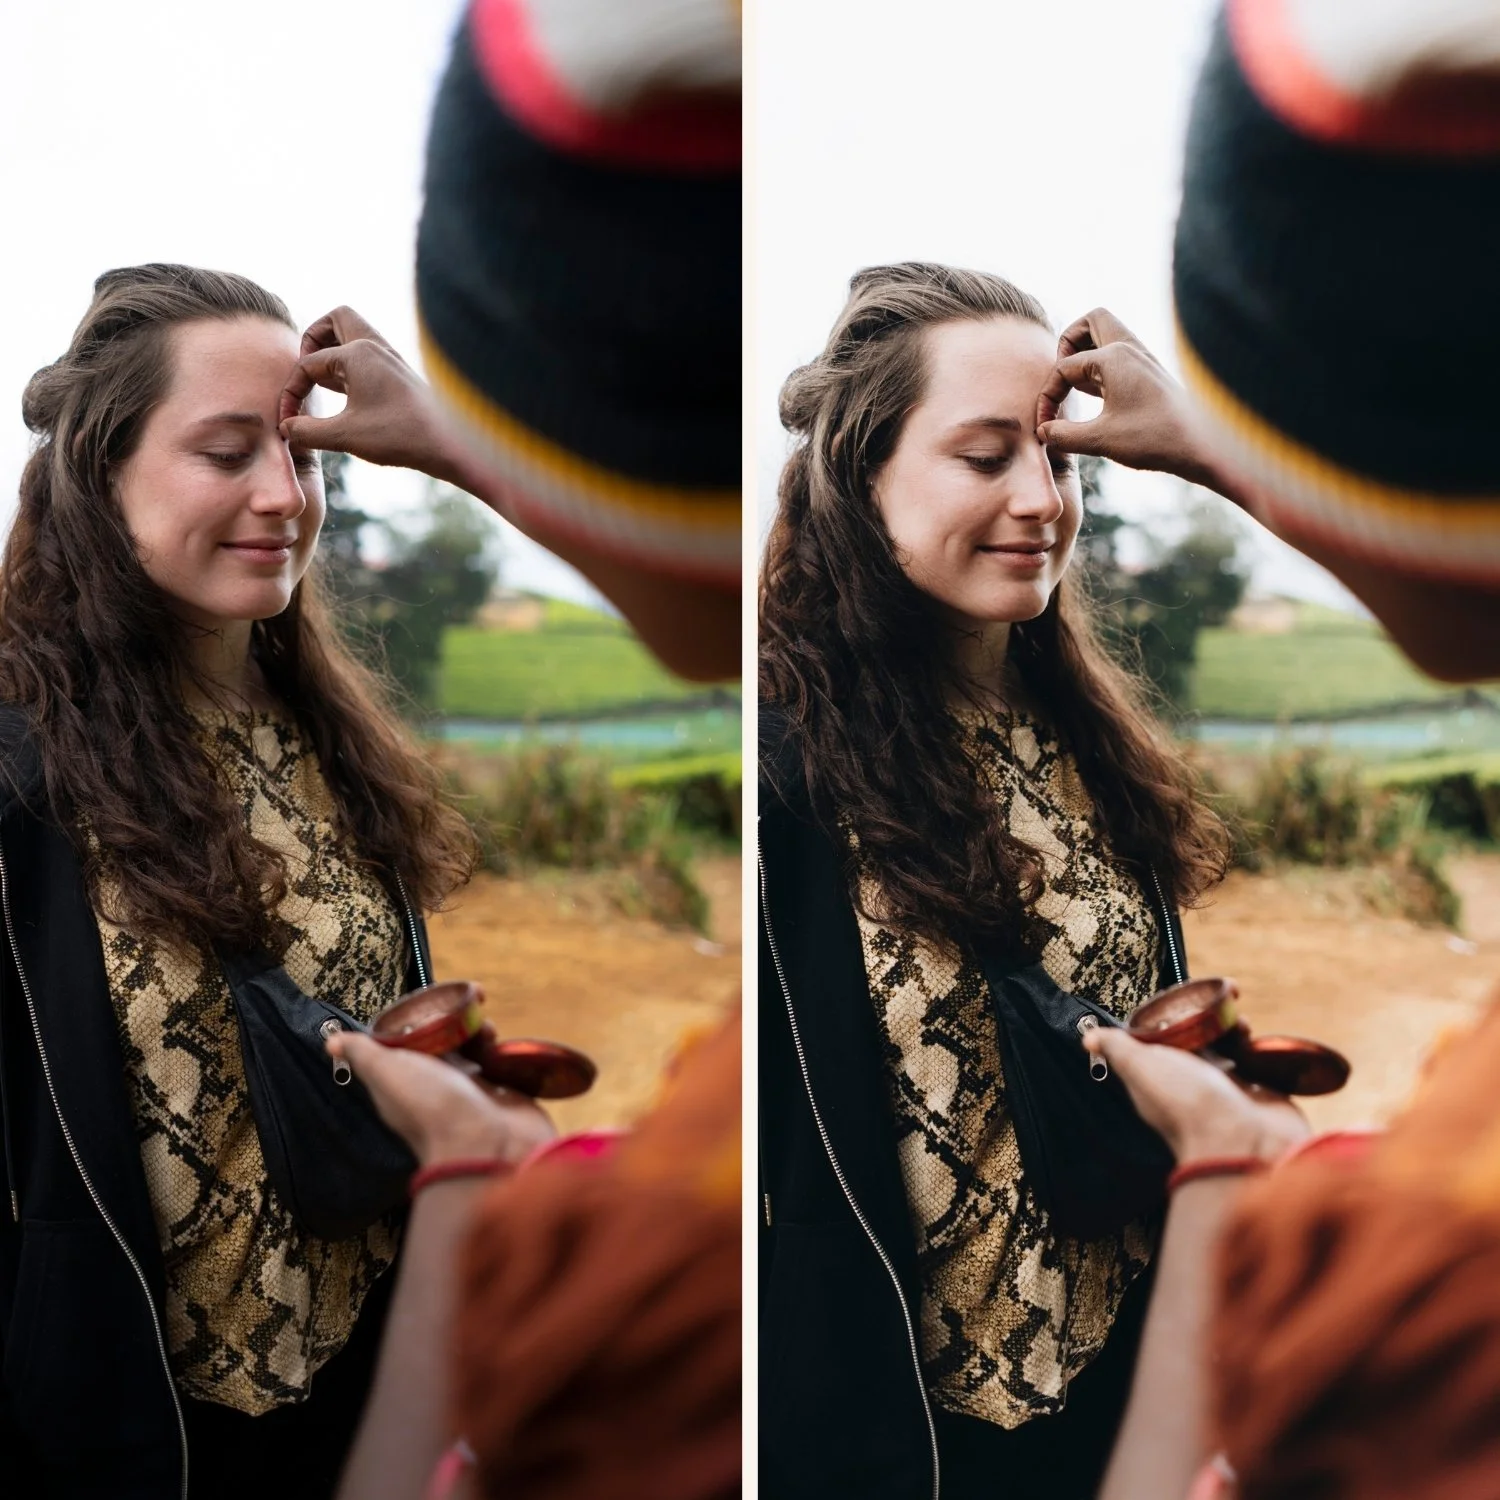
What golden hour actually looks like technically
Before trying to create the look, understand what golden hour actually does to a photo.
Warm color temperature. Late afternoon sun has a color temperature around 3,000-4,000K versus midday sun at 5,500K. It is significantly warmer, shifting toward yellow-orange.
Soft shadows. Low-angle light creates long shadows with soft edges because the sun is filtered through more atmosphere.
Warm highlights with cool shadows. The warm directional light creates warm highlights where the sun hits directly. Shadows that face away from the sun are lit by the cool blue sky, creating a warm-cool split that is the defining quality of golden hour color.
Slightly diffused quality. Atmospheric haze at lower sun angles softens the overall contrast slightly compared to midday.
These four characteristics are all achievable in Lightroom.
Step 1 — Choose the right starting photo
The technique works best on photos that already have some directional light, even if not warm. Flat overhead midday light is the hardest to convert because the shadow direction is wrong.
Best starting photos for this technique:
Photos shot 2-3 hours before sunset in reasonable natural light
Indoor window light photos where the light has some directionality
Overcast outdoor photos where the overall exposure is good
Photos that work poorly: directly overhead midday sun, artificial indoor lighting without directional quality.
Step 2 — Warm the color temperature significantly
Add warmth to Temperature: +400 to +700. This is more than most photographers are comfortable with but it is necessary to achieve the golden hour color temperature shift.
Check skin tones after warming. If they look orange rather than warm, reduce Temperature slightly and compensate by shifting Orange Hue toward yellow (+5 to +10) in the Color Mix panel.
Step 3 — Create the warm-cool split with Color Grading
This is the most important step for authentic golden hour quality. The warm-cool split between highlights and shadows is what makes golden hour light recognizable.
Open Color Grading:
Highlights: warm golden (hue 35-50, saturation 20-30)
Shadows: slightly cool (hue 195-215, saturation 10-15)
Midtones: neutral
The warm highlights reference the sun-lit areas. The cool shadows reference the sky-lit shadow areas. The combination creates depth and the specific quality of late-day directional light.
Step 4 — Adjust the HSL for golden warmth
In the Color Mix panel, three adjustments enhance the golden hour quality.
Yellow Saturation: +10 to +20. Golden hour light is predominantly yellow-warm. Enhancing yellows adds the specific color presence of late-day sun.
Orange Hue: toward yellow (+5 to +10). Shifts warm skin tones toward golden yellow rather than vivid orange.
Blue Hue: toward purple (+5 to +10). This subtly shifts the cool shadow areas toward a purple-blue quality that enhances the warm-cool contrast.
Step 5 — Soften the contrast
Golden hour light has a slightly hazy, atmospheric quality compared to harsh midday light. Reduce Contrast: -15 to -20. Pull Highlights: -25 to -35.
This softens the overall tonal structure and creates the atmospheric quality of light filtered through evening haze.
Step 6 — Add warmth to the vignette
Add a subtle warm vignette to draw attention to the center.
Effects panel: Vignette Amount -10 to -20, Feather 80, Midpoint 45.
Then in Color Grading, ensure the shadow toning (which affects vignetted areas) has warm color. The vignette becomes warm-toned rather than neutral black.
The California Archive for golden hour
The California Archive (C-Series) has presets specifically calibrated for warm outdoor photography. C7 Rich Warm and C8 Sun-Drenched create the golden hour quality in one click, then the Color Grading split-tone technique above can be added on top.
EXPLORE THE CALIFORNIA ARCHIVE — $27
FAQ
Can you fake golden hour in Lightroom?
You can approximate the warm color temperature, soft contrast, and warm-cool split tone of golden hour. What you cannot recreate is the specific shadow direction and length that real golden hour creates. The color quality is achievable in post. The geometric light quality is not.
What temperature setting recreates golden hour?
Temperature +400 to +700 from a neutral daylight starting point. Combined with warm Color Grading in highlights and cool Color Grading in shadows.
Does the golden hour technique work on iPhone photos?
Yes. The Color Grading and HSL adjustments work identically in Lightroom Mobile.
